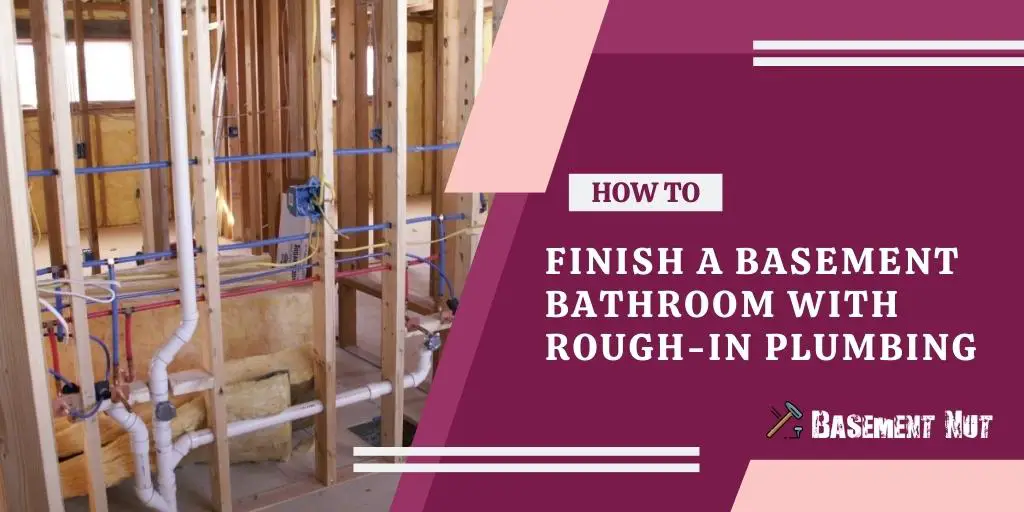
Finishing a basement bathroom is a great way to add value to your home. You’re already halfway there if you have rough-in plumbing in your basement! In this blog post, we’ll show you how to finish a basement bathroom with rough-in plumbing.
What Is Rough-In Plumbing?
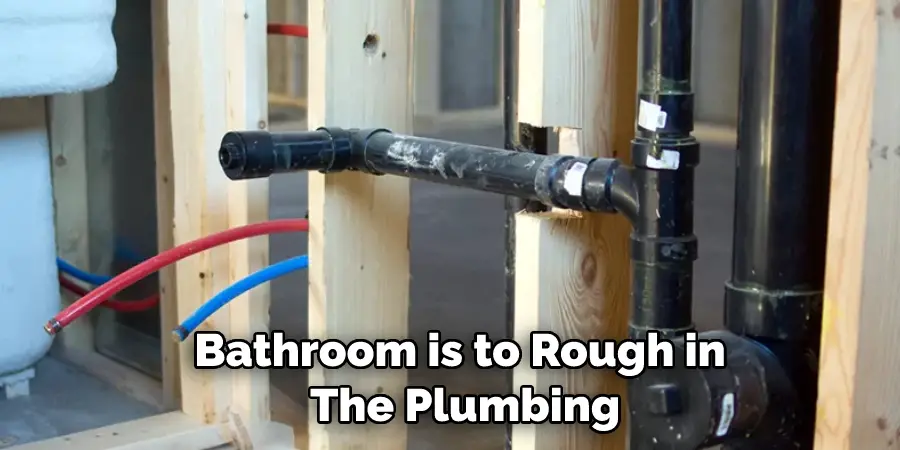
Rough-in plumbing is the process of installing the pipes and drains for a new home or commercial building before installing the fixtures.
This type of plumbing is also known as “trunk and branch” plumbing because it involves running the main line (the “trunk”) from the water supply to each fixture (the “branches”). A licensed plumber typically does rough-in plumbing, and it is an important step in the construction process.
After the rough-in plumbing has been installed, the walls can be closed up, and the fixtures can be installed. This type of plumbing is often used in new home construction, but it can also be used in remodeling projects. For example, when remodeling, the old pipes and drains may need to be replaced, and rough-in plumbing can be used to install the new piping.
Rough-in plumbing is an important part of any construction project, and it is important to hire a licensed plumber to ensure that it is installed correctly.
Why Should You Finish a Basement Bathroom with Rough-In Plumbing?
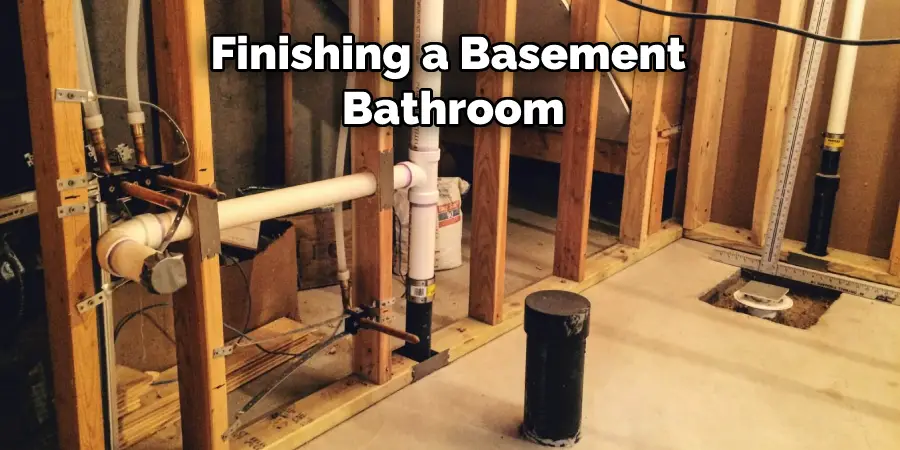
Basement bathrooms can be a great addition to any home, but they can also be a lot of work. One of the most important steps in finishing a basement bathroom is to rough in the plumbing.
This involves running water lines and drainage pipes to the correct locations in the basement and connecting them to the existing plumbing system. While this may seem daunting, there are several reasons why it’s worth the effort.
First, roughing in the plumbing ahead of time makes it easier to install fixtures and make other changes later on. Second, it helps to prevent leaks and other problems by ensuring that all pipes are properly connected.
Finally, it allows you to make any necessary adjustments before installing the walls and floors. So, if you’re planning on finishing a basement bathroom, rough the plumbing first; it will save you time and money in the long run.
7 Steps to Follow on How to Finish a Basement Bathroom with Rough-In Plumbing
1. Plan the Layout
The first step in finishing a basement bathroom is to plan the layout. You’ll need to decide where the sink, toilet, and shower will go. You’ll also need to determine the best location for the rough-in plumbing. Once you have a plan, you can begin to work on the project.
2. Install the Subfloor
The next step is to install the subfloor. This will provide a stable base for the new bathroom. For the subfloor, you will need to use 3/4 inch plywood or OSB (oriented strand board). The subfloor should be glued and screwed to the joists using 1-1/2 inch screws.
3. Install the Walls
Once the subfloor is in place, you can start working on the walls. You’ll need to frame out the walls with studs and then install drywall or another type of wall covering. If you’re planning on installing tile in the bathroom, you’ll need to install cement board behind the drywall to provide a stable surface for the tile.
4. Install Rough-In Plumbing
Rough-in plumbing is essential for any bathroom. If you’re starting from scratch or renovating an existing bathroom, you’ll need to install rough-in plumbing. This includes the water lines that bring water to the fixtures and the drain lines that carry away wastewater.
You Can Also Check It Out to How to Build a Basement Under an Existing House
5. Install Electrical Wiring
You’ll also need to install electrical wiring in your new bathroom. This includes running wires from the main electrical panel to outlets and light fixtures in your bathroom. You should hire an electrician to do this work for you.
6. Finish Flooring and Walls
Once all the essential plumbing and electrical work are done, you can finish by installing flooring and walls. If you’re installing tile, you’ll need to grout and seal it properly to prevent water damage. You can then paint or wallpaper over drywall or install wainscoting or other decorative elements on walls.
7. Install Fixtures and Finishing Touches
The last step is to install fixtures and finishing touches like towel racks, mirrors, and lighting. You can also add some personal touches to make your new bathroom feel like home.
With these seven steps, you now know how to finish a basement bathroom with rough-in plumbing. If you have any questions or comments, feel free to leave them below. Also, be sure to check out our other articles on finishing basements.
You Can Check It Out to Put a Bathroom in a Basement Without Plumbing
What to Expect When Finishing a Basement Bathroom with Rough-In Plumbing?
Finishing a basement can be a great way to add extra living space to your home. However, if you’re planning on adding a bathroom, there’s a bit more work involved than simply adding a few walls and a door.
One of the most important things to consider is the plumbing. You’re halfway there if your home is already equipped with roughed-in plumbing for a basement bathroom.
However, if not, you’ll need to run new water lines and install drains before you can even think about adding fixtures. Additionally, you’ll need to factor in the cost of materials and labor when budgeting for your project.
Nevertheless, with a little planning and some elbow grease, you can turn your basement into a functional and stylish living space.
You Can Check It Out To Vent a Basement Bathroom With No Outside Access
How to Choose the Right Contractor for Your Basement Bathroom Renovation?
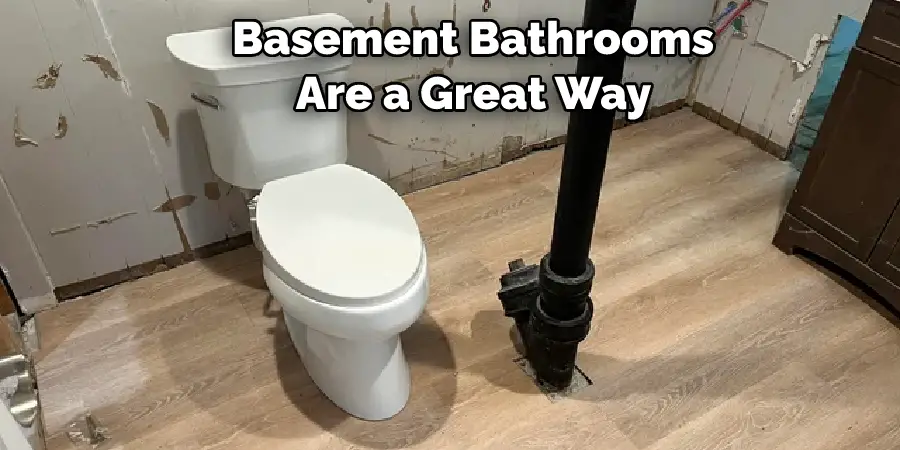
Basement bathrooms are a great way to add value to your home. However, they can also be a big undertaking. One of the most important aspects of any basement bathroom renovation is the plumbing.
Without a properly installed plumbing system, your bathroom will not function properly. When it comes to rough-in plumbing, you need to make sure that you hire a qualified contractor. Here are some tips on how to choose the right contractor for your basement bathroom renovation:
1. Make sure that the contractor is licensed and insured. This is one of the most important things to consider when choosing a contractor. A license will ensure that the contractor is qualified to do the work, and insurance will protect you if something goes wrong during the renovation.
2. Ask for referrals. Talk to friends, family, and neighbors who have had similar work done. They can give you an idea of what to expect from different contractors and help you narrow down your search.
3. Get multiple bids. Once you have a few potential contractors in mind, get bids from each one. This will help you compare prices and ensure that you are getting a fair price for the work that will be done.
4. Read reviews. Take some time to read online reviews of different contractors. This can give you an idea of their reputation and help you weed out any bad apples.
5. Ask questions. Before hiring a contractor, make sure that you ask them all of the questions that you have about the job. This includes questions about pricing, timeline, materials, and anything else that you want to know about the project.
By following these tips, you can confidently hire the right contractor for your basement bathroom renovation with rough-in plumbing.
How to Install Drywall in a Basement Bathroom?
Basement bathrooms can be a great addition to any home but can also be challenging to install. The drywall is one of the most important steps in any basement bathroom installation.
Not only does drywall help to ensure that the bathroom is properly insulated, but it also provides a finished look that will make the space feel more like part of the home.

Here are a few tips for installing drywall in a basement bathroom:
- Start by measuring the space and cutting the drywall to size. It’s important to ensure the pieces fit snugly together to avoid gaps.
- Next, use screws or nails to secure the drywall in place. Be sure to use toggle bolts if you attach the drywall to masonry walls. If possible, try to avoid running electrical wires through the middle of the drywall sheets.
- Once all of the pieces are in place, use joint compound and tape to seal any seams or cracks. This will help create a smooth, Finished surface ready for painting or wallpaper.
- Allow the joint compound to dry completely before sanding it down. This step is important to create a professional-looking finish.
- Finally, paint or wallpaper the drywall to match the rest of the basement bathroom. These tips make installing drywall in a basement bathroom a breeze!
Conclusion
With rough-in plumbing in your basement, finishing a basement bathroom is easier than you might think! Just follow these simple steps, and you’ll have a beautiful new space in no time at all.
If you have any questions, be sure to ask a professional for help. Thanks for reading our post about how to finish a basement bathroom with rough-in plumbing.
You can check it out to Install a Pellet Stove in a Basement
