Dealing with a wet crawl space can be one of the most difficult and time-consuming tasks homeowners face. If your basement is damp, musty, and full of water, then you know how important it is to get the situation under control as soon as possible. With the right strategy in place, however, drying out wet crawl space doesn’t have to be an intimidating process.
In this post, we’ll discuss some proven techniques of how to dry a wet crawl space while preventing future incidents from occurring. So if you’re looking for an efficient way to combat moisture or want some advice on preventative measures – read on!
Will a Crawl Space Dry Out on Its Own?
In some cases, a crawl space that has been flooded with water from heavy rains or other sources may be able to dry out on its own with the help of air circulation and evaporation. This is especially true if the flooding was limited to a shallow depth, such as an inch or two.
However, this natural drying process can be exceedingly slow and often inadequate, meaning homeowners should not rely solely on this method to completely dry out their wet crawl space. Additionally, it’s important to remember that leaving standing water in a crawl space can lead to mold and mildew growth which could become dangerous for anyone who visits the area.
For these reasons, it’s always best practice to take proactive measures when dealing with a wet crawl space. By using the right materials and following the proper steps, it’s possible to dry out a crawl space quickly and effectively. This can help prevent further damage to the foundation or other structural components of the home while also helping protect against mold, mildew, and other health risks.
Let’s take a closer look at how to go about this process. Additionally, it’s important to remember that a professional should be consulted if any flooding is severe or the drying process is not successful after attempting the steps listed below.
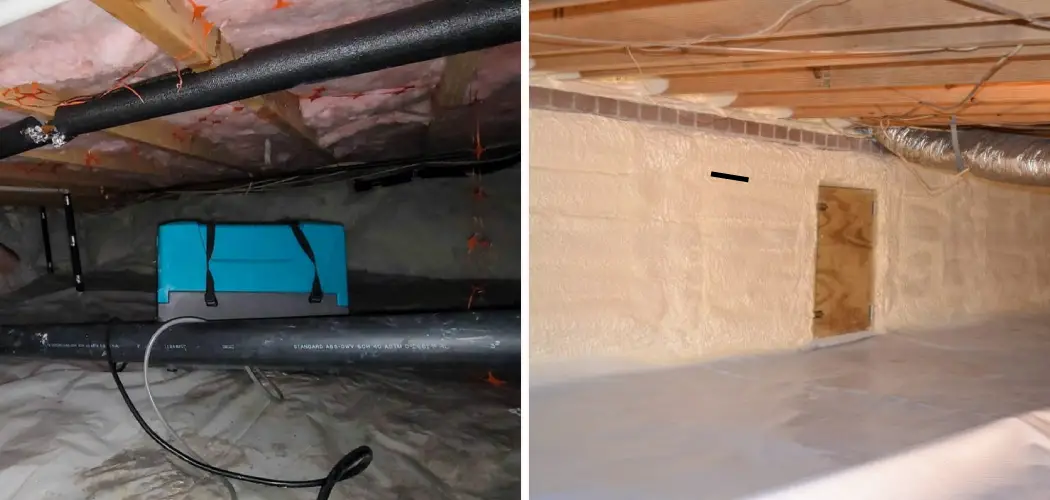
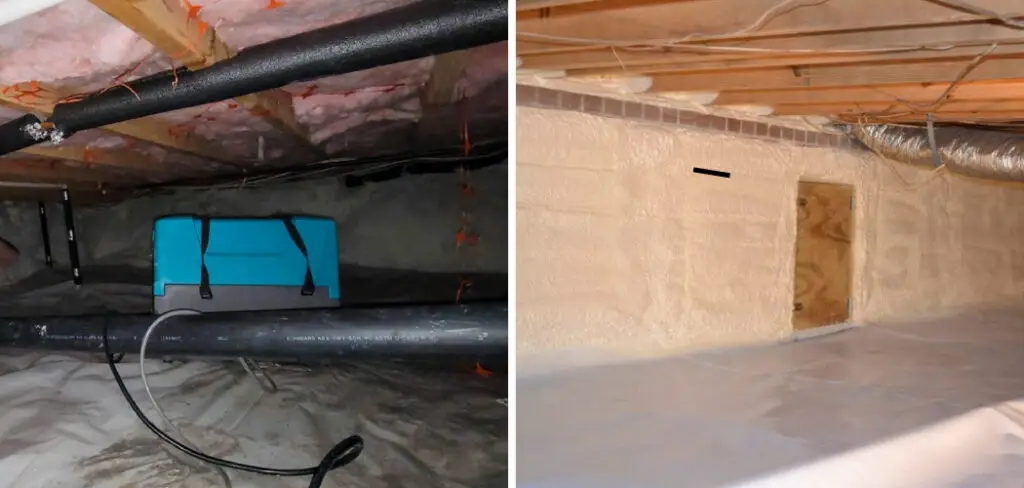
The primary way to dry out a wet crawl space is by using a combination of natural ventilation, dehumidifiers, and other humidity-reducing methods. Air circulation can help evaporate the excess moisture while also using a combination of natural ventilation to displace humid or stagnant air in an enclosed space.
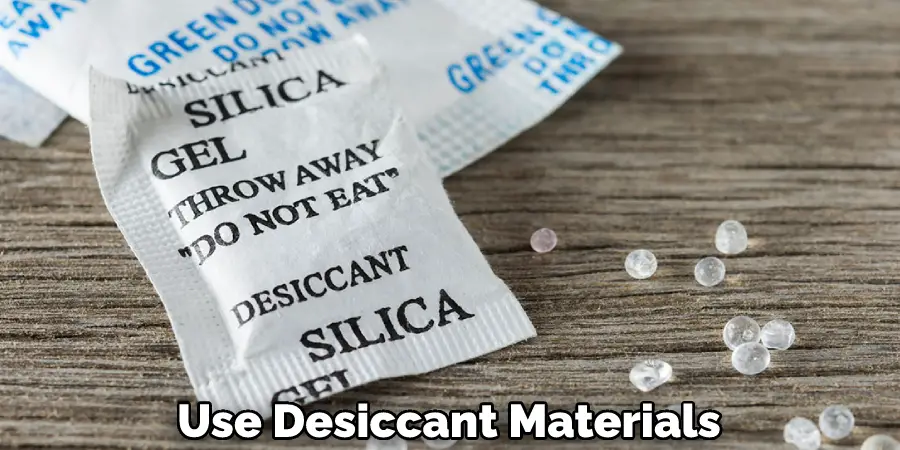
Additionally, placing a dehumidifier in the affected area can help absorb any remaining water vapor in the air and must be used in conjunction with good air circulation for maximum effect. Finally, it may be beneficial to use desiccant materials such as silica gel which helps absorb moisture from the air and can be placed around the affected area.
10 Methods How to Dry a Wet Crawl Space
1. Open up the Space to Air Out.
The first thing you need to do is open up the space to air out. If possible, prop open any doors or windows leading into the crawl space and remove any debris that might be blocking them. This will allow fresh air to circulate and help to dry out the area. If there is no natural ventilation, consider using a fan to pull in the fresh air.
2. Use a Fan to Circulate the Air.
If you have a fan, place it in the crawl space and turn it on to help circulate the air. This will help to speed up the drying process. Make sure to monitor the humidity levels in the crawl space frequently and adjust the fan speed accordingly.
If possible, consider using a dehumidifier, as this will help to reduce the humidity levels more quickly. If you don’t have access to a fan or dehumidifier, opening the windows in the basement or lower levels of your home can help to increase air circulation and speed up the drying process.
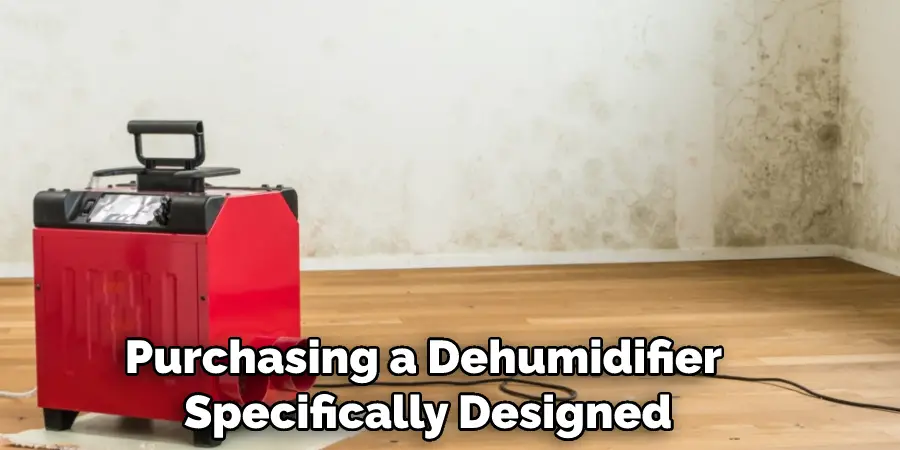
3. Place a Dehumidifier in the Space.
If you have a dehumidifier, place it in the crawl space and turn it on to help remove moisture from the air. This will help to prevent mold and mildew from growing in the area. Make sure to empty out the water collection tray frequently to prevent it from overflowing.
You may also want to consider purchasing a dehumidifier specifically designed for a crawl space, as these typically have a better capacity and feature an auto shut-off. Additionally, you can install an exhaust fan to help circulate air and speed up the drying process.
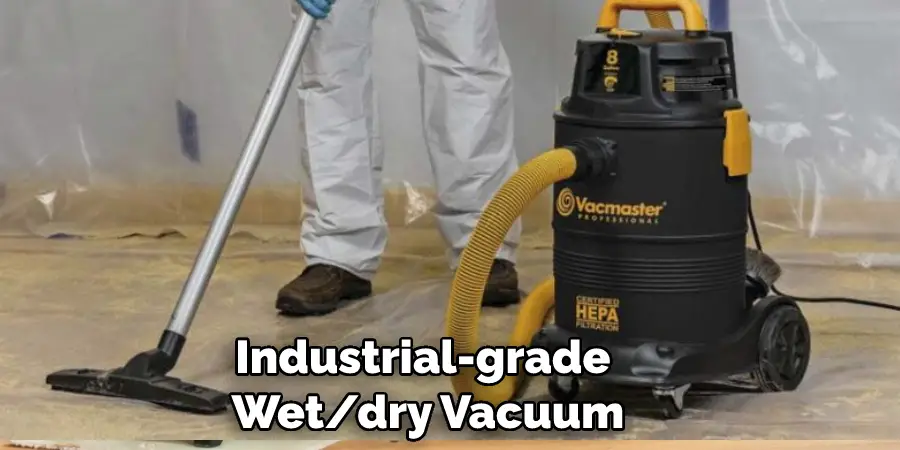
4. Use a Wet/Dry Vacuum to Remove Water from the Floor.
If there is standing water on the floor of the crawl space, use a wet/dry vacuum to remove it. This will help to prevent further damage to the area. Make sure to empty the vacuum and repeat until all of the water has been removed.
If necessary, use a wet/dry mop to sop up the water. Be sure to dispose of the liquid in accordance with local regulations. However, do not use a mop to spread the water around or push it into corners, as this can cause further damage to the concrete.
5. Use a Mop or Towels to Remove Water from Walls or Ceilings.
If there is water on the walls or ceiling of the crawl space, use a mop or towels to remove it. This will help to prevent further damage to the area. If there is a significant amount of water, it may be necessary to rent an industrial-grade wet/dry vacuum. This will allow you to quickly remove the water and help to dry out the area.
Once all of the water has been removed, use fans or dehumidifiers to further reduce the moisture in the area. These steps will help to ensure that your crawl space is completely dry and free of any lingering dampness. Doing this can help to prevent the growth of mold, mildew, and other water damage.
6. Remove Any Wet Insulation from the Space.
If there is any wet insulation in the crawl space, remove it and dispose of it properly. Wet insulation can harbor mold and mildew, so it is best to replace it with new insulation once the area is dry. Be sure to wear protective gear such as gloves, a face mask, and goggles before handling wet insulation.
However, if the insulation has not been exposed to moisture for an extended period of time, it can be salvaged in some cases. In that case, you should use a dehumidifier to dry out the insulation and then replace it.
7. Use a Sealant to Close up Any Cracks or Openings in the Space.
If there are any cracks or openings in the crawl space, use a sealant to close them up. This will help to keep moisture out of the area and reduce the risk of further flooding in the future.
Additionally, caulking around windows and door frames can also help keep moisture from entering the space. Once the sealant has been applied, ensure that it is dry before moving on to the next step. Additionally, inspect the space periodically to make sure that there are no new cracks or openings that need to be sealed.
8. Check Your Gutters and Downspouts for Blockages.
Make sure that your gutters and downspouts are clear of debris to allow water to flow away from the house instead of pooling around it and entering your crawl space. Clear out any debris, such as leaves and sticks that may have accumulated.
If you find blockages or your gutters are not working properly, repair or replace them as soon as possible. However, if the crawl space is already flooded, it may be necessary to pump out the water before you can work on your gutters and downspouts.
9. Make Sure that All Exterior Drainage Systems Are Draining Properly Away from Your Home.
Check all exterior drainage systems (such as ditches or French drains) to make sure that they are working properly and draining away from the house. This will help to prevent water from entering your crawl space.
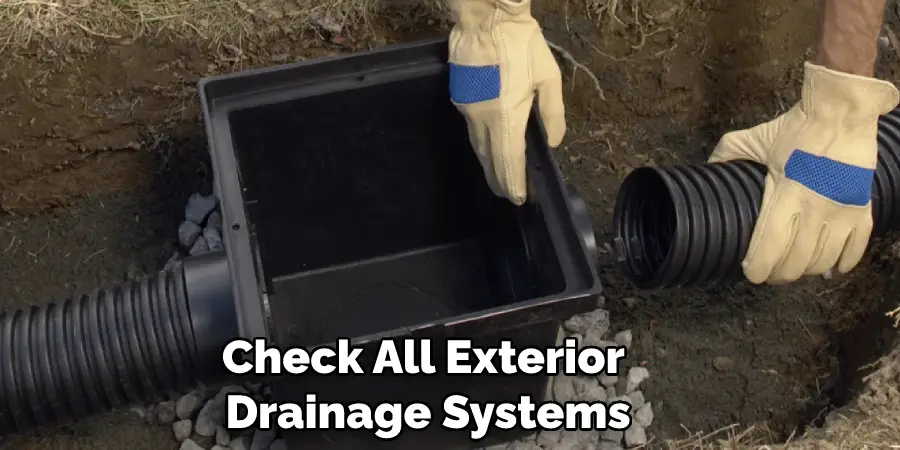
Try to keep the area around the perimeter of your house clear and free of debris to help ensure proper drainage. If you have a sump pump, make sure it is free of debris and in good working order. If your sump pump needs to be replaced, hire a professional who can do the job correctly.
10. Have a Professional Inspect the Area for Structural Damage or Other Issues.
It is also important to have a professional inspect the crawl space for any structural damage or other issues, such as mold or mildew growth. If any of these are found, it is best to address them immediately in order to keep your home safe and dry.
Conclusion
Taking these steps to seal and waterproof your crawl space will ensure that your home stays protected for years to come. Thanks for taking this journey with us, and we hope you now have all the tools you need when tackling wet or damp crawl spaces. We hope this guide on how to dry a wet crawl space was helpful. Please share it with your friends on social media if you find it useful. And be sure to check back here soon for more informative guides like this one.