
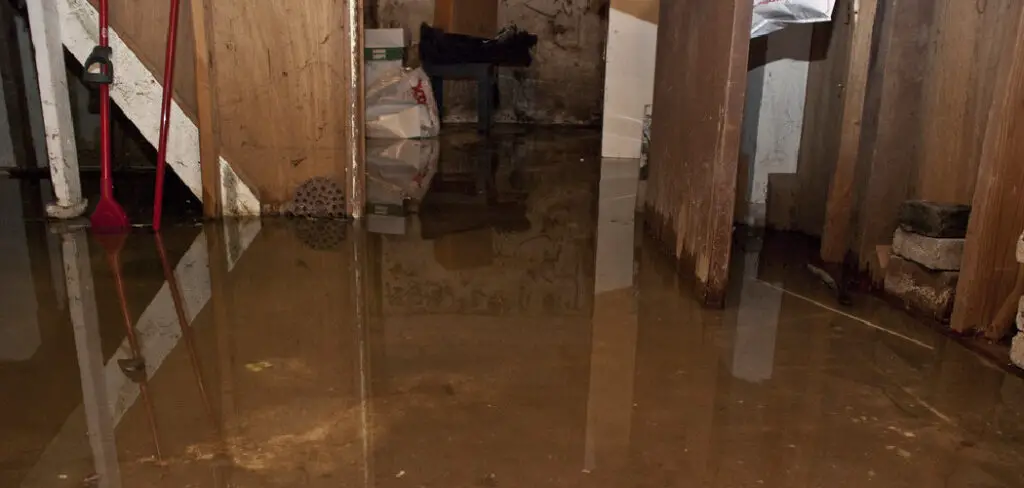
Are you dealing with a flooded crawl space in your home? It can be a daunting and overwhelming task to dry out the space, but it doesn’t have to be.
If you’ve recently discovered that your crawl space is flooded, then it can be a stressful situation. Perhaps heavy rains overwhelmed the foundation or a water pipe broke and created a mini lake underneath your house. Either way, the best thing to do first is take action in order to get rid of standing water if possible by draining it out and drying out the area as quickly as you can! Of course, this isn’t always an easy task.
In this blog post, we will provide tips on how to dry out flooded crawl space so that your home stays safe from further moisture-related issues like mold growth or structural damage. So let’s jump right in!
What Will You Need?
To dry out a flooded crawl space, you will need the following items:
1. A Sump Pump. This is an essential tool for removing all the standing water in your crawl space.
2. A Dehumidifier. This will help to reduce the moisture levels in the air and keep the area dry.
3. Fans or Blowers. These will help circulate air, allowing it to move around and dry out any wet spots that may remain after using the sump pump and dehumidifier.
4. Crawl Space Vapor Barrier & Insulation (optional). If you have an unfinished crawl space, then installing a vapor barrier and insulation can help with overall moisture control by sealing off the area from outside elements like humidity and rainwater intrusion.
5. Cleaning Supplies (optional). If there is debris or mud left in your crawl space, then you may need to use some cleaning supplies to get rid of it.
Once you have all the necessary items, it’s time to begin drying out your crawl space.
10 Easy Steps on How to Dry Out Flooded Crawl Space
Step 1. Use the Sump Pump:
Start by using the sump pump to get rid of any standing water in your crawl space. Be careful as you do this and make sure that the sump pump is plugged into a GFCI outlet or an extension cord rated for outdoor use. Otherwise, you could get electrocuted.
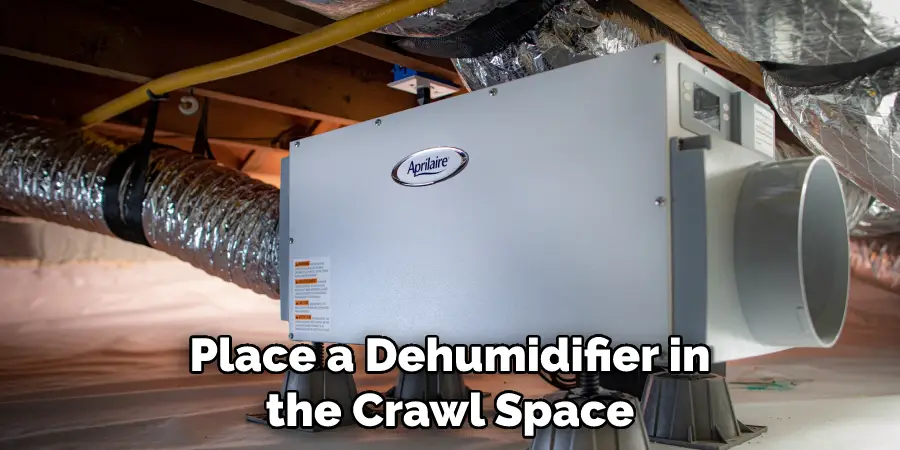
Step 2. Install a Dehumidifier:
Place a dehumidifier in the crawl space and let it run until all moisture levels are reduced. If possible, open up any doors or windows in the crawl space to allow for more ventilation. It will help the dehumidifier work more efficiently. Moreover, if you have a vapor barrier installed, make sure that it is tightly sealed around the dehumidifier to keep moisture from seeping out.
Step 3. Use Fans or Blowers:
Set up fans or blowers around the perimeter of the crawl space to help circulate air and dry out any wet spots that may remain after using the sump pump and dehumidifier. You can also use a box fan to help ventilate the area with fresh, dry air. Additionally, you may need to install additional ventilation systems in your crawl space if the area is damp or humid.
Step 4. Clean Up Any Mud or Debris:
If there is mud or debris left in your crawl space, use some cleaning supplies to get rid of it as soon as possible before it causes further damage. Be careful when doing this, as the area may be slippery. Try to wear gloves, boots, and protective clothing when cleaning.
Step 5. Install Crawl Space Vapor Barrier & Insulation (optional):
If you have an unfinished crawl space, then installing a vapor barrier and insulation can help with overall moisture control by sealing off the area from outside elements like humidity and rainwater intrusion. Don’t forget to seal any cracks or gaps with caulk or other materials, and make sure the vapor barrier is tightly sealed around the edges. There are also specialty insulation products available for crawl spaces that can help with moisture control as well.
Step 6. Check for Leaks:
Check all pipes and drains in your crawl space to make sure there are no cracks or leaks that could be letting in water. If you do find any leaks, repair them right away! Call a plumber if necessary.
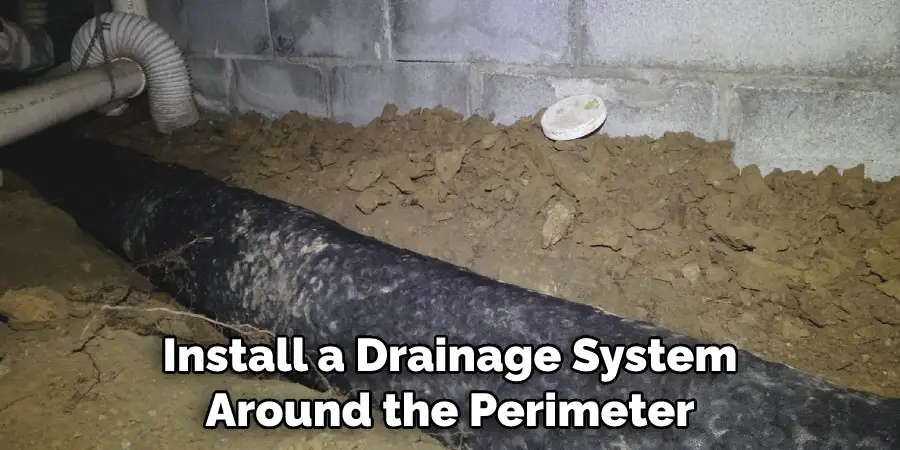
Step 7. Install a Drainage System:
Install a drainage system around the perimeter of the crawl space so that any future water issues can be diverted away from the home before it causes further damage. You need to make sure the drainage system is sloped correctly and that it is connected to a sump pump if necessary.
Step 8. Check Your Gutters:
Make sure your gutters are clear of debris and in good working condition so that any water can be channeled away from the foundation of your home. As an extra precaution, you can also install gutter guards to help keep out leaves and other debris. Get professional help if you’re not sure how to do this.
Step 9. Increase Ventilation:
Increase ventilation in your crawl space to help reduce humidity levels and promote air flow throughout the space. Additionally, you can install an exhaust fan or two to help move air out of the crawl space more efficiently. It will also help to reduce mold and mildew growth.
Step 10. Monitor Humidity Levels Regularly:
Monitor moisture levels regularly with a hygrometer or other moisture detection device to ensure that the area stays dry and free from further damage caused by excessive humidity. If levels creep up, take action right away! Remember, how to dry out flooded crawl space requires a lot of attention and care.
Following these simple steps will help you to effectively dry out flooded crawl space and protect your home from further water-related issues! So take a few moments to complete this task, and you’ll be glad you did.
5 Additional Tips and Tricks
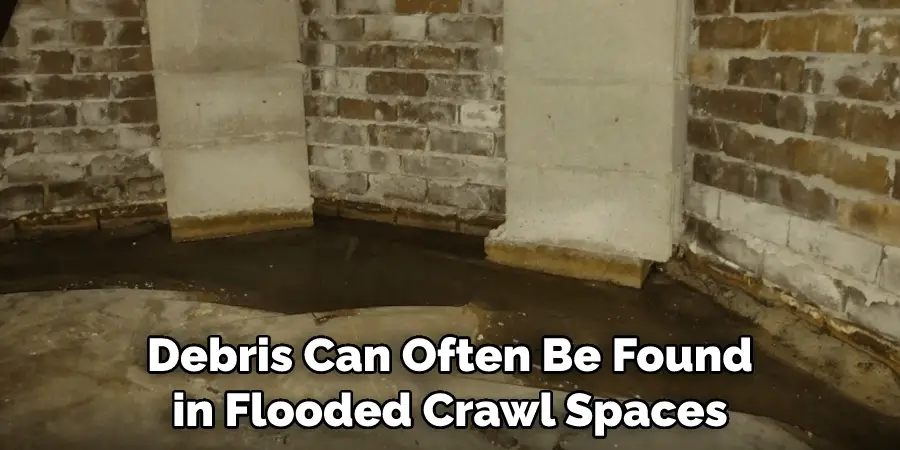
1. Clear Out Any Debris From the Affected Area: Debris can often be found in flooded crawl spaces, and it should be removed as soon as possible. This will help speed up the process of drying out your crawl space.
2. Utilize Fans to Dry the Space Out: Fans can be used to speed up the drying process in your crawl space. Place fans around the area and run them for several hours a day until the moisture has been reduced significantly.
3. Use Dehumidifiers if Necessary: If your crawl space is particularly humid, you may need to use dehumidifiers to help remove even more moisture from the air. Make sure to check how often they should be emptied so they don’t become too full of water and unable to continue working effectively.
4. Check for Mold Growth Regularly: Mold can easily form in damp or wet environments, so make sure to check your crawl space frequently for any signs of mold growth. It’s important to act quickly if you do find mold, as it can be hazardous for your health.
5. Install a Crawl Space Vapor Barrier: If your crawl space continues to have water issues, then installing a vapor barrier is one of the best ways to protect it from further moisture damage in the future. This will help keep moisture levels low and make drying out your flooded crawl space easier in the long run.
By following these tips and tricks, you should be able to successfully dry out a flooded crawl space and prevent any further water damage or mold growth. If you need additional assistance with how to dry out your flooded crawl space, then don’t hesitate to contact a professional for advice and assistance.
5 Things You Should Avoid
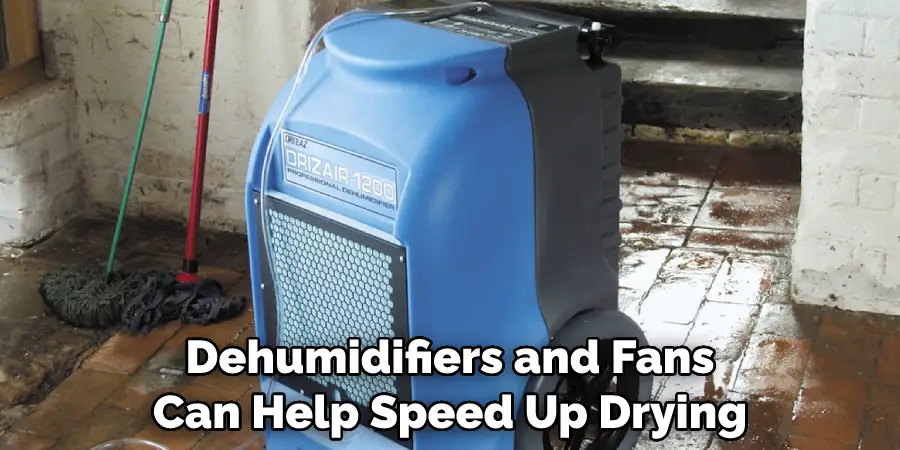
1. Running a dehumidifier without first ensuring the area is thoroughly ventilated. Dehumidifiers and fans can help speed up drying, but moisture in the air needs to be able to escape somewhere.
2. Not considering how much water there is in the crawl space — if it’s too deep or too wide, you may need an industrial-strength dehumidifier (or even professional help).
3. Skipping regular inspections of your crawl space after flooding or any heavy rainfall events. This will help ensure that the necessary steps are being taken to prevent future water damage.
4. Ignoring how mold grows — and how quickly it can do so when given a warm, humid environment like a flooded crawl space.
5. Not having a strategy for preventing future flooding. This means assessing how the crawl space is constructed and how water can enter, as well as how it can be prevented from entering in the first place.
By avoiding these five steps, you will be able to successfully dry out your flooded crawl space and prevent further water damage from occurring.
Conclusion
In conclusion, it’s important to remember that if you have a flooded crawl space, the faster you get to work fixing the problem, the better. If not taken care of quickly, the water can cause damage to wiring and insulation as well as threaten structural integrity.
There are a few simple steps you can take towards drying out your crawl space including shutting off electricity, removing items from the area, getting rid of standing water and humidity, and hiring a professional for assistance if needed. All of these will help get your crawl space back in good condition sooner rather than later!
Hopefully, the article on how to dry out flooded crawl space has helped you gain the necessary knowledge to take care of the problem quickly and safely. Good luck!