
Cracks in the basement floor can be a common occurrence in many homes, and while they may seem like a minor inconvenience, they can actually lead to significant issues if left untreated. Whether caused by natural settling, moisture damage, or structural issues, these cracks can allow water to seep into the basement, leading to mold growth, weakened foundation, and even structural instability.
Repairing these cracks in a timely manner is crucial to prevent further damage and maintain a safe and dry basement environment. In this article, we will explore effective methods on how to fill cracks in basement floor. From identifying the types of cracks to choosing the right materials and techniques for repair, we will provide you with practical tips and step-by-step instructions.
By following these guidelines, you can restore the integrity of your basement floor and safeguard your home from potential problems associated with cracked foundations.
Importance of a Well-Maintained Basement Floor
The basement is an integral part of any home. It serves as additional storage space, a laundry room, or even a living area. However, it’s also prone to damage due to its location beneath the ground and its contact with moisture and other environmental factors. That’s why it’s important to make sure your basement floor is properly maintained in order to prevent more serious issues like flooding or structural damage down the line.
One way you can keep your basement floor in good condition is by adequately addressing any cracks that may form. While some cracks may not require attention, larger ones should be taken care of as soon as possible either through professional repair or DIY methods such as filling them with epoxy resin or mortar mix material.
Filling these cracks will help protect your basement floor from further damage and extend the lifespan of your home’s foundation.
Not only does a well-maintained basement floor look better aesthetically, but it also adds to the value of your home should you decide to sell in the future. Taking care of any cracks now can save you money on costly repairs in the long run so be sure to address them early and often. With some effort and attention, keeping your basement floor in good condition is easy and straightforward.
Potential Issues Caused by Cracks in Basement Floor
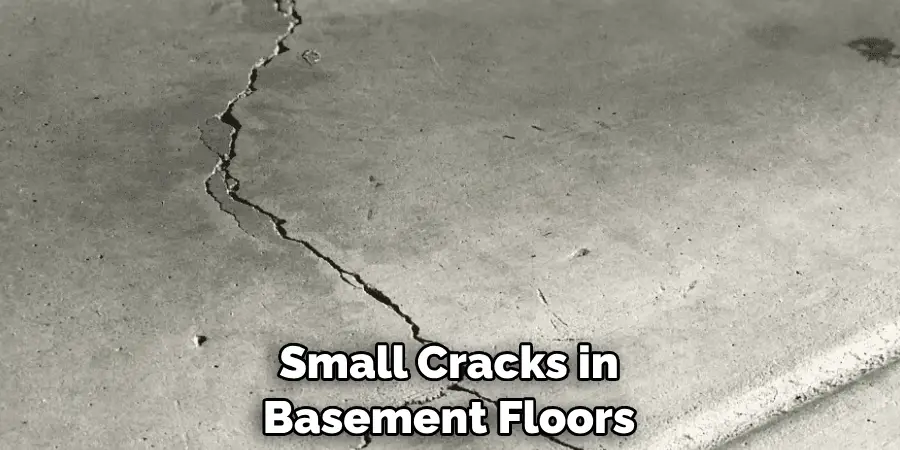
Basement floor cracks can have a variety of negative effects on your home and should be addressed as soon as possible. Even small cracks in basement floors can lead to large issues, such as water infiltration, mold growth, structural damage, and pest infestations. If left unchecked, the problem could become much worse and even cause irreparable harm to your home.
Water Infiltration:
Cracks in the basement floor allow moisture from outside sources to infiltrate the interior space of the home. This can cause major flooding problems during heavy rain or snowmelt seasons and may require costly repairs if not properly addressed with proper waterproofing measures.
Mold Growth:
Moisture entering through basement floor cracks leads to an ideal environment for the growth of mold. Not only is this dangerous to your health, but it can quickly spread and cause damage to the walls and other building materials.
Structural Damage:
Over time, water infiltration through basement floor cracks can lead to structural instability in the foundation or walls of the home. This could create a hazardous living environment that may be unsafe for inhabitants and require major repairs.
Pest Infestations:
Water entering through basement floor cracks can attract pests such as termites, ants, and rodents. These unwelcome guests may cause further damage to the home and be difficult to remove once they have established themselves in your basement.
It is important to repair any cracks in your basement floor as soon as possible in order to avoid these potential issues. By properly waterproofing and sealing the cracks, you can prevent future moisture related damage and save yourself from costly repairs down the road.
10 Steps How to Fill Cracks in Basement Floor
Step 1: Safety Precautions
Before starting any repair work, prioritize your safety by wearing protective gear such as gloves, safety glasses, and a dust mask. Ensure proper ventilation in the basement to minimize exposure to harmful fumes from repair materials.
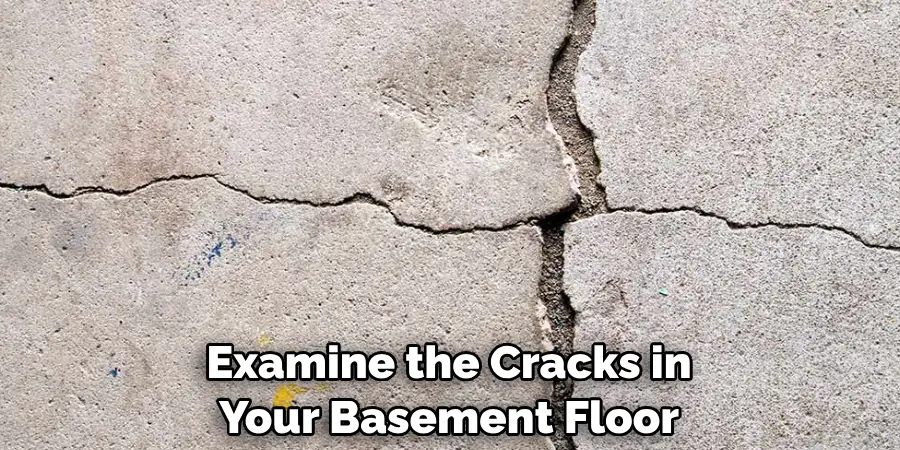
Step 2: Thoroughly Inspect the Cracks
Carefully examine the cracks in your basement floor to determine their size, shape, and extent. Different types of cracks may require different repair approaches. Look out for signs of water leakage, as this may indicate a more serious underlying issue.
Step 3: Prepare the Crack for Repair
Clean the crack by removing any loose debris, dirt, or dust. Use a wire brush, vacuum, or compressed air to ensure the crack is free from loose particles. This step is crucial to promote proper adhesion of the repair material.
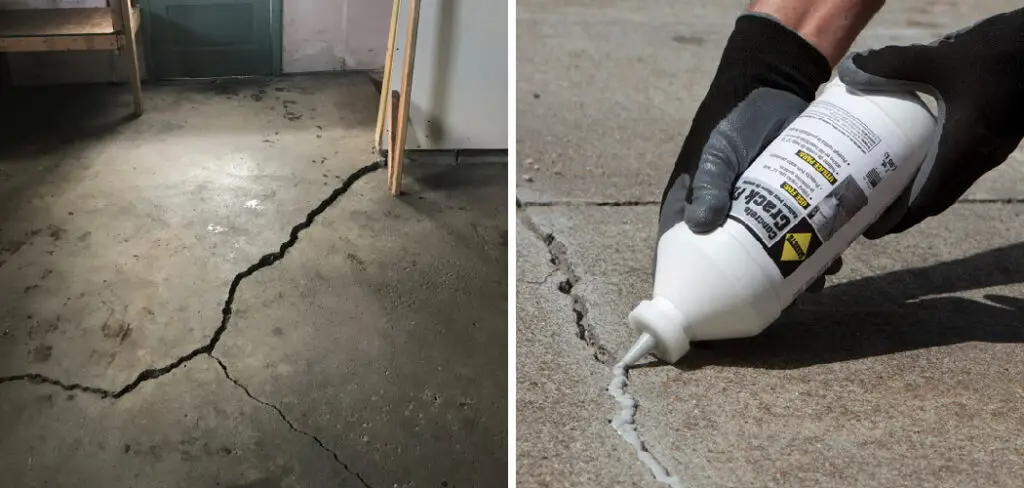
Step 4: Choose the Right Repair Material
Select an appropriate repair material based on the type and size of the crack. Common options include epoxy-based or polyurethane-based crack fillers. Consult with a professional or follow manufacturer guidelines to ensure the best fit for your specific situation.
Step 5: Mix the Repair Material
Follow the instructions provided with the chosen repair material to properly mix it. Use a clean container and adhere to the recommended proportions and curing times. Thorough mixing is essential to achieve a consistent and durable repair.
Step 6: Apply the Repair Material
Using a putty knife or trowel, carefully apply the mixed repair material into the crack, ensuring it fills the entire void. Smooth the surface of the repair material to create a level finish. Consider working in small sections to ensure better control and proper coverage.
Step 7: Allow for Curing Time
Depending on the type of repair material, allow sufficient time for the filler to cure and harden. Follow the manufacturer’s instructions regarding the recommended curing time. Avoid stepping or placing heavy objects on the repaired cracks during this period.
Step 8: Sand and Smooth the Surface
Once the repair material has fully cured, use fine grit sandpaper or a sanding block to smooth the surface of the repaired crack. This step helps achieve a seamless finish and prepares the surface for further treatments, such as sealing or painting.
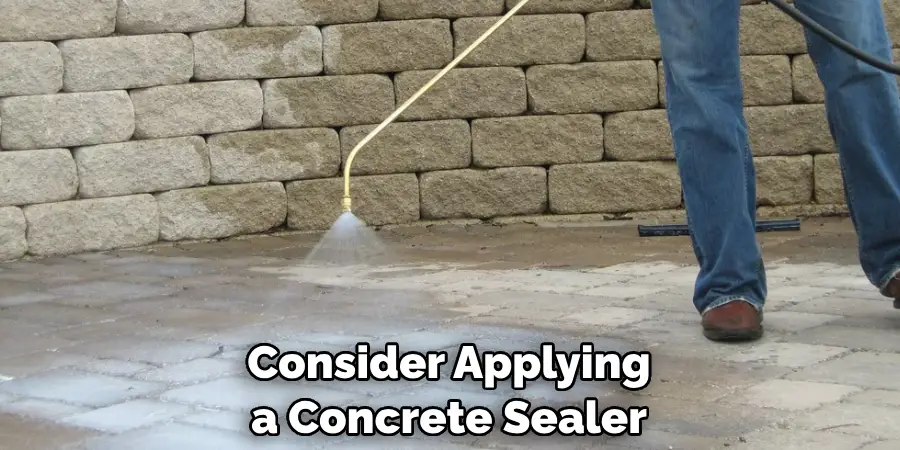
Step 9: Apply a Sealer (Optional)
Consider applying a concrete sealer to the entire basement floor to enhance its durability and protect against future cracks. Choose a high-quality concrete sealer that is compatible with the repair material used. Follow the manufacturer’s instructions for application.
Step 10: Monitor and Maintain
Regularly inspect the basement floor for any new cracks or signs of damage. Address any issues promptly to prevent further deterioration. Maintain proper moisture levels in the basement and address any drainage issues to reduce the likelihood of future cracks.
Some Common Mistakes When Filling Cracks in Basement Floor
Filling cracks in a basement floor can be a tricky business. If done incorrectly, it can lead to further damage and costly repairs later on down the line. To ensure your project is successful, here are some common mistakes you should avoid when filling cracks in your basement floor:
1. Not Cleaning Out Cracks Enough:
Before applying any sealant or mortar, it’s important to clean out the crack as much as possible to create a smooth surface for it to adhere to. This includes removing dirt, debris, and any loose particles with a vacuum cleaner or scrub brush. Failure to do this could mean the sealant won’t stay sealed for long.
2. Failing To Prime Surfaces:
Properly prepping the surface you’re working with is essential to ensuring your sealant or mortar adheres and lasts. Prior to applying any sealants, it’s important to prime both the crack and surrounding area with a bonding agent or primer—this prevents water damage while helping your fill material stick better.
3. Skimping on Materials:
When it comes to filling cracks in your basement floor, using cheaper materials may not be worth the risk in the long run. Investing in quality concrete repair products ensures that you will get an even application of material, minimal shrinkage, and a longer-lasting repair job.
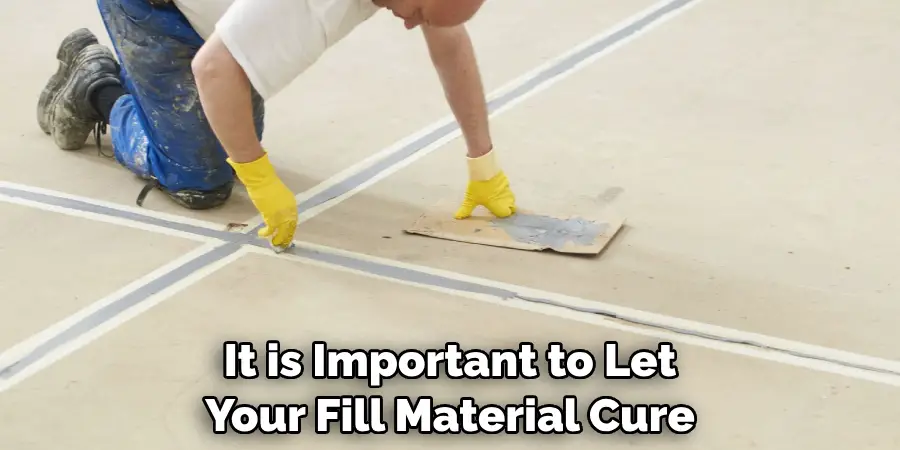
4. Not Letting Fill Material Cure Enough:
It is important to let your fill material cure fully before you walk on it. This could take anywhere from 24 to 48 hours, depending on the type of product you used. If not given enough time to dry, the crack may reopen or separate due to foot traffic, leading to further damage and repairs.
Conclusion
All in all, it is not as hard and complicated to repair cracked basement flooring as you may think. With the right supplies and a little bit of elbow grease, anyone can have their basement floors looking good as new in no time. If you plan it out beforehand and take your time, you’ll be sure to get the job done right.
It’s also important to fix cracks quickly, otherwise your foundation will become further damaged if left unchecked. Don’t forget sometimes it’s best to call a professional for assistance if the issue is beyond your capabilities. So remember, take note of any signs of deteriorating walls or floors so that you can fix them and how to fill cracks in basement floor yourself before they become an even bigger problem!
