Are you planning a renovation or fixing up an old home and need to know how to fit skirting boards onto uneven walls? Much like laying carpets, fitting the skirting board around the corners and edges of a wall can be tricky.
However, with the right tools and materials, plus some basic instructions on how to do it properly – even for those who may not be overly handy – it is possible to acquire that professional finish.
In this blog post on how to fit skirting boards uneven walls, we’ll discuss some tips on tackling walls with lumps and bumps in them so that you can achieve great results when installing your own skirting boards!
Necessary Materials
Given below is a list of materials you need to fit skirting boards on uneven walls:
Pencil:
Pencils are necessary to mark your skirting board measurements on the wall.
Measuring Tape:
In order to properly measure and cut your skirting board, you will need to have a measuring tape.
Mitre Saw:
A mitre saw will help you make precise angles when cutting your skirting board.
Power Drill:
You will need a power drill to attach the skirting board to the wall.
Wall Filler:
In order to fill any gaps between your skirting board and the wall, you may need some wall filler.
Step-by-step Guidelines on How to Fit Skirting Boards Uneven Walls
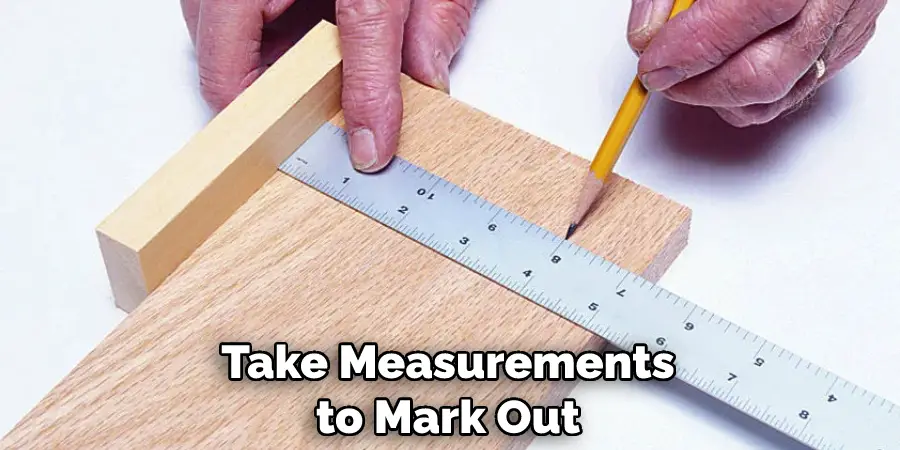
Step 1: Measure the Wall.
Before anything else, make sure you have a good idea of the size of your wall and take measurements to mark out where any joints will be. You’ll need to measure from the ground upwards, around all four corners of the room. If the wall is particularly uneven, this could mean having to purchase more skirting board than you originally calculated.
Step 2: Prepare Your Skirting Boards.
Measure and cut each skirting board to the correct sizes according to the height of your uneven walls. If you’re using an MDF skirting board, use a saw to make the cuts and remember to sand down any rough edges. It’s also important to make sure that the skirting boards fit snugly against the wall, so use spacers if necessary.
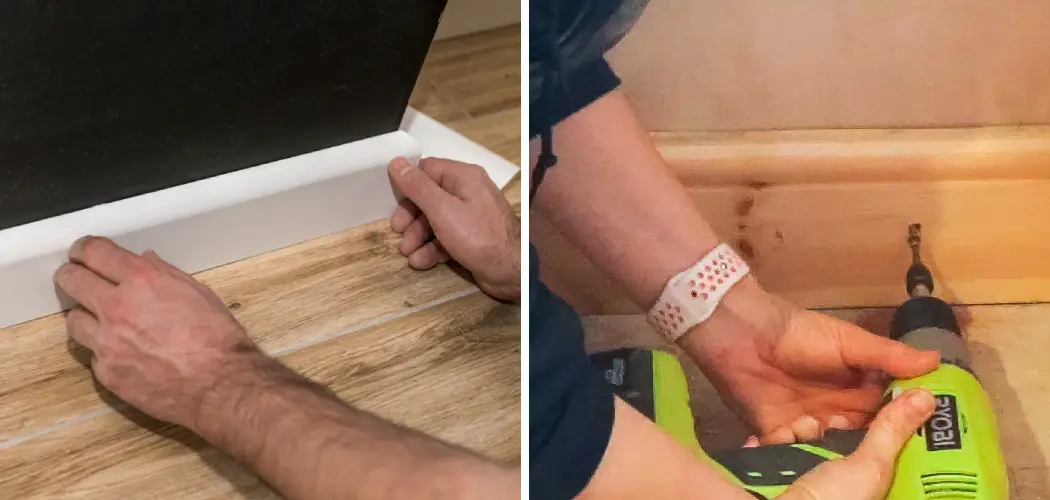
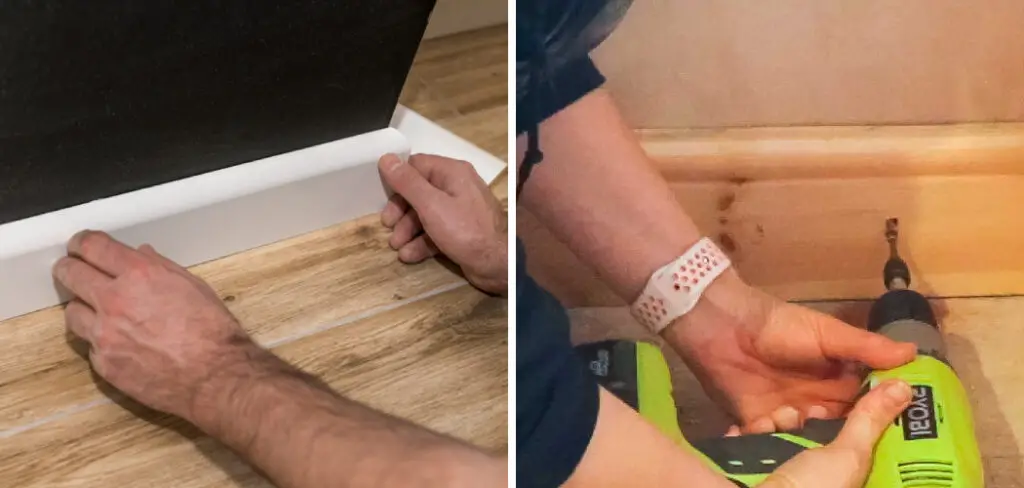
Step 3: Attach the Skirting Boards.
Start at the top of your wall and attach each piece of skirting board with nails or glue, depending on what type of material you are using. Make sure to leave an approximate 2mm gap between each piece for expansion during temperature change. If you are using the nails, make sure they are countersunk so that they do not protrude.
Step 4: Mark Out Uneven Areas.
Once all the skirting boards are in place, look out for any areas where the surface is uneven or has dips and bumps – these will need extra attention when shaping your skirting boards accordingly.
Mark out these areas with a pencil or marker and make sure to double check that your markings are correct. However, if the wall is particularly uneven, it may be best to call in a specialist for help.
Step 5: Trim the Skirting Boards.
With a fine-toothed saw, trim away any excess skirting board in order to create a perfect fit around the uneven areas of your wall. Make sure to measure twice before cutting once, as this will prevent you from having to re-do parts of the job later on!
This will also minimize any wastage of materials. You can also use a file to get rid of any unsightly saw marks. If the wall is particularly uneven, use a jigsaw to shape your skirting boards accordingly.
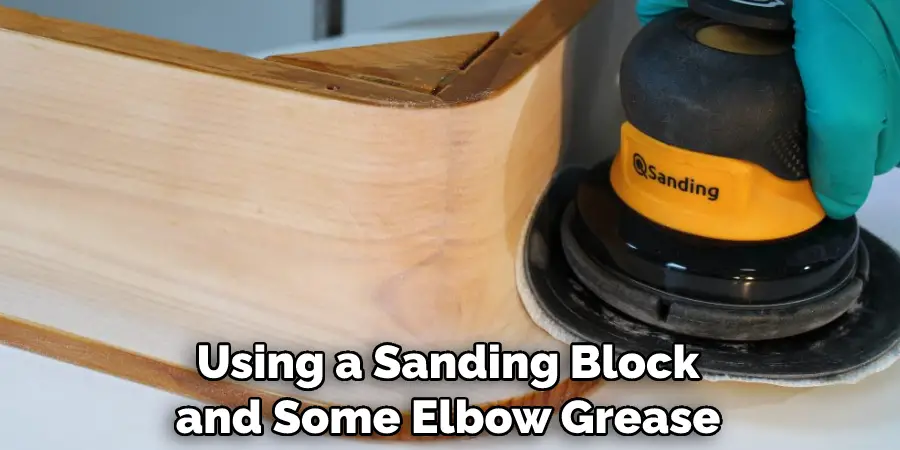
Step 6: Create Shapes for Uneven Areas.
Using a sanding block and some elbow grease, create shapes in the skirting boards that match the contours of your walls. This may take some time, but it’s essential to get a good result. Work slowly and pay attention to details, such as the areas where two pieces of skirting board meet. If necessary, use a router to make cuts and shape the edges.
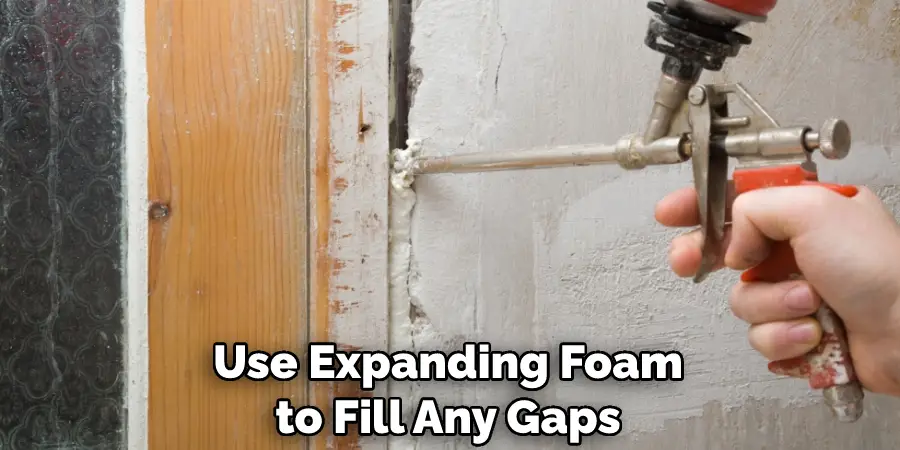
Step 7: Fill Gaps with Expanding Foam.
Once you’ve shaped your skirting boards to the contours of your walls, use expanding foam to fill any gaps or cracks. This will help add stability and smooth out any irregularities in the surface, making it easier for you to finish off the job properly. This will also prevent draughts and leaks. If necessary, you can also use a sealant to seal any gaps.
Step 8: Sand Down Surfaces.
After the expanding foam has dried, use a sandpaper block to smoothen out all surfaces before applying a coat of paint or varnish as desired. Make sure not to over-sand, as this can damage the skirting boards. It’s also important to be careful when sanding around the edges, as this can leave unsightly marks. If necessary, you can use a filler to even out any uneven patches.
Step 9: Apply a Coat of Paint or Varnish.
Using a roller or brush, apply a coat of paint or varnish to your skirting boards in order to seal them and protect them from any damage that may occur over time. Allow the paint or varnish to dry completely before proceeding with the next step. Remember to clean any brushes or rollers thoroughly afterwards. Otherwise, they may be ruined.
Step 10: Fit Plinth Blocks to Complete the Job.
At this stage, you’ll need to fit plinth blocks between each piece of skirting board in order to cover up any gaps that may have been left behind due to uneven walls. The plinth blocks will also add an extra layer of protection for your skirting boards against knocks or scrapes. It’s important to measure the gaps accurately before cutting your plinth blocks. Once that’s done, attach them using nails or glue.
Step 11: Secure the Skirting Boards in Place.
Using a hammer and nails, secure each piece of skirting board to the wall. Make sure to check that all nails are firmly fixed into place before completing this step! Make sure to use a spirit level to ensure that the skirting boards are straight and even. Otherwise, your walls may look crooked and uneven once you’re finished. So be sure to take your time and double-check all measurements before moving on.
Step 12: Check Your Work and Enjoy the Results!
Once you’ve finished fitting your skirting boards to uneven walls, take a look at your work and admire the results – you should have a professional-looking finish that will last for years to come!
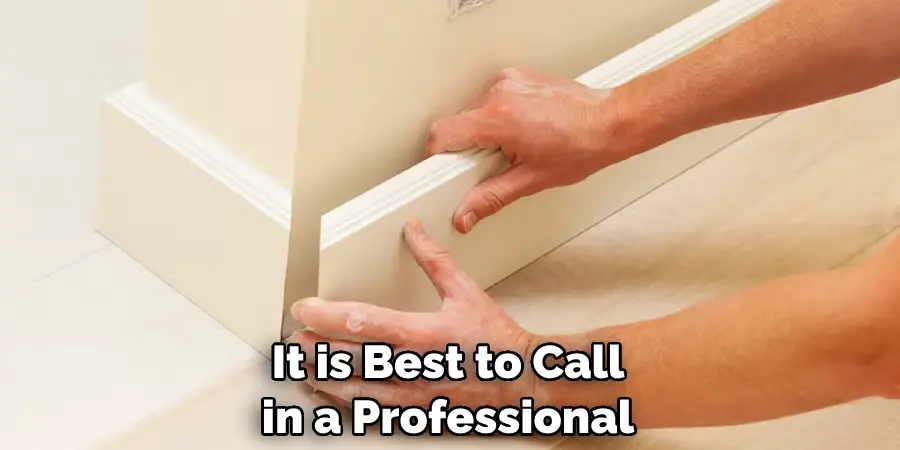
Always bear in mind, however, that fitting skirting boards to uneven walls is an advanced job and if you’re having difficulty it’s best to call in a professional. This will save you valuable time and energy, as well as money in the long run.
Otherwise, if you’re feeling confident in your skills, go ahead and enjoy the fruits of your labor!
There you have it – following these easy steps on how to fit skirting boards uneven walls. With patience and careful attention to detail, you can achieve great results even with challenging surfaces like uneven walls. Good luck and have fun with your DIY projects!
Congratulations on completing the job! With a bit of patience and the right tools, you can easily fit skirting boards onto uneven walls for a professional looking finish that will last for years to come. We hope our guide has been helpful in helping you achieve this goal – Happy DYing!
Do You Need to Use Professionals?
In some cases, it may be beneficial to use a professional when fitting skirting boards to uneven walls. If you’re struggling with difficult corners or if the wall is severely uneven and difficult to work with, hiring a professional can save you time and energy in the long run. Professionals will also have access to specialized tools that can make the job much easier and quicker.
Frequently Asked Questions
Q: How Can I Make Sure My Skirting Boards Are Fitted Securely?
A: Make sure to use strong nails that are firmly fixed into place and check that all pieces of skirting board have been secured properly. Additionally, using expanding foam is an effective way to fill any gaps and add stability to your walls.
Q: How Long Does This Job Take?
A: It depends on the size of your skirting boards and how uneven your walls are, but typically this job should take around 1-2 hours.
Q: What Paint or Varnish Should I Use?
A: For best results, use a water-based paint or varnish that is suitable for wood surfaces such as skirting boards.
Q: Can I Fit Skirting Boards on Uneven Walls Without Plinth Blocks?
A: Yes, you can use expanding foam to fill any gaps between the skirting boards. However, it is recommended to use plinth blocks as they will provide a more professional looking finish and extra protection against knocks or scrapes.
Q: Is It Hard To Fit Skirting Boards on Uneven Walls?
A: Not at all! With patience and careful attention to detail, anyone can easily fit skirting boards onto uneven walls. Just follow our guide step-by-step and you’ll have great results in no time. Good luck and have fun with your DIY projects!
Conclusion
Thanks for reading this article on how to fit skirting boards uneven walls. The main takeaway to remember here is that uneven walls are no match for a good set of skirting boards. Once you have measured the walls and prepared the material, the skirting boards can be cut or layered to suit any common angle-based definition.
After the boards have been cut and applied correctly, be sure to caulk around all edges to ensure a perfect seal between each board and the wall surface. Finally, you may want to consider lightly sanding down each surface of the boards and then applying a finish such as paint or unvarnished wood lacquer to give them an added touch of finesse.
By following these steps, anyone should be able to transform uneven walls quickly and easily into beautiful works of art.
