
A trap primer is a device that automatically provides water to traps so that they can operate without a flush valve. Trap primers are used in many commercial and industrial applications where a constant water supply is unavailable, or it would be too costly to install a flush valve.
Installing a trap primer is not difficult, but there are a few things you need to know before you get started. In this blog post, you will learn in detail how to install a trap primer.
Step by Step Processes for How to Install a Trap Primer
Step 1: Turn Off the Water
This will be your main water shutoff valve. This is located in the basement near the water heater for many homes. The clean-out plug is a brass or plastic plug that seals off the clean-out fitting on your home’s main drain line.
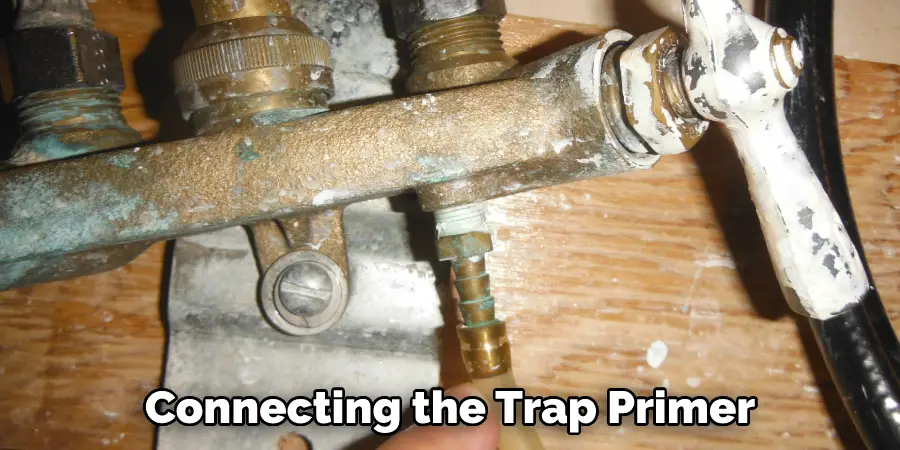
Step 2: Remove the Clean-Out Plug
Use a wrench to unscrew the plug. If the plug is stuck, you may need to use a hammer or a pair of pliers to loosen it. Once the clean-out plug is removed, you can screw the trap primer into the clean-out fitting. Ensure the primer’s inlet is lower than the clean-out fitting’s outlet.
Step 3: Turn on the Water
Slowly turn on the water to the trap primer. Once the water is turned on, you should see a steady flow of water flowing from the primer’s outlet. Once the water is turned on, check the trap primer and the clean-out fitting for any leaks. If there are no leaks, proceed to the next step. Once you’ve confirmed that there are no leaks, screw the clean-out plug back into the clean-out fitting.
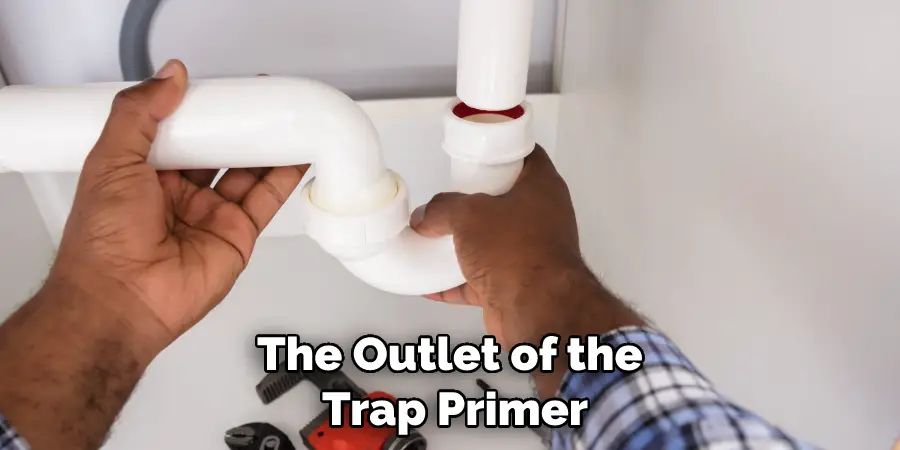
Step 4: Hook Up the Drain Line
Screw one end of the flexible drain line onto the outlet of the trap primer. The other end of the drain line should be connected to your home’s sewer line. Slowly turn on the water to the trap primer. Once the water is turned on, you should see a water flowing from the primer’s outlet.
Step 5: Check for Leaks
Once the water is turned on, check the trap primer and the drain line for any leaks. If there are no leaks, proceed to the next step. Once you’ve confirmed that there are no leaks, unscrew the clean-out plug and allow the water to drain from the fitting.
Step 6: Close the Clean-out Plug
Once the water has drained from the clean-out fitting, screw the clean-out plug back into place. Once you’re finished using the trap primer, unscrew it from the clean-out fitting and store it in a safe place.
Safety Tips for How to Install a Trap Primer
- Always read the manufacturer’s instructions before attempting to install a trap primer. Ensure that the area around the installation site is clear of any flammable materials.
- Install the trap primer by local building codes and regulations. Use only the type of trap primer specified by the manufacturer.
- Ensure the trap primer’s power source is turned off before beginning the installation. Follow the manufacturer’s instructions for connecting the trap primer to the power source.
- Make sure that all electrical connections are made correctly and securely. Install any required safety devices, such as pressure relief valves, by the manufacturer’s instructions.
- Test the trap primer according to the manufacturer’s instructions before using it, and always keep the trap primer clean and free of debris.
- Inspect the trap primer regularly for any signs of damage or wear. Do not attempt to repair a damaged trap primer. Always replace it with a new one.
- Disconnect the trap primer from the power source before performing any maintenance or repairs, and Store the trap primer in a dry, well-ventilated area when it is not in use.
- Follow all safety precautions when using a trap primer to avoid accidents or injuries.
How Do You Know if Your Trap Primer is Installed Correctly?
If you’re unsure whether or not your trap primer is installed correctly, there are a few things you can do to check. First, ensure that the trap primer is properly connected to the water supply. Next, check for any leaks in the system by turning on the water and looking for drips or puddles around the primer. Finally, run a test by pulling the lever on the trap primer to see if the water sprays out. If everything looks and works properly, then your trap primer is installed correctly!
How Often Should You Check Your Trap Primer?
You should check your trap primer at least once a month to ensure that it is functioning properly. A clogged or damaged trap primer can cause your traps to fail to fire, which can be dangerous. If you notice any damage or clogging, replace the trap primer immediately.
How Do You Maintain a Trap Primer?
It is important to maintain your trap primer to keep it functioning properly regularly. You should clean the trap primer with a mild soap and water solution at least once a month. Once a year, you should also disassemble the trap primer and clean all of its parts with a soft brush. If you notice that the trap primer is not working as well as it should, you may need to replace the batteries.
What Are the Benefits of Installing a Trap Primer?
One of the benefits of installing a trap primer is that it can help to ensure that your traps are always primed and ready to go. A trap primer is a device that attaches to your trap and automatically primes it with bait, so that all you have to do is set it and forget it. This can save you time and effort and ensure that your trap is always ready to catch rats, mice, and other pests.
Another benefit of installing a trap primer is that it can help to keep your bait fresh. Bait that is left sitting out in the open can quickly become stale and unappealing to rodents, making it less likely that they will take the bait and be caught in the trap. A trap primer can help keep the bait fresh by sealing it inside the device until it is time to use it to stay fresh and effective for longer.

Finally, a trap primer can also help to make your traps more humane. If you are concerned about harming animals, then using a primer trap can help reduce the chances of harming them. This is because the primer will kill the rodent before it can enter the trap so that it does not suffer needlessly.
If you are looking for a way to make your trapping efforts more effective and efficient, then installing a trap primer could be the answer. These devices can offer several benefits that can make your life easier and help you to catch more pests.
Are There Any Risks Associated With Installing a Trap Primer?
Yes, any home improvement project is always associated with risks. However, the risks associated with installing a trap primer are relatively low. The most common risk is that of leaks. If the trap primer is not installed properly, it could leak and cause water damage.
Another risk is that the trap primer could malfunction and cause the toilet to overflow. However, these risks are relatively minor and can be easily avoided by following the manufacturer’s instructions carefully.
Is It Necessary to Call Any Professional to Install a Trap Primer?
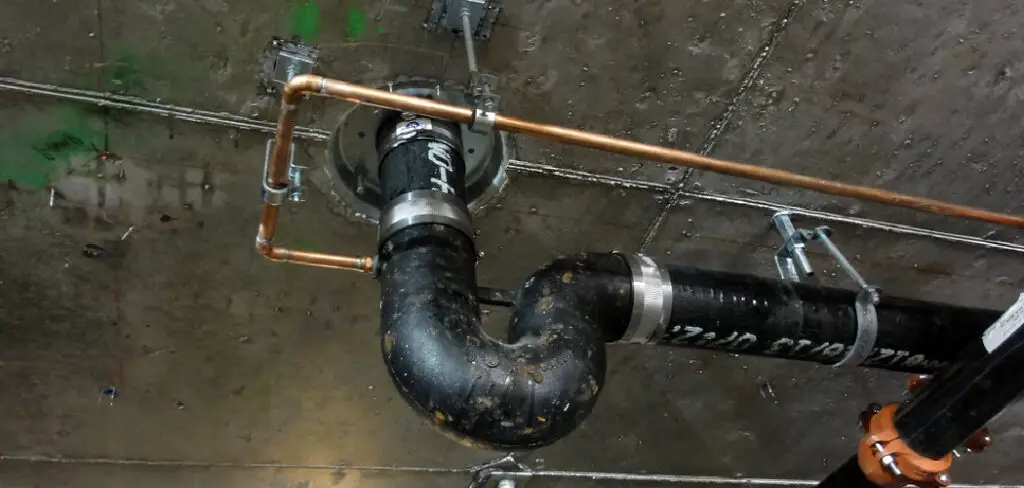
A trap primer is a device that is installed in the sewer line of a building and connected to the water supply. The trap primer holds a small amount of water in a chamber and periodically injects water into the sewer line to keep the traps “primed” or full of water. This prevents sewer gas from entering the building through drains. Many people are unaware that trap primers exist, but they can be important in maintaining indoor air quality.
While it is possible to install a trap primer yourself, it is generally best to call a professional plumber or contractor to handle the installation. This will ensure that the primer is installed properly and that there are no leaks or other issues.
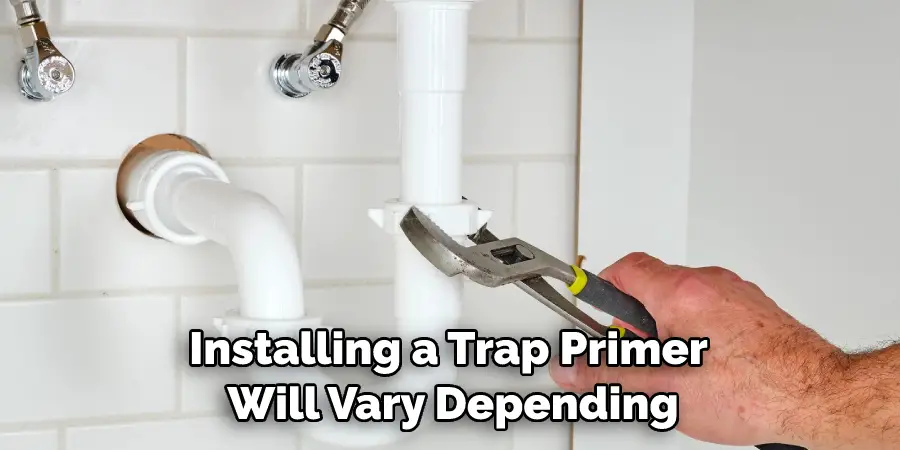
How Much Will It Cost to Install a Trap Primer?
The cost of installing a trap primer will vary depending on the type of trap primer you choose and the size of your septic system. For example, a simple hand-operated trap primer can cost as little as $50, while a more complex automatic trap primer can cost upwards of $1,000.
The size of your septic system will also affect the cost, as a larger system will require more primer to treat the sewage effectively. Overall, you can expect to spend anywhere from $50 to $1,000 on installing a trap primer for your septic system.
Conclusion
A trap primer is a device that automatically adds water to a trap, keeping it full and preventing it from drying out. A trap primer is typically installed on the main drain line before the trap and is connected to the water supply. When the trap primer senses that the water level in the trap has dropped, it will add water until the trap is full again. This simple device can save you a lot of headaches by ensuring that your traps always have a proper seal and are not subject to evaporation.
While a trap primer is not required for every installation, it is worth considering if you want to avoid potential problems. I hope this article has been beneficial in learning how to install a trap primer.
You Can Check It Out to Stop Groundwater in Basement
