
Do you want to make sure that your home retains valuable heat for maximum comfort and energy efficiency? If so, installing foam board insulation on your interior walls is a great way to ensure that your house stays cool in summer and warm in winter. In this blog post, we’ll take an in-depth look at how to install foam board insulation on interior walls, including what tools you’ll need, how thick the insulation should be, and best practices for successful installation.
Installing foam board insulation on interior walls is an excellent way to keep comfortable, efficient temperatures without blowing a lot of money. When properly installed, foam board insulation can provide excellent soundproofing and insulate against moisture and air leaks. If you’re looking for a relatively easy weekend project that could save you money long-term, read on to learn everything you need to know about how to install foam board insulation on interior walls!
Why May You Want to Install Foam Board Insulation on Interior Walls?
1 . To Increase Comfort
One of the main reasons why homeowners choose to install foam board insulation on interior walls is to increase comfort. Foam board insulation acts as a barrier between the outside air and your home’s living space, preventing heat from entering or escaping through the walls. This helps maintain steady temperatures throughout your home, making it more comfortable all year round.
2 . To Improve Energy Efficiency
In addition to increasing comfort, foam board insulation can also help improve the energy efficiency of your home. By blocking outside air from entering or escaping through the walls, you’ll be able to reduce your energy bills since your heating and cooling system won’t have to work as hard. This makes it a great investment for any homeowner looking to reduce their energy costs.
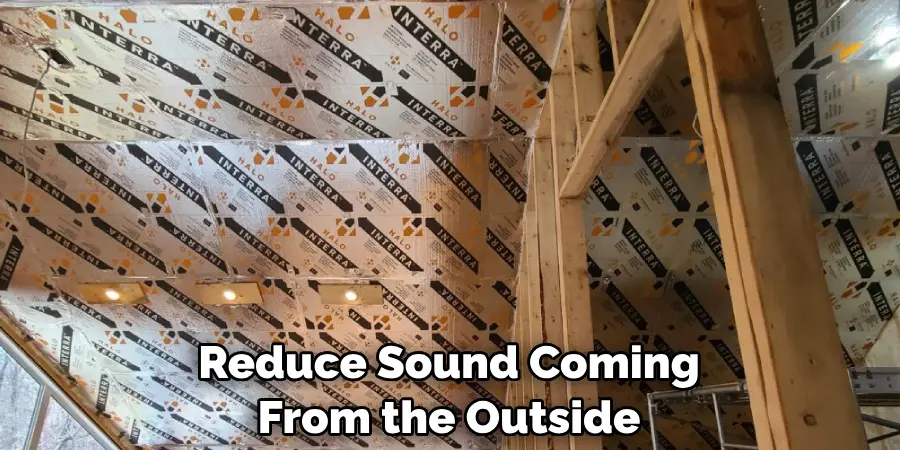
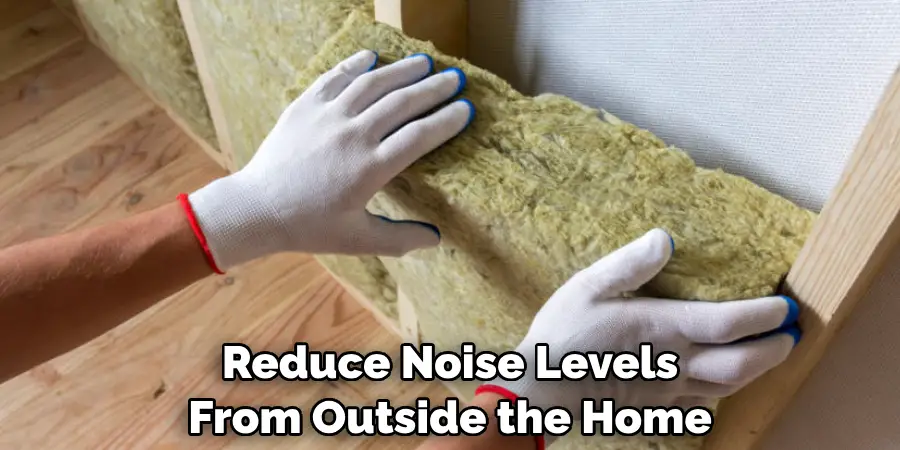
3 . To Reduce Sound
Foam board insulation can also help reduce sound coming from the outside of your home, making it a great choice for homeowners who live in busy neighborhoods or near construction sites. The foam board’s dense material helps absorb and muffle external noise before it enters your home, giving you a more peaceful living environment.
How to Install Foam Board Insulation on Interior Walls in 6 Easy Steps
Installing foam board insulation on interior walls is surprisingly easy and can be done in just a few simple steps:
Step 1: Measure the Wall Space
Before installing the foam board insulation, you’ll need to measure the wall space to make sure you have the correct amount of insulation. Be sure to measure both the length and width of the space before purchasing your foam board insulation.
Step 2: Cut Pieces of Foam Board Insulation
Once you’ve measured the wall space, it’s time to cut pieces of foam board insulation to fit. To do this, use a utility knife to cut the insulation into the desired size and shape. If needed, you can also use a straight edge for straighter cuts.
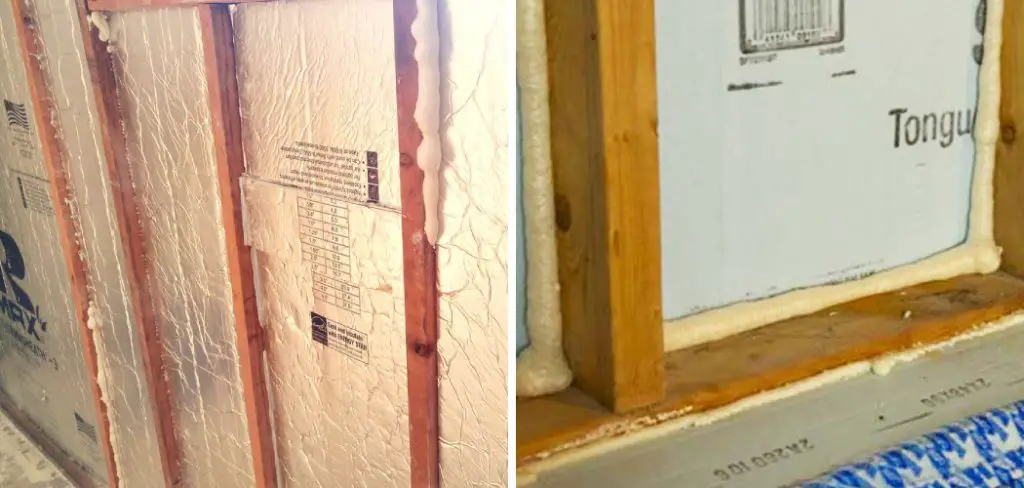
Step 3: Secure Insulation with Adhesive
To keep your foam board insulation in place, use an adhesive specifically designed for foam board insulation to secure the pieces to the interior walls. Make sure to apply a generous amount of adhesive and press firmly for the best results.
Step 4: Seal Gaps with Caulk
Once all the pieces are in place, you’ll want to seal any gaps between them using a caulk gun and high-quality caulking material. This will help to ensure that no outside air is able to leak through the insulation.
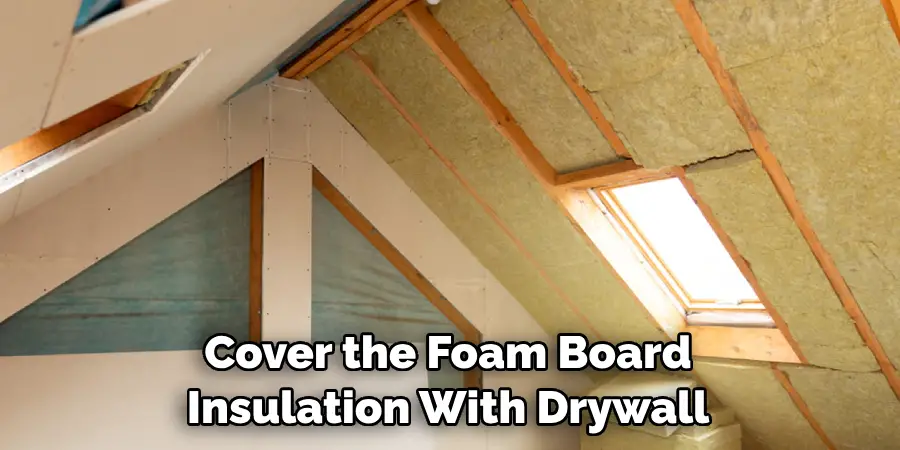
Step 5: Cover Foam Board Insulation with Drywall
To finish off your installation, cover the foam board insulation with drywall and fasten it into place using nails or screws. Be sure to use high-quality drywall tape and joint compound for a seamless finish.
Step 6: Paint the Wall
The last step is to paint the wall with your desired color. This will give it a more finished look and can help to further improve the insulation’s energy efficiency.
With these easy steps, you’ll be able to install foam board insulation on interior walls with ease! Just remember to wear protective gear and follow all safety instructions when handling any tools or materials. And don’t forget to check local building codes for any additional requirements or regulations in your area.
Some Extra Tips to Install Foam Board Insulation on Interior Walls
1 . Do Not Over Insulate
Make sure not to over-insulate your walls. Too much insulation can be a fire hazard, as well as cause mold and mildew problems in the wall cavity.
2 . Check For Air Leaks
Before installing foam insulation, it’s important to check for any air leaks in your home. Make sure all windows and doors are sealed properly, and that any holes or cavities in the walls have been filled.
3 . Seal Gaps with Tape
For larger gaps and openings, use foam insulation tape to seal them. This will ensure a tighter fit for your insulation boards, as well as limit air leakage. Also make sure your boards are all the same thickness for better thermal efficiency.
4 . Use Wall Anchors
Wall anchors should be used to secure foam insulation boards to walls or other surfaces. Make sure to use ones that are specifically designed for insulation, and follow the manufacturer’s instructions carefully.
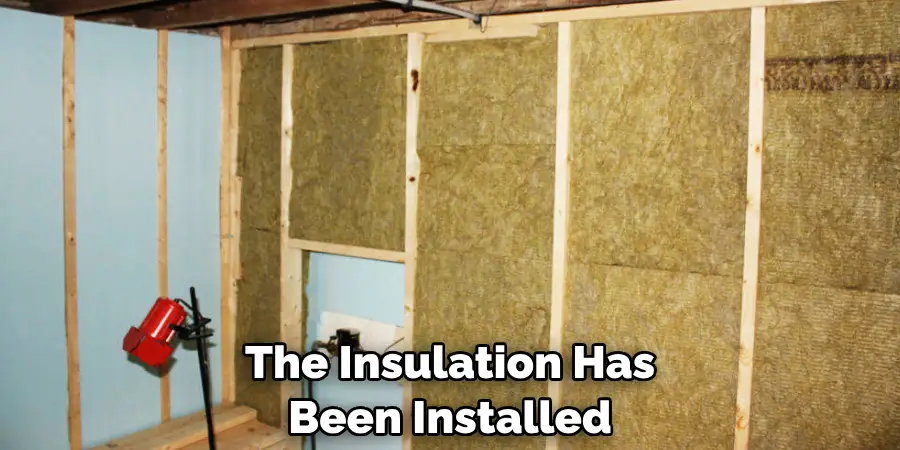
5 . Paint After Installation
The last step is to paint the walls after the insulation has been installed. This will help to prevent moisture buildup, and further protect your home from air leakage.
By following these tips, you can ensure that your foam board insulation is installed safely and correctly. Remember to always consult with an expert or professional if you have any questions about the installation process.
Frequently Asked Questions
What Precautions Should I Take When Installing Foam Board Insulation?
When installing foam board insulation, it’s important to take a few precautions. First, wear protective gear such as goggles and gloves when cutting the boards to prevent injury from sharp edges. Additionally, make sure you’re following the manufacturer’s instructions for installation carefully. Finally, ensure that the work area is well ventilated, as the insulation can release fumes that are dangerous to breathe in.
How Do I Cut Foam Board Insulation?
Cutting foam board insulation is relatively easy, but it’s important to use the right tools and techniques. An electric saw works best for cutting straight lines in the boards. For curved shapes or corners, a utility knife is the best option. Make sure you wear protective gear such as goggles and gloves to protect your eyes and hands from sharp edges when cutting.
What Materials Do I Need to Install Foam Board Insulation?
In addition to the foam board insulation itself, there are several other materials you’ll need for installation. To begin with, you’ll need wall anchors to secure the insulation in place. You’ll also need a measuring tape, a utility knife or electric saw for cutting the foam board, and protective gear such as goggles and gloves. Finally, you’ll need an adhesive designed specifically for foam board installation to attach each piece to the wall.
How Long Does It Take To Install Foam Board Insulation?
The amount of time it takes to install foam board insulation depends on the size and complexity of the project. On average, it should take no more than a few hours or a day for a small job. For larger projects, such as insulating an entire house, you may need more time—up to several days.
What Are the Benefits of Installing Foam Board Insulation?
Foam board insulation is an effective way to keep your home comfortable and energy efficient. It helps reduce air leakage, which can lead to significant savings on energy costs. Additionally, it provides a good level of soundproofing, helping to reduce noise levels from outside the home. Finally, it’s made from natural materials, making it an environmentally friendly choice.
Are There Any Drawbacks to Installing Foam Board Insulation?
The main drawback of foam board insulation is that it can be difficult to install correctly. If not done properly, it won’t be as effective at keeping your home comfortable and energy efficient.
Conclusion
Foam board insulation is a great choice for interior wall insulation, as it is lightweight, easy to install and more efficient than many other choices on the market. Moreover, it provides a barrier that limits air movement both in and out of the home, creating an energy-saving layer that’s certain to keep warm and cool air in your house.
Now you know how to install foam board insulation on interior walls! Not to mention, once installed foam board insulation looks great! It can be painted any desired color and provides a sleek look with a professional finish. If you’re looking to make your home more energy efficient, installing foam board insulation on interior walls is a smart choice at every budget level. With hard work and careful craftsmanship, you’ll find yourself with a new layer of energy saving insulation in no time.
