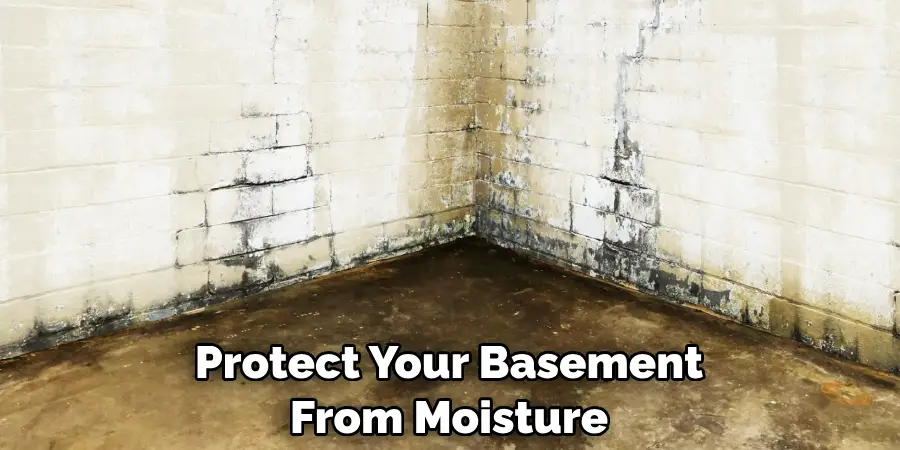
Are you looking for an easy and effective way to keep your basement dry and free from moisture build-up? Installing a vapor barrier on the basement floor is one of the simplest steps you can take to protect your home. Not only will it prevent excess moisture from entering your home, but it will also help insulate the space, which can lead to energy savings.

In this blog post on how to install vapor barrier in basement floor, we’ll provide step-by-step instructions on how to install a vapor barrier on Your basement floor! Get ready to tackle this low-cost DIY project yourself with confidence!
What Are the Benefits of Installing a Vapor Barrier?
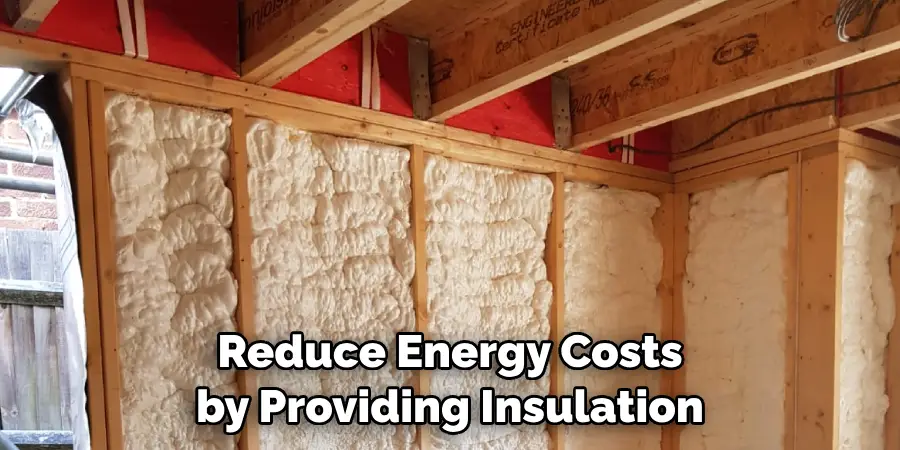
Once installed, a vapor barrier on your basement floor comes with many benefits. Not only will it help keep your basement dry and free from water damage, but it will also help reduce energy costs by providing insulation and keeping the space cooler during warmer months. Additionally, a vapor barrier is an easy DIY project that can be done in a few hours—saving you money on installation fees!
With all these great benefits in mind, investing in a vapor barrier is an easy decision that can benefit you and your home for years to come. So why wait? Start planning your project today and get the job done right!
Needed Materials
- Vapor Barrier
- Tape Measure
- Utility Knife
- Caulking Gun
- Caulk
- Polyethylene Foam Sealant Strips
- Masonry Nails
11 Step-by-step Guidelines on How to Install Vapor Barrier in Basement Floor
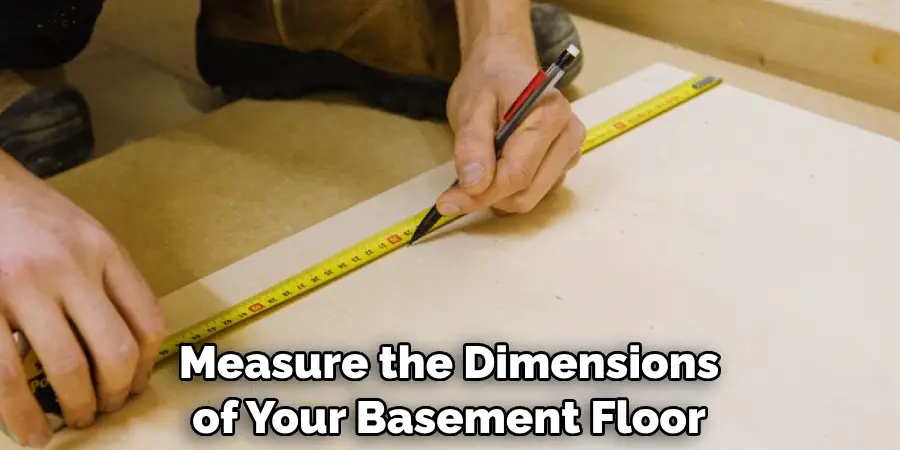
Step 1: Measure the Basement Floor
Before you begin installing your vapor barrier, it’s important to measure the dimensions of your basement floor. This will help you determine how much vapor barrier material you’ll need to purchase for the job. It’s also a good idea to make sure the area is free from any existing moisture or water damage before you begin.
Step 2: Purchase Vapor Barrier (and other materials)
Once you have an accurate measurement of your basement floor, it’s time to purchase the appropriate materials for the job. Make sure to buy a vapor barrier that is specifically designed for use on basement floors. Otherwise, the material may not perform to its full potential.
Step 3: Cut Vapor Barrier to Size
Once you have all your materials, you’ll need to cut the vapor barrier to fit the exact measurements of your basement floor. This step requires some precision and will require a sharp utility knife. Once it is cut to size, set aside for now. But keep it close by as you’ll need it again soon. If you’re using roll foam for extra insulation, make sure to cut it too. This will be used in the later steps.
Step 4: Apply Caulk Along the Basement Floor Perimeter
Next, use a caulking gun to apply a thin layer of caulk along the perimeter of your basement floor. Make sure to fill in any cracks or gaps that might allow water to seep through. This caulking job should be done before you install the vapor barrier. It’s vital to make sure that your basement is properly sealed before you begin.
Step 5: Apply Polyethylene Foam Sealant Strips
Once the caulk is dry, it’s time to apply Polyethylene foam sealant strips along the perimeter of the basement floor. These will help create an even stronger barrier that will prevent water from entering your basement. But before you apply the sealant strips, make sure to check that your caulking job is still holding up.
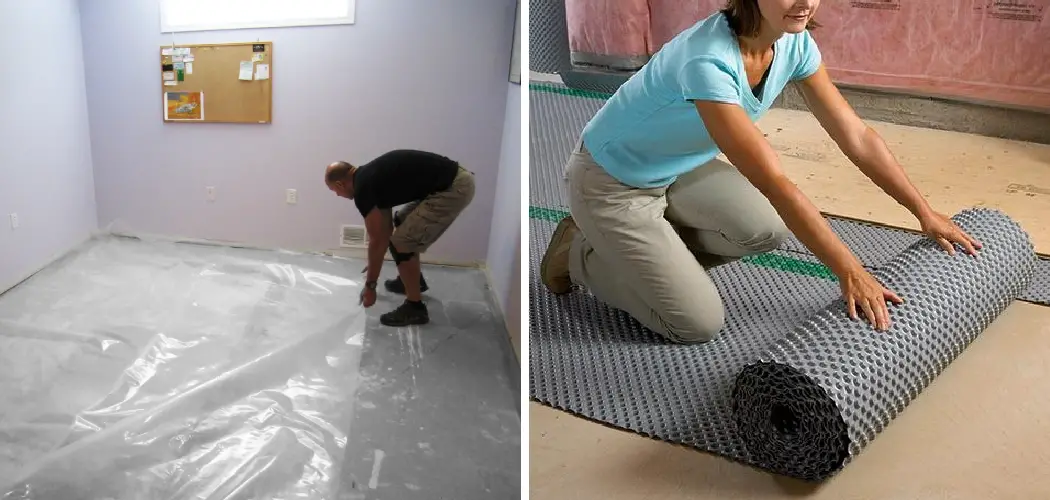
Step 6: Install Vapor Barrier On Basement Floor
Now, it’s time to finally install the vapor barrier on your basement floor. Make sure to unroll it so that it is laying flat. You may have to use some masonry nails to secure the barrier in place. But be sure not to puncture the barrier itself. You want the vapor barrier to be as intact as possible.
Step 7: Cut and Seal Any Holes or Openings
Once you’ve secured the vapor barrier in place, inspect for any holes or openings. If you find any, simply cut and seal them using the same polyethylene foam sealant strips that you used earlier. It’s important to make sure that your vapor barrier is fully secure and sealed. This will ensure it’s doing its job to protect your basement from moisture.
Step 8: Trim Excess Material
Once all the holes have been sealed, it’s time to trim off any excess material from the vapor barrier. Use a sharp utility knife for this step and be careful not to cut yourself! It’s important to make sure that the vapor barrier is properly trimmed and fits snugly against the basement floor. This will help ensure it seals correctly and prevents any water from getting into your home.
Step 9: Apply Caulk Along Seams
After you’ve trimmed the excess material, it’s time to seal any seams along the vapor barrier. Use a caulking gun to apply the caulk between each of the seams. Make sure to fill in all gaps and cracks as best you can. But be careful not to puncture the vapor barrier itself. It’s important to make sure that the seams are properly sealed in order for your vapor barrier to work correctly.
Step 10: Clean Up
Once you’ve sealed the seams, it’s time to clean up. Be sure to dispose of all materials properly and in accordance with your local regulations. This includes any scraps of leftover material as well as any other debris that may have accumulated during the installation process.
Step 11: Repeat the Installation Process For Side Walls (If Needed)
If you want to create an even more water-resistant barrier, you can repeat the installation process on your basement walls. Make sure to purchase materials specifically designed for use on walls and be careful to follow all instructions as indicated by the manufacturer. Always wear safety glasses and gloves when working with materials like this, as they can be hazardous to your health if used improperly.
By following these 11 easy steps on how to install vapor barrier in basement floor, you can protect your home from moisture build-up and reduce energy costs with insulation. With a little time and effort, you can make sure that your basement is as comfortable as
Do You Need to Hire Professional Support?
If you’re feeling unsure about tackling this DIY project yourself, there are professional contractors available who can help. Make sure to find one who has experience in installing vapor barriers and is knowledgeable in the different materials required for the job. They can provide you with guidance and a quality installation that will last for years.
Installing a vapor barrier on your basement floor is a great way to protect your home and make sure that it remains dry and comfortable all year round. With this guide, you now have the knowledge needed to tackle this easy DIY project yourself! Good luck!
Frequently Asked Questions
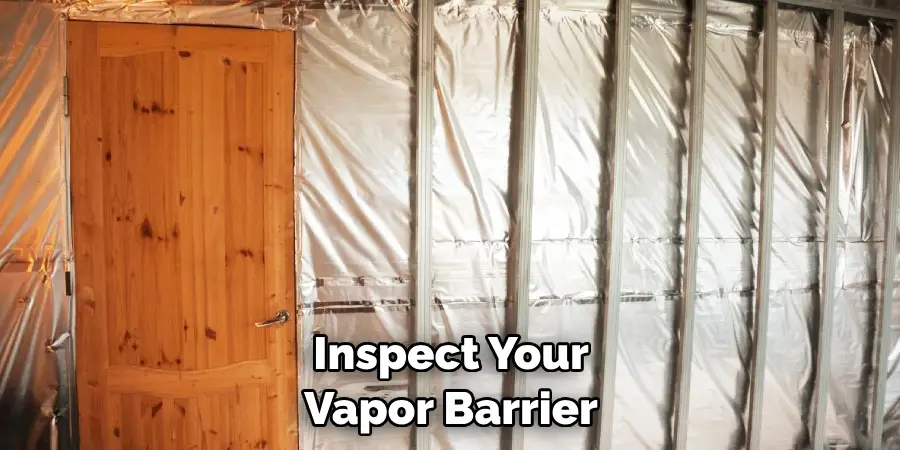
Q: How Often Should I Inspect My Vapor Barrier?
A: It is recommended to inspect your vapor barrier at least once a year for any signs of damage or wear and tear. If you notice any issues, make sure to repair them as soon as possible.
Q: How Long Will It Take to Install the Vapor Barrier on My Basement Floor?
A: The time it will take to install the vapor barrier on your basement floor will depend on the size of the space, as well as how familiar you are with the installation process. Generally speaking, though, most jobs can be completed in a few hours or less.
Q: What Are Some Other Ways I Can Keep My Basement Dry?
A: In addition to installing a vapor barrier, there are other ways you can help keep your basement dry. Make sure to regularly inspect for any cracks or openings in the foundation walls and seal them with caulk. Additionally, consider investing in a sump pump system to help manage any excessive moisture in the space.
Q: What Are the Benefits of Installing a Vapor Barrier in My Basement?
A: Installing a vapor barrier in your basement can provide numerous benefits, including preventing moisture buildup and excessive humidity levels. It is also an effective way to help reduce energy costs by providing insulation. Additionally, it can protect you from potential health hazards, such as mold or mildew growth.
Conclusion
Whether you are a homeowner, a contractor or a do-it-yourself type, installing a vapor barrier in your basement floor is an important step toward protecting the rest of the home from moisture and mold. The process may seem daunting at first but with careful planning and preparation, it can be done without too much stress. Before beginning any work make sure to consult local building codes for guidance as requirements may vary by location.
Having the right materials and tools at hand prior to starting will help make things go more smoothly. Taking time to properly install a quality barrier will ensure it does its job for years to come, providing peace of mind against water damage.
So whether you’re taking on this project for yourself or hiring someone else to do it, by closely following these steps on how to install vapor barrier in basement floor you’ll be sure that your basement floor vapor barrier is doing its job and keeping your home protected!
