
Are you looking to raise the floor of a concrete slab? If so, here is an overview of what you need to do.
If you’re searching for a unique and cost-effective way to spruce up the look of your home, raising a floor on top of an existing concrete slab is one solution worth considering. This method provides more visual appeal and gives you a chance to use decorative solutions such as tile or wood flooring to cover up any outdated or damaged areas of your concrete slab.
In this blog post, we’ll be providing detailed instructions on how to raise a floor on concrete slab in order to make proper repairs or upgrade its aesthetics. Keep reading for all the tips and tricks you need to complete this project with ease!
What Will You Need?
Before starting this project, it’s important to make sure you have the right supplies and materials. Here is a list of what you’ll need:
- A concrete saw
- Protective goggles
- Chisel and hammer
- Masonry drill bit
- Latex modified concrete mix
- Heavy duty adhesive
- Leveling compound
- Tape measure
- Plywood sheets
- Screws and nails
Once you have everything listed above, you’re ready to begin raising the floor on a concrete slab!
10 Easy Steps on How to Raise a Floor on Concrete Slab
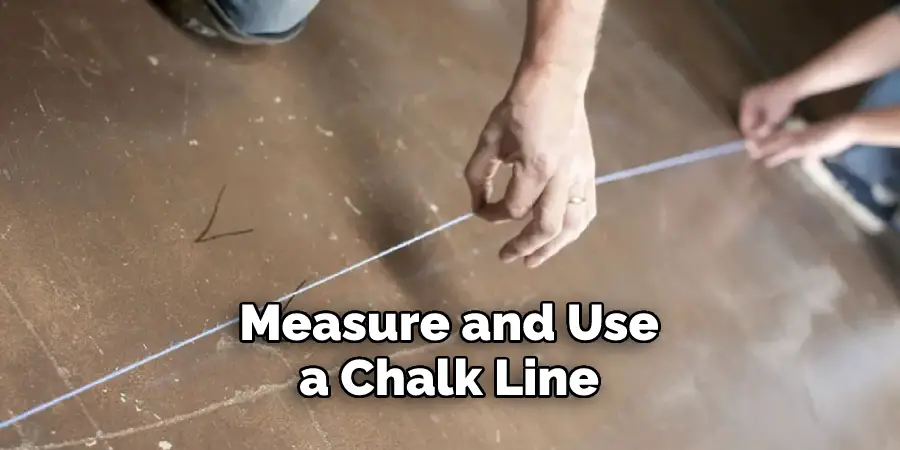
Step 1: Mark the Area for Removal
The first step is to mark the area that needs to be removed. Measure and use a chalk line or straightedge as a guide for cutting down into the concrete slab. Be careful not to cut beyond your measurement.
Step 2: Cut Out Sections of the Concrete Slab
Once you have marked out the area, use your concrete saw to cut out sections of the existing concrete slab. Make sure to wear the necessary safety gear, like protective goggles, during this process. As you do so, remember to keep cutting lines as straight and even as possible.
Step 3: Remove Old Material from the Area
Use a chisel and hammer to break up any excess material and remove it from the area completely. If there are large chunks of concrete, you may need to use an electric jackhammer or masonry drill bit for more efficient removal. Don’t forget to wear the protective goggles during this step.
Step 4: Prepare the New Foundation
Mix the latex modified concrete mix according to package instructions, then spread it evenly over the area you are planning to raise. Use a trowel to level out the surface and create a stable foundation for your new floor. If necessary, you can also use a leveling compound to fill in any dips or crevasses for an even finish.
Step 5: Attach Plywood Sheets
Once your new foundation is set, use heavy duty adhesive to attach plywood sheets on top of the concrete slab. It’s important to ensure proper alignment so that no gaps are left between each sheet. Another option is to use screws and nails instead of adhesive.

Step 6: Apply Leveling Compound
Cover up any remaining imperfections with a layer of leveling compound. This will also help out any bumps or dips in your new floor and ensure it is perfectly flat before installing any tiles or flooring. Try to use a trowel for a smooth, professional finish.
Step 7: Install Floor Coverings
Now you can install the tile or wood flooring of your choice! Measure and cut pieces as needed to ensure they fit properly, then use nails or screws to secure them. You can also use adhesive if needed.
Step 8: Apply Grout
Once all the floor coverings are installed, applying grout between each piece is time. Make sure to spread the grout evenly so that no gaps are left unsealed. Otherwise, moisture could seep in and cause damage to your new floor.
Step 9: Clean Up and Allow Time for Drying
Finally, clean up any excess material from the project area and allow plenty of time for everything to dry completely before walking on it. Additionally, check for any loose tiles or flooring and make sure everything is securely attached. If you find any loose pieces, reattach them immediately.
Step 10: Enjoy Your New Floor!
And there you have it – how to raise a floor on a concrete slab. Now you can stand back and admire your hard work, knowing that you’ve just completed this project easily! Enjoy your new floor! Remember, if you ever need any assistance, don’t hesitate to reach out to a professional for help.
With these easy steps, you should now have a beautiful, functional space to enjoy for years to come. Don’t forget that regular maintenance and cleaning are essential for keeping your new floor looking great for as long as possible.
5 Additional Tips and Tricks
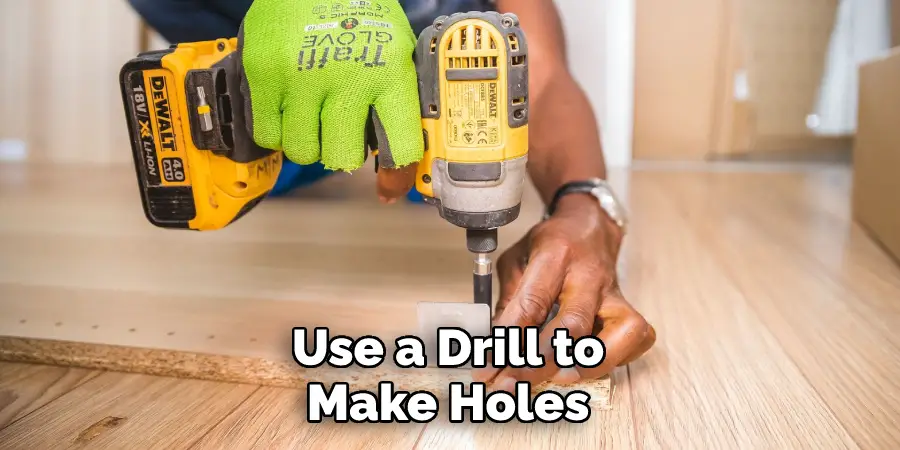
- Use a drill to make holes in the concrete for inserting fasteners that will help hold up the floor joists.
- Use insulation to help minimize heat transfer between the existing slab and the new floor.
- Install a subfloor over the existing slab, adding extra support for the new flooring material.
- Make sure to properly seal off any plumbing or other utilities that may run through the slab before starting work on raising the floor.
- Test your work by walking on it before replacing your furniture and other belongings to ensure everything is safe and secure.
Following these tips and tricks, you can raise a floor on a concrete slab with minimal effort!
5 Things You Should Avoid
- Do not attempt to remove the entire concrete slab; this can cause serious damage and be hazardous.
- Do not try to raise the floor without proper support underneath; this could lead to a collapse of flooring materials or injury.
- Avoid cutting into existing electrical wiring or plumbing that may run through the slab, as these services need special attention from professionals in order to be done safely.
- Keep tools away from combustible materials like carpeting and furniture when working on raising the floor, as sparks may cause fires or other accidents.
- Do not use shims or wedges to lift up a wooden subfloor above your existing concrete slab; this is dangerous and can create weak spots in your new floor surface.
By avoiding these mistakes, you can ensure a safe and successful job of raising your floor on a concrete slab!
What Type of Flooring is Best Over Concrete?
When choosing a type of flooring for use on concrete, several options are available. Laminate flooring is one of the most popular choices, as it is relatively easy to install and has an attractive finish that looks great in any room.
Vinyl plank floors have also grown in popularity recently due to their durability, low-maintenance design, and wide range of colors and styles. Cork floors are another good option if you’re looking for something a bit more eco-friendly and natural-looking. In addition to these three types of flooring, many other options are available depending on your budget and preference.
Overall, raising a floor on a concrete slab can be achieved easily with the right tools and knowledge. By following the tips and tricks above, you can ensure that your job will be successful and your floor will look great for years to come.
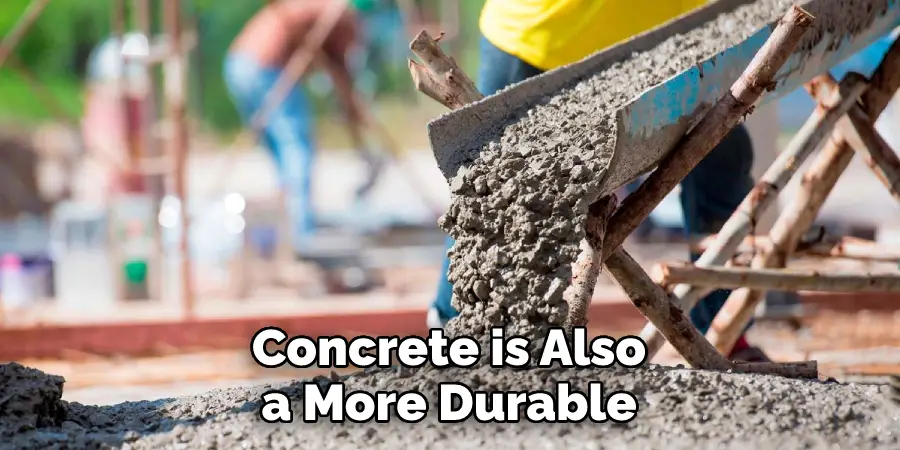
Is Concrete Flooring Cheaper Than Tiling?
When it comes to flooring, concrete is usually cheaper than tiling since tiling requires more labor and materials. Concrete is also a more durable and resilient option when compared to tiling, making it a great choice for high-traffic areas. Additionally, concrete is easier to clean and maintain than most types of tile flooring.
However, tiling may be the better option if you are looking for an aesthetic statement or something with a bit more design variety. Ultimately, the decision between concrete and tiles should come down to your budget and the desired look.
Raising a floor on a concrete slab is not as difficult as it may seem at first glance! By following these tips and tricks, you can easily achieve success without compromising safety or quality of workmanship. With the right tools and knowledge, anyone can raise their floor on a concrete slab with minimal effort!
Conclusion
As you can see, there are many options when it comes to raising a floor on a concrete slab. Taking into consideration budget and technical skillsets, selecting an appropriate method is essential.
Whichever you choose, be sure to carefully install it as instructed and follow manufacturer installation guidelines for best results. In the end, with hard work and diligence, you will have a successful project that is sure to bring desired results and increased satisfaction in your space.
Ultimately, it is recommended that one consults with an expert if any doubts arise during the process of installation – they can help guide you with answers to questions, provide professional advice and lead you in the right direction towards success.
Hopefully, the article on how to raise a floor on concrete slab was useful and informative for you. Good luck with your project!
