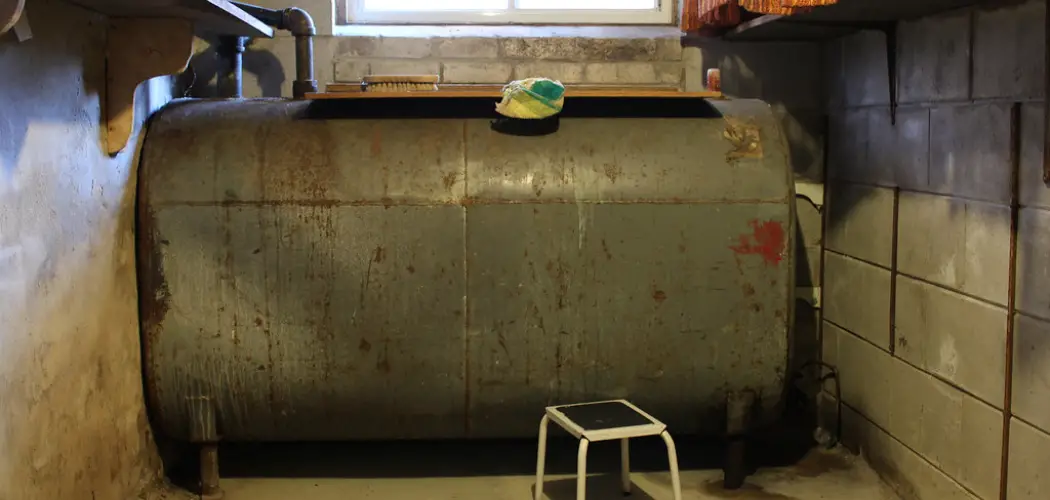
Removing an oil tank from your basement can be a daunting task, but it doesn’t have to be. Taking the time to properly plan out and execute this project can make the process much less stressful and save you money as well. It’s important to act fast because leaving an old worn-down oil tank in your basement could lead to hazardous conditions due to seepage or corrosion.

In this blog post, we’ll show you exactly how to remove an old oil tank safely and efficiently—so that you don’t have any unexpected surprises along the way! Read on for step-by-step instructions on how to remove an oil tank from your basement, helpful tips, common pitfalls to avoid, and more. So, let’s get started on learning how to remove a fuel oil tank from your basement safely and effectively!
Why Removing Oil Tank From Your Basement is Necessary?
1. Seeps Oil on the Soil
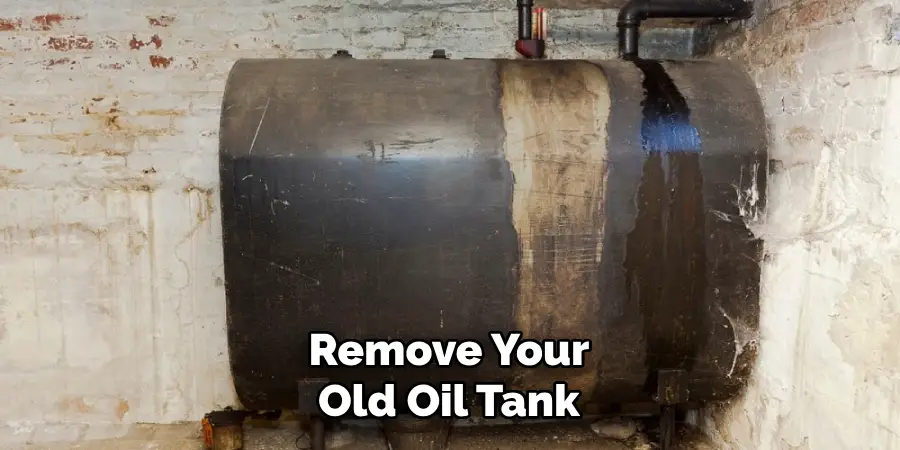
Removing an oil tank from your basement is important because it can cause hazardous conditions when left in place. As the tank ages, it corrodes and seeps fuel oils into the surrounding soil. This can pollute ground water supplies, leading to health risks as well as costly clean-up efforts. Additionally, old tanks are a fire hazard due to their flammable contents.
2. Takes Up Space
An old oil tank in your basement is also taking up valuable storage space and can be a huge nuisance when it comes to potential renovation projects or repairs. Removing the tank will free up much needed room for other important uses, such as installing a new furnace or water heater, home gym, laundry room, etc.
3. Inspections and Insurance
Lastly, if you’re selling or refinancing your home, a professional inspection of the oil tank may be required. This can be expensive and time-consuming if the tank needs to be removed in order for it to pass inspection. Additionally, some insurance companies will not insure homes with a fuel oil tank in the basement—so removing it can help you save money on insurance premiums.
Required Items for Removing an Oil Tank
Before you start to remove your old oil tank, it’s important to make sure that you have all the necessary items and tools. Here is a list of items that you should have on hand before starting the project:
- Safety Equipment (safety glasses, gloves, etc.)
- Protective tarps or- drop cloths
- Metal cutting saw
- Sledgehammer
- Wrenches
- Screwdrivers
- Flashlight
- Drain pan
- Containers to store the oil
How to Remove an Oil Tank From Your Basement in 10 Ways
Now that you know why it’s important to remove a fuel oil tank from your basement, let’s get into the nitty-gritty of how to actually do it. Here are the essential steps for safely and correctly removing an old fuel oil
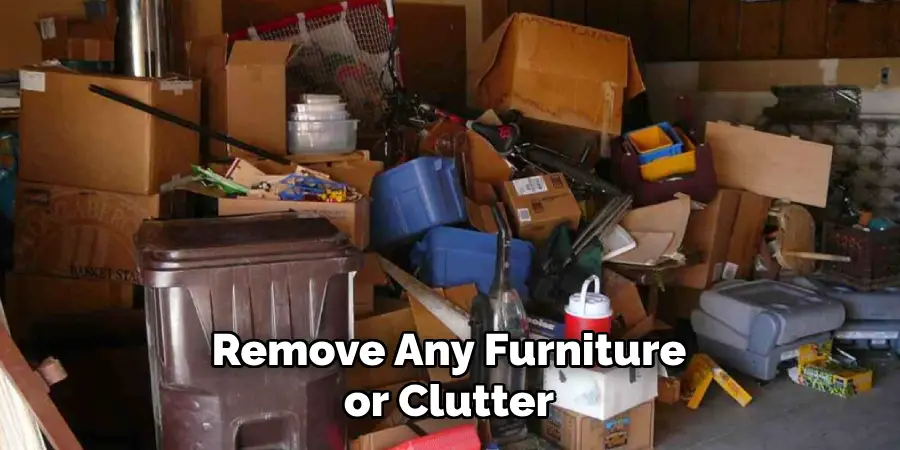
1. Prepare the Area
The first step is to prepare the area for work. Remove any furniture or clutter that may be in the way of your work. Make sure you have plenty of lighting so you can clearly see what you are doing. Place tarps or drop cloths over any flooring or carpets to protect them from oil spills and splatters
2. Shut Off the Power
Before you begin any work, it is important to make sure that all power sources are turned off and disconnected from the tank. This includes electricity, gas, and water lines connected to the tank. This should be done by a certified professional as improper shut-off procedures can lead to hazardous conditions.
3. Drain the Oil
Once the power has been shut off, it’s time to drain the remaining oil from the tank. You can do this by inserting a pump into the bottom of the tank and pumping out all of the oil into appropriate containers for disposal. Make sure that you wear proper safety equipment such as gloves and eyewear when handling any fuel oils.
4. Remove the Fittings
Once all of the oil has been drained from the tank, you can start to remove the fittings. This includes any pipes or valves that are connected to the tank. Make sure to use a wrench or pliers to loosen and disconnect these pieces so that they don’t break during removal.
5. Cut Open the Tank
Once all the fittings have been removed, you can start to cut open the tank. Use a metal cutting saw with a blade designed for cutting through steel or cast iron. Carefully make your way around the circumference of the tank, being careful not to damage any nearby walls or objects.
6. Clean Up
Once the tank is opened up, it’s time to clean up any remaining oil or debris. Use a shop vacuum or wet/dry vac to suck up any materials that may be left in the tank. Be sure to dispose of the material correctly and safely.

7. Lift Out the Tank
Now, it’s time to lift out the tank and carry it outside. You can use a dolly or other lifting device to transport the tank. Make sure you have enough help to lift and move the tank safely.
8. Disposal
Once outside, find an approved disposal site for your old oil tank. Many cities and townships have rules regarding how these tanks should be disposed of, so make sure you check local regulations before transporting
9. Fill the Hole
Once the tank has been removed, it’s time to fill in any gaps and holes left from its removal. You can use concrete or soil to fill in the area, depending on your preference. Make sure to compact the material you are using so that it doesn’t shift over time.
10. Perform Final Inspection
Lastly, once everything is finished, it’s important to perform a final inspection of the area. Make sure that all debris has been cleaned up and disposed of correctly, and that no hazardous materials are present in or around the tank. Additionally, check to make sure that any power sources have been reconnected and functioning properly.
Now you know how to remove an oil tank from your basement safely and effectively! Make sure to follow all safety protocols when attempting this project, and always consult a certified professional if you ever have any questions or concerns. Good luck!
8 Tips To Consider When Removing An Oil Tank
There are some important tips to consider when removing an old fuel oil tank.
- Make sure you follow all safety protocols and wear the proper safety gear. Otherwise, you could be putting yourself at risk of injury.
- Make sure to have the proper tools and supplies on hand before beginning the project, such as a metal cutting saw, wrenches, screwdrivers, drain pan, etc. 3. Make sure the power is shut off and disconnected from the tank before beginning any work.
- Double-check that all of the fittings and pipes are removed before attempting to cut open the tank.
- Wear gloves when handling any fuel oils, as they can be dangerous. Wearing eyewear is also recommended.
- Make sure to use a shop vacuum or wet/dry vac to clean up any remaining oil or debris from the tank before disposal
- Make sure to fill any holes that were left from the removal of the tank. Use concrete or soil, depending on your preference.
- Perform a final inspection of the area after everything is completed to ensure all hazardous materials have been removed and power sources are functioning correctly.
- If you ever have any questions or concerns, consulting a certified professional is always a good idea.

By following these tips, you can save yourself time and energy while making sure the job is done correctly and safely! With the right preparation and precautionary measures, removing an old fuel oil tank from your basement doesn’t have to be a daunting task.
How Long Will It Take?
Removing an oil tank from a basement will take some time, but the process can be divided into manageable steps. You should plan on dedicating at least one full day to remove the oil tank and another day for cleanup.
Conclusion
Removing an oil tank from your basement is far from a simple task, however, it’s essential to preserving the occupant’s health and safety as well as protecting the environment. Every step of the process must be carefully planned and implemented in order to avoid further issues associated with the oil tank removal.
Make sure to thoroughly research local regulations so you can ensure that proper permits are in place before beginning the project, including obtaining any required endorsements for licensed professionals if necessary.
Lastly, always look into professional help if needed, as this will greatly reduce the stress that comes with undertaking such a task. The ultimate outcome depends on you being prepared, organized, and taking leading initiative in ensuring that everything goes according to plan when trying to remove an old oil tank from your home.