
Are you having trouble with your sump pump? It may need to be reset. Resetting a sump pump isn’t difficult, but ensuring you do it correctly and safely is important.
Sump pumps can be a lifesaver for keeping your home or basement dry and free from flooding. But what happens when the sump pump stops working? It’s important to know how to properly diagnose, repair, and reset a sump pump to keep it running efficiently and effectively – because nobody wants to wake up in the middle of the night due to a water emergency!
This blog post will tell you exactly how to reset a sump pump and provide helpful tips for success along the way. So, if your basement is wetter than expected or becomes prone to flooding, don’t hesitate to reset that sump pump now!
Is It Safe to Reset a Sump Pump?
The good news is that resetting your sump pump is safe and can easily be done with the right knowledge. However, it’s important to remember that you should take a few safety precautions before attempting to reset the pump yourself.
For starters, ensure the area around the sump pump is dry and free of water. It’s also a good idea to wear protective gloves when you’re dealing with the sump pump. This will protect your hands from any debris or dirt that may be lodged in the pump.
Overall, resetting a sump pump is safe if you take the proper precautions.
What Will You Need?
Before you can reset your sump pump, you will need a few tools and supplies. The most important tools are the following:
- A screwdriver
- A flashlight (for visibility in dark areas)
- Pliers
- An adjustable wrench
- Electrical tape
- A flashlight (for visibility in dark areas)
- Protective gloves for your hands
- A bucket or container to catch any dirt and debris from when you’re working on the sump pump
Now that you have all the right tools, it’s time to reset your sump pump! Here is a step-by-step guide on how to do this safely and effectively.
10 Easy Steps on How to Reset a Sump Pump
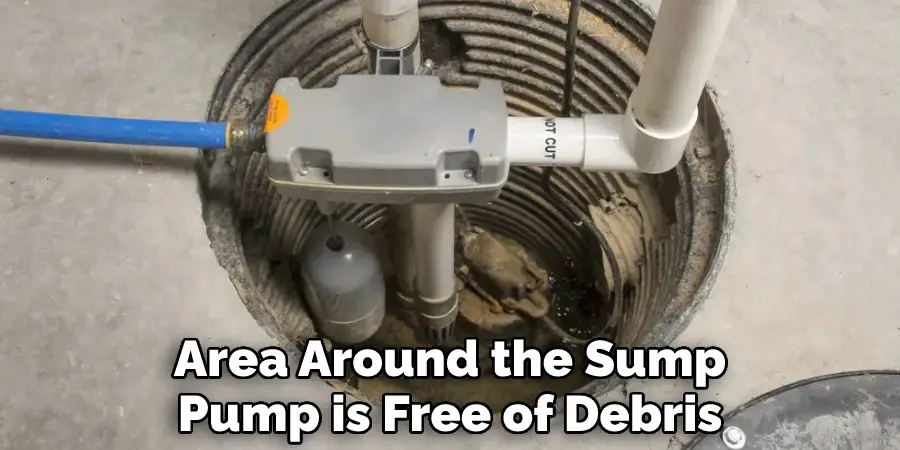
Step 1. Clean the Area:
Make sure the area around the sump pump is free of debris or dirt. You will also want to make sure that the area is dry before proceeding with any other steps. Because electricity and water do not mix, it’s essential that the area is completely dry before you reset the sump pump.
Step 2. Disconnect Power Source:
Once you’ve made sure the area is clean and dry, locate and disconnect the power source from your sump pump. This is usually done by unplugging the cord or turning off a circuit breaker. Make sure to double-check that no power sources are connected to your sump pump before moving on with this process.
Step 3. Check for Clogs:
Use a flashlight and pliers to inspect your sump pump for any clogs or debris that may be blocking its performance. If anything appears out of order, use proper cleaning methods to remove the debris. Don’t forget to wear gloves when handling any foreign objects.
Step 4. Check Float:
Next, examine the float inside your sump pump to make sure it is functioning correctly. The float should be able to move freely up and down without any obstruction. If there is an issue with the float, you may need to replace it before resetting the sump pump.
Step 5: Reconnect Power Source:
Once you are satisfied that all parts of the sump pump are properly connected and working correctly, reconnect the power source by plugging in the cord or turning on a circuit breaker. Make sure to double-check your work before moving on! If anything appears to be out of order, power off the sump pump and start over.
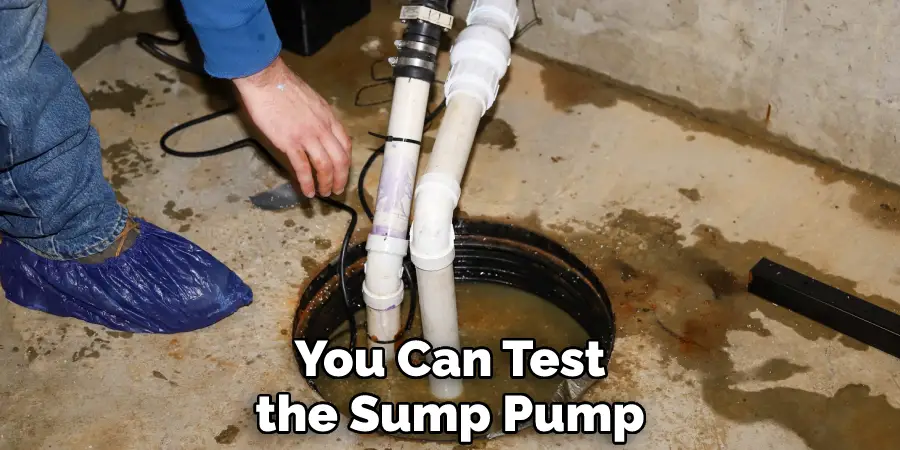
Step 6: Test Your Sump Pump:
Now that everything is plugged in and powered up, you can test the sump pump to make sure it is working correctly. This can be done by filling a bucket or container with water and then placing it in front of the sump pump. If everything is working properly, the sump pump should start up automatically and begin pumping out the water.
Step 7: Secure Electrical Wiring:
Secure any electrical wiring to ensure that they are not exposed to any danger (e.g., wear and tear). Use electrical tape to wrap around each wire securely to protect them from damage. Be careful not to overtighten the wires, or you could risk causing damage to the sump pump.
Step 8: Check for Leaks:
Check all connections and fittings for any leaks or loose connections that may cause issues later down the line. If you spot anything out of the ordinary, make sure to tighten the connection or replace it altogether. You can use a bucket to catch any potential drips while you are working.
Step 9: Check Float Switch Arm:
Examine the float switch arm and ensure that it is properly connected and secured. This will allow the sump pump to turn on automatically when there is a need for it. Additionally, you may want to check the float switch arm for any signs of damage or wear and tear.
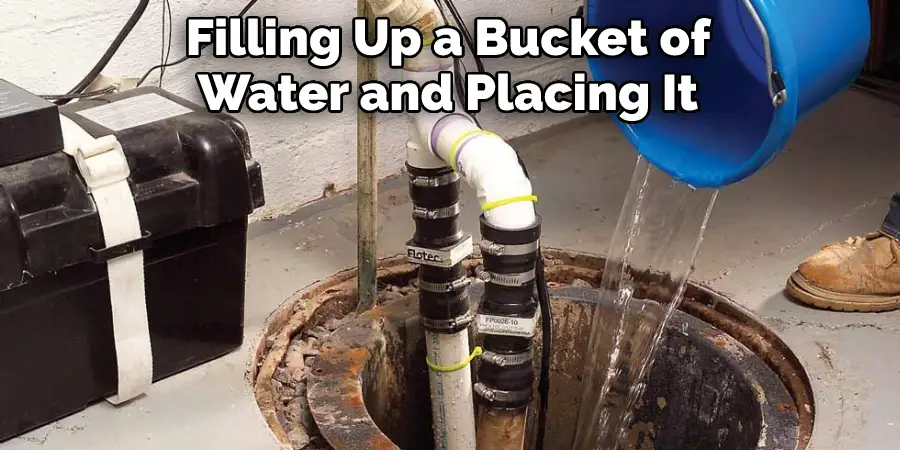
Step 10: Test Sump Pump Again:
Now that all connections have been checked and verified test your sump pump one last time by filling up a bucket of water and placing it in front of the sump pump. If everything checks out correctly, you should be good to go! Remember to check your sump pump regularly to make sure it is in proper working order.
Follow these easy steps, and you’ll be able to reset your sump pump quickly and easily! Don’t forget to wear protective gear when dealing with electricity and water, and make sure to double-check all of your connections. If you have any questions or concerns, don’t hesitate to contact a professional for assistance. Keeping your sump pump in good working order is essential for the health of your home and will help prevent flooding in the future!
5 Additional Tips and Tricks
- Have a backup pump on hand; if the initial reset fails, you can quickly switch to the secondary system.
- Locate your home’s main shutoff valve and how to turn it off and on for future maintenance needs.
- Test how long the sump pump will run when it is activated by filling up a bucket of water and pouring it into the sump pit.
- Make sure your sump pit is clear of debris, mud, or sediment that could prevent water from draining properly. This can prevent flooding in extreme cases.
- Regularly inspect hoses and pipes connected to the sump pump for wear-and-tear signs such as cracks, breaks, holes, or leaks. This can help you catch any potential issues before they become costly repairs or replacements.
Following these five tips and tricks will help you successfully reset your sump pump, reduce the risk of unnecessary flooding, and keep your home safe. Good luck!
5 Things You Should Avoid
- Don’t use a hammer or any other hard object to try and reset the sump pump. This can cause irreparable damage, resulting in costly repairs.
- Don’t use too much force when resetting the sump pump. Doing so could result in further damage, leading to an increased chance of failure in the future.
- Don’t try to work with electricity while the power is still on. Always disconnect all electrical cords before you start working with them.
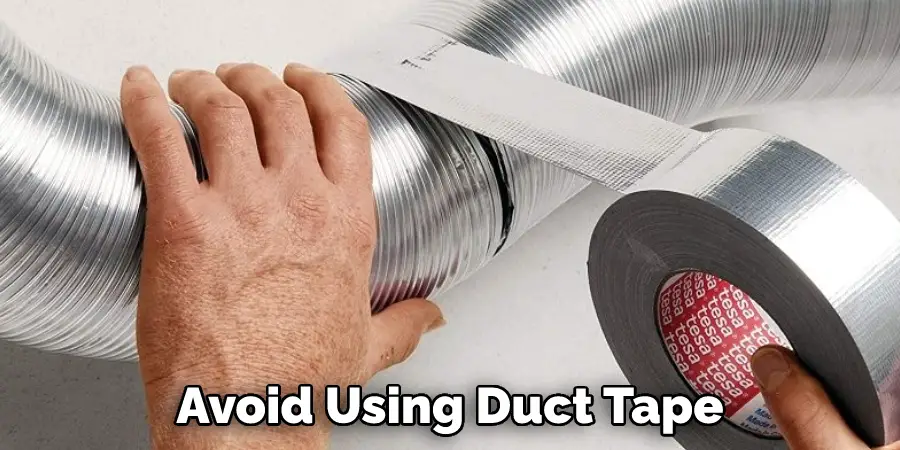
- Avoid using duct tape or similar materials to cover up any cracks or holes in the sump pump, as this could lead to hazardous conditions due to water leaking out of these areas.
- Don’t forget to turn off all the water before attempting to reset the sump pump. Failure to do so could result in flooding and other damage.
These steps will help ensure you can safely and effectively reset your sump pump, avoiding potentially costly repairs.
Conclusion
A sump pump is a great way to keep your basement from flooding, but it needs to be properly maintained. If you notice that your sump pump isn’t working the way it should, don’t hesitate to reset it. With just a few simple steps, you can get your sump pump back up and running in no time.
In conclusion, it is important to maintain your sump pump so that it will be able to function properly when you need it. Resetting a sump pump is not a difficult task, but there are certain things that you must keep in mind to do it correctly. With the proper care and maintenance, your sump pump should provide you with many years of service.
Hopefully, the article on how to reset a sump pump has been helpful. If you have any questions or concerns, don’t hesitate to contact a professional. Taking these steps will help you keep your basement dry and safe! Good luck!