
Running electrical cables from the basement to the attic can be a great way to extend your home’s lighting and power, making it possible for you to use appliances or fixtures in multiple areas of the house without having to invest in additional power supplies. Additionally, running wiring from your basement to your attic can help reduce clutter and create more usable space in both areas.
Running wire from the basement to the attic can be beneficial for a variety of reasons. It allows you to extend electrical power, phone lines, cable TV, or other wiring to areas that it would otherwise not reach. By extending these wires, you are able to reduce clutter in your living space by minimizing the need for unnecessary cords and cables. In this blog post, You will learn in detail how to run wire from basement to attic.
Step by Step Processes for How to Run Wire From Basement to Attic
Step 1: Inspect the Attic
Before you start running a wire from the basement to the attic, you need to inspect the attic. Look for any obstructions or existing wires that may get in the way of your project. Make sure there is a safe and suitable path between both areas before proceeding.
Step 2: Measure Twice, Cut Once
Measuring twice can save time and money in the long run. Measure out how much wire you need and purchase enough. Adding a couple of extra feet to your measurements is always smart, just in case you make an error or have to cut short due to an obstruction.
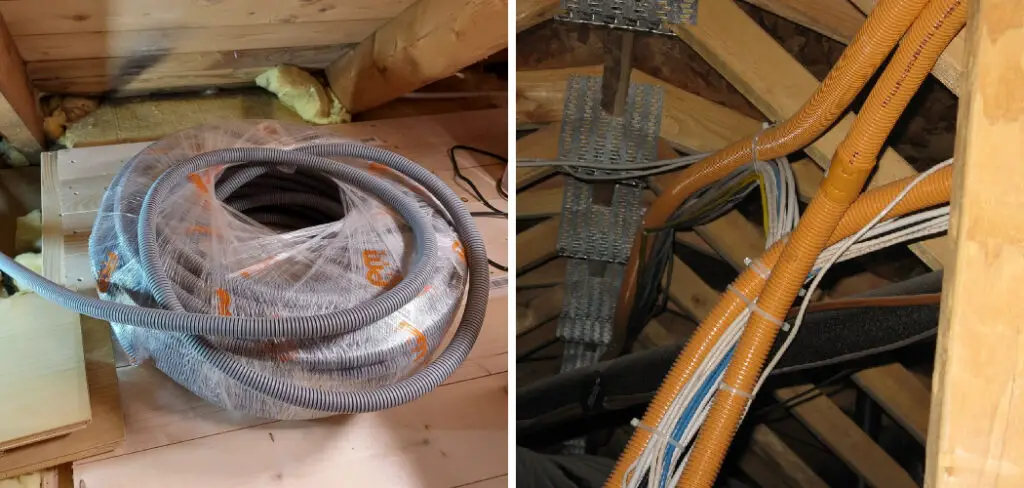
Step 3: Drill Holes for Wires
Using a drill with the appropriate bit, carefully drill holes into the ceiling and walls of the basement where you need to run the wire. Ensure to avoid any existing pipes or wires to keep your project safe. Once the holes are drilled, use fish tape to pull the wire through each hole. This will help make sure that you can get the wire from one area to another without any snags or disruptions.
Step 4: Secure Wire in the Wall and Ceiling
Secure the wire through the walls and ceiling with plastic clips, staples, or cable hangers. This will provide extra support for holding the wire in place while keeping it out of sight. Wrap electrical tape around each joint and connection to protect the wire from accidental damage. This will help ensure that the wire is secure and safe.
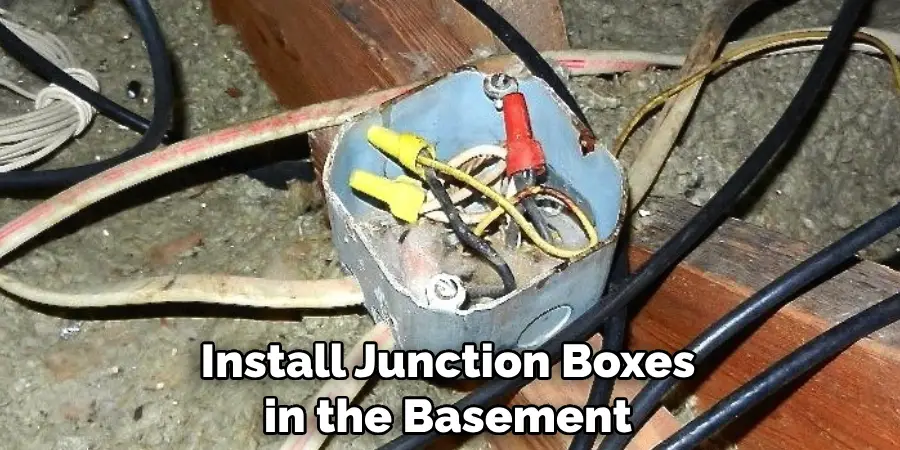
Step 5: Install Junction Boxes
Install junction boxes in the basement and attic if needed to store wires and connections when not in use safely. In each area, connect the wires to the respective junction boxes. This will provide a safe and secure place for all your wiring needs without worrying about them getting tangled up or damaged.
Step 6: Test Everything Out
Before you start using the new wire setup, make sure to test it out. Use a voltage tester to check that the wire is connected and running correctly. Make any adjustments if needed, and only use the new setup when everything is working properly. Labeling each part of your wire setup can be incredibly helpful in the long run. Labeling everything will make it easy to figure out what wire goes where as well as diagnose any future problems quickly.
Following these steps can help you properly run a wire from the basement to the attic in no time.
Tips for How to Run Wire From Basement to Attic
- Always turn off the attic and basement power before starting your wire-running project. This will ensure the safety of yourself and all of your electronic devices.
- Make sure you wear protective gear such as goggles, long sleeves, gloves, and a dust mask while working with electrical wiring or drilling into walls.
- Secure the wire to the wall using cable ties, and use them in an appropriate manner that doesn’t risk damaging the insulation of the wires. This will help prevent accidental disconnects or shorts.
- Label all wiring clearly, so you know where it goes when you’re ready to connect it. This will make the job a lot easier and prevent any mistakes.
- When drilling through walls or ceilings, be sure to use an appropriate bit size for the material you are drilling into. This will help reduce the risk of damaging electrical wiring or other objects in the wall space.
- Be sure to secure your wires away from all moving parts, such as fans and vents. This will help prevent accidental disconnects or shorts due to contact with these objects.
- Use an electrician’s fish tape to pull the wires through hard-to-reach spaces if possible. This will make it much easier and reduce the risk of damaging the wiring while pulling it through.
Following these tips will help ensure a safe and successful wiring project.
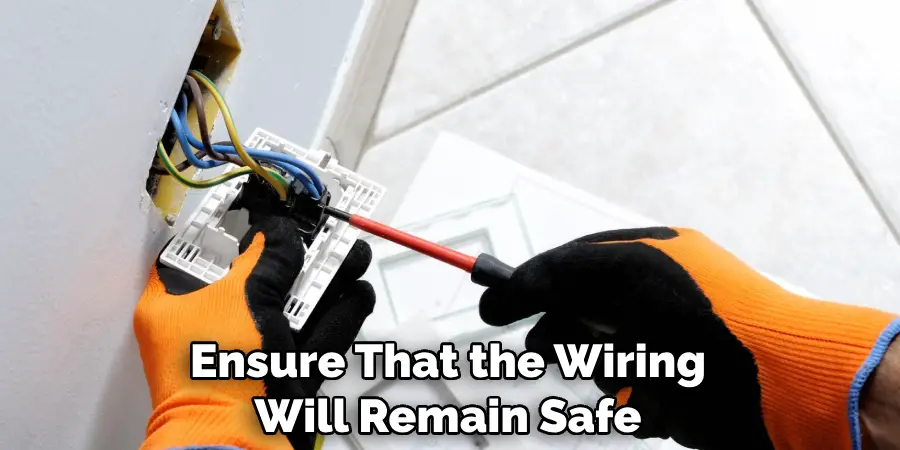
What is the Best Way to Secure the Wire in Place While Running Through Walls or Ceilings?
Securing the wiring along its route is crucial when running a wire from the basement to the attic. It’s important to ensure that the wiring will remain safe and in place as it travels through walls and ceilings so that damage does not occur over time.
You’ll need some wire staples and a staple gun to secure your wire while running through walls or ceilings. Begin by running the wiring from the basement to the attic, leaving enough slack in each turn so that you can easily work with it. As you go, place your wire staples along the route of the wiring at regular intervals.
The staples should be placed alongside the wiring in such a way that they will hold the wiring in place without pinching or otherwise damaging it. Once the wire is routed and secured with staples, you can move on to connecting it to your power source. Be sure that whatever electrical box you use is properly rated for the job and has been properly installed.
Make all connections securely – both at the power source and any other outlets – and be sure to use electrical tape or other insulation around all exposed wiring for added security.
Is It Necessary to Hire a Professional to Complete This Project, or Can A Diyer do it?
It is possible for a do-it-yourselfer (DIYer) to complete the project of running wiring from the basement to the attic, depending on their comfort level with electrical work. However, it is recommended that homeowners hire a professional electrician for any job involving electricity due to potential safety hazards.
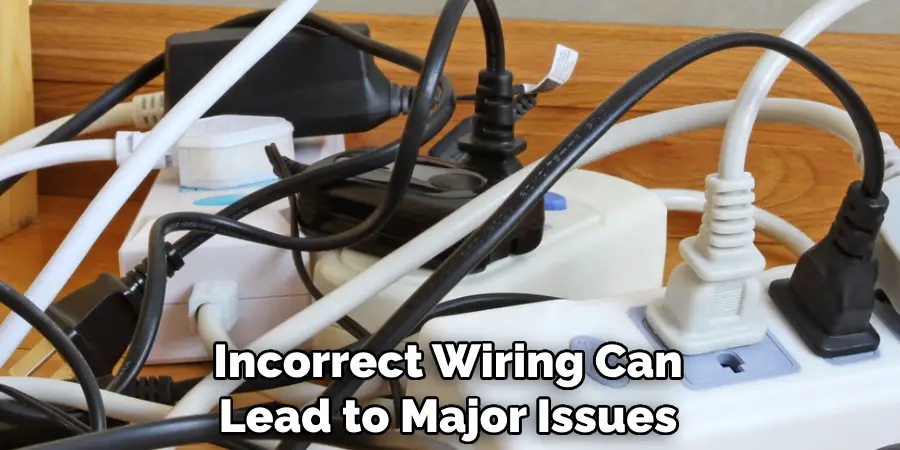
It is important to understand a home’s local codes and electrical system before attempting to complete this project. Using the proper tools for the job is also important, as incorrect wiring can lead to major issues like fire and electric shock.
Furthermore, an experienced professional will be able to inspect the existing electrical wiring in the home and ensure that it meets all safety standards. Hiring a professional electrician to run wiring from the basement to the attic is the safest and most reliable option. It is important to note that some tools, such as power drills and augers, may be necessary for the completion of this project, depending on the existing infrastructure.
Are There Any Special Methods for Connecting Two Wires Together in Order to Extend the Length of the Run?
Yes, several special methods are used when connecting two wires to extend the length of the run. The most common method is called “splicing” and involves twisting the two wire ends together and covering them with electrical tape or other insulation material. You can also use a wire connector like a twist-on or a crimp type for a more secure connection that won’t easily come undone.
Make sure to follow the specific instructions for whichever type of connection you choose, as it is important to ensure that the wires are secure and that no bare wire is exposed.
Another option is to purchase a pre-made cable for your run from the basement to the attic, which will have one end already attached to the other with a connector. This can make the job much easier, but it is important to ensure that all of the cables you use are rated for the power they will be carrying and for both dry and wet locations.
Finally, if your run includes several walls or partitions, remember to leave extra length when wiring the walls, as this will make it easier to connect wires from one side of the wall to the other.

Conclusion
In conclusion, running a wire from the basement to the attic is a relatively straightforward process that requires proper preparation and execution. It can be done safely and efficiently with the right tools, materials, and knowledge. Taking the time to plan out the route of the wires will make it easier and faster when it comes to physically running them through walls or ceilings, as well as ensuring that all connections are secure.
With a little patience and dedication, anyone can successfully run a wire from the basement to the attic. I hope this article has been beneficial for learning how to run wire from basement to attic. Make Sure the precautionary measures are followed chronologically.
