
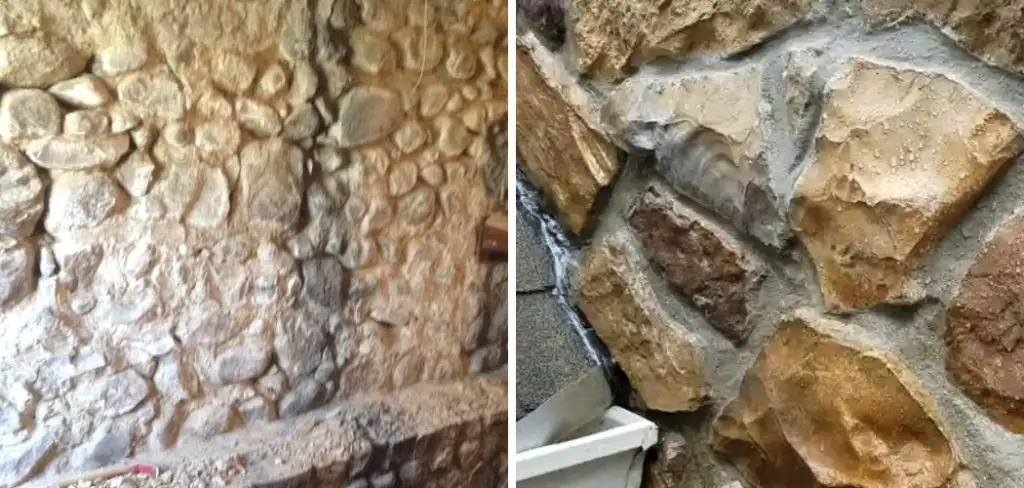
Sealing stone foundation basements is an important part of preventing water damage and keeping your home safe. It’s important to know how to properly seal a stone foundation basement, as improper sealing can lead to costly repairs down the road. Before you begin the process of sealing a stone foundation basement, it’s important to inspect the area for any visible signs of water damage or cracks in the foundation.
It is essential to ensure that you take the necessary steps to get the job done correctly. Although it can be a time-consuming process, following these steps on how to seal stone foundation basement will help elongate the life of your foundation, preventing moisture and other forms of damage from seeping in and causing problems down the road.
Required Items
To begin the process of sealing a stone foundation basement, you’ll need to gather all the necessary materials and items. These include:
- A brush or roller
- Cleaning cloths
- Masking tape
- Silicone caulking
- Sealant for exposed masonry
- Paintbrush
- Masonry sealer
- Protective gloves, goggles, and clothing
10 Steps on How to Seal Stone Foundation Basement
Step 1: Clean the Area
The first step in sealing a stone foundation basement is to thoroughly clean the area. You’ll want to remove any dirt, dust, or debris that may be on the surface of the wall. Use a brush and cleaning cloths to scrub away any stubborn areas and ensure that all traces of dirt and dust have been removed.
Step 2: Inspect the Area
Once the area is clean, you’ll want to inspect it for any visible signs of water damage or cracks that may be present in the foundation. If there are any, use masking tape to mark them off and repair them before continuing on with the process.
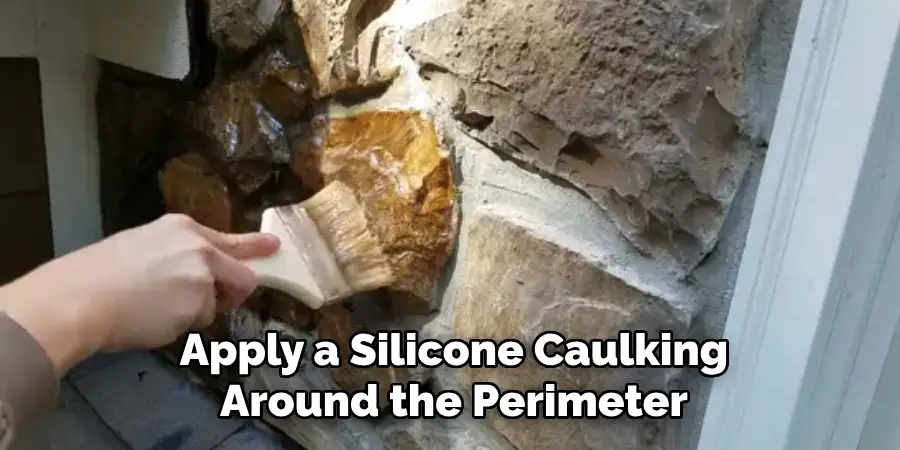
Step 3: Apply Silicone Caulking
Next, you’ll want to apply a silicone caulking around the perimeter of your foundation. This will help keep out moisture and other forms of damage from entering the area and causing problems down the road.
Step 4: Apply Sealant to Exposed Masonry
Once the caulking has been applied, you’ll want to apply sealant to any exposed masonry. This will help protect the foundation from water and other forms of damage as well.
Step 5: Apply Masonry Sealer
Next, you’ll need to use a paintbrush or roller to apply a masonry sealer to the interior walls of your foundation. This will help protect the walls from moisture and other forms of damage, as well as add a layer of protection to your foundation from water seeping in.
Step 6: Paint the Walls
Once the sealant and masonry sealer have been applied, you’ll want to paint the walls with waterproofing paint. This will give an extra layer of protection to the foundation from any water damage or other forms of damage that can occur.
Step 7: Wear Protective Gear
It’s important to make sure you are wearing protective gear when sealing your foundation. Things like gloves, goggles, and clothing should be worn in order to protect yourself from any hazardous chemicals that may be present in the sealant or paint.
Step 8: Wait for the Sealant to Dry
Once all of the steps have been completed, you’ll want to wait for the sealant and masonry sealer to dry before continuing on with the process. This can take up to 24 hours depending on weather conditions.
Step 9: Inspect Your Work
Once the sealant and masonry sealer have dried, you’ll want to go back over your work and inspect it for any visible signs of water damage or cracks. If any are found, you’ll need to repair them before continuing on with the process.
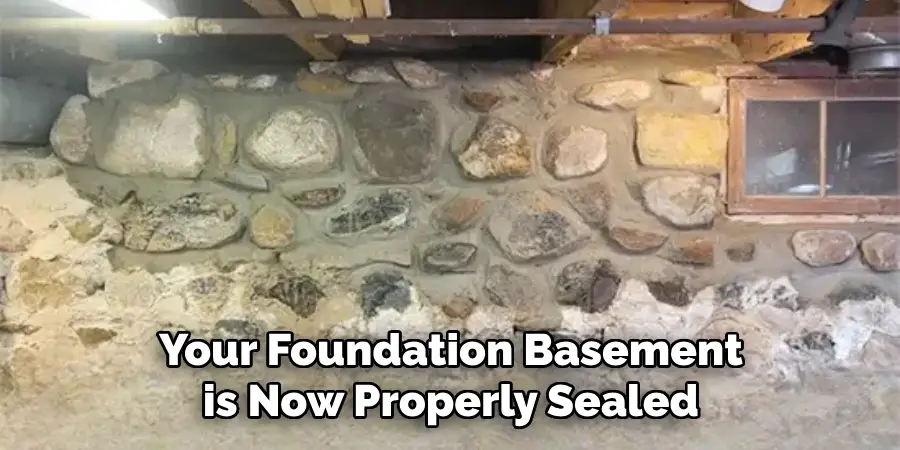
Step 10: Enjoy Your Newly Sealed Foundation Basement
After following these steps, your foundation basement is now properly sealed and you can enjoy the peace of mind that comes with knowing it is protected from water damage. With proper maintenance, this sealant should last for many years to come.
It’s important to remember that sealing a stone foundation basement is an involved process that takes time and effort. However, by taking the necessary steps and following the tips outlined here, you can ensure that your home is safe and secure from water damage for years to come.
8 Things to Keep in Mind When Sealing a Stone Foundation Basement
1.Right Sealant:
Make sure you select the right sealant for your project – different surfaces require different types of sealants. You should also choose a sealant that is safe for the environment, as some can contain hazardous chemicals.
2.Clean Surface:
It’s important to make sure you thoroughly clean the surface before applying any sealant, as dirt and debris can prevent it from properly adhering to the stone foundation. Otherwise, you may have to reapply the sealant later.
3.Mask Unsightly Areas:
If there are any areas that are visibly damaged or cracked, use masking tape to cover them before applying the sealant. This will help ensure that no moisture is able to seep through and cause further damage down the road.
4.Protect Yourself:
When applying sealant, make sure you wear protective gear such as gloves, goggles, and clothing to protect yourself from any hazardous chemicals that may be present in the sealant.
5.Allow Time to Dry:
Once the sealant has been applied, it’s important to give it time to dry before continuing on with the process. This can take up to 24 hours depending on weather conditions. Sometimes you may have to wait even longer for the sealant to fully cure.
6.Inspect After Drying:
Once the sealant has dried, you’ll want to go back over your work and inspect it for any visible signs of water damage or cracks. If any are found, you’ll need to repair them before continuing on with the process.
7.Repair Any Issues:
If there are any issues with the sealant, such as visible signs of water damage or cracks, you’ll need to repair them before continuing on with the process. This could involve reapplying additional layers of sealant or using a masonry sealer to fill in any gaps.
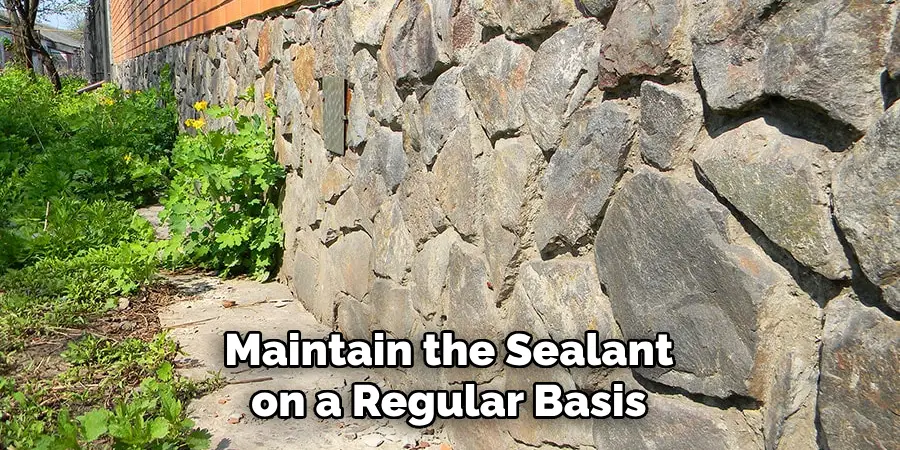
8.Maintain Regularly:
Finally, it’s important to remember that sealing a stone foundation basement is only the first step. You also need to make sure you maintain the sealant on a regular basis by inspecting for signs of damage and reapplying sealant as needed. This will help ensure that your stone foundation remains protected from water damage for many years to come.
By following these steps and keeping these tips in mind, you can rest assured that your stone foundation basement is properly sealed and protected from water damage. This will help keep your home safe and secure for many years to come.
Remember, if at any point during the process you have questions or feel like something isn’t quite right, don’t hesitate to reach out to a professional for help. They can guide you through the process and ensure that your stone foundation basement is properly sealed and protected from water damage.
Frequently Asked Questions
1. How Do I Know if My Stone Foundation Basement is Properly Sealed?
You can tell if your stone foundation basement is properly sealed by inspecting the area for any visible signs of water damage or cracks. If you see any, then you’ll need to repair them before continuing on with the process. Additionally, it’s important to maintain the sealant on a regular basis by inspecting for signs of damage and reapplying sealant as needed.
2. What are the Benefits of Sealing My Stone Foundation?
Sealing your stone foundation has a number of benefits. First, it will help to reduce water damage and prevent mold growth in your basement. Additionally, it will increase the energy efficiency of your home by preventing cold air from coming into your space through cracks or leaks. Finally, it can protect against pests who may try to enter your home through the basement.
3.How Much Will It Cost?
The cost of sealing your stone foundation can vary greatly depending on several factors, such as the size of the area to be sealed and the type of sealant used. Generally speaking, you should expect to pay anywhere from $200-$1000 for a job that involves sealing an entire basement. You may also need to factor in additional costs if there is extensive damage that needs to be repaired first.
4. How Long Will the Sealant Last?
The longevity of the sealant depends on the type you use and how well it is cared for. Generally, most sealants are designed to last from 5-10 years with proper maintenance. However, this timeframe can vary depending on the material used and environmental factors such as exposure to extreme temperatures.
5. Are There Other Ways to Protect My Basement from Water Damage?
Along with sealing your stone foundation, there are a number of other methods you can use for protecting your basement from water damage. For instance, installing a sump pump or waterproofing membrane can help to ensure that water stays out of your basement.
Additionally, making sure that your gutters and downspouts are in proper working order can help to decrease the amount of water that gets into your foundation. Ultimately, the best way to protect your basement from water damage is by taking preventive measures before any issues arise.
Conclusion
Sealing your stone foundation is an important step in protecting your basement from water damage and other issues. It can be a somewhat expensive process, but the benefits of doing so far outweigh the cost.
Additionally, there are a number of other preventive measures that you can take to help ensure that your basement remains dry and free from pests or mold growth. With proper sealing and maintenance, your stone foundation basement will be safe and protected for years to come. So, follow the steps on how to seal stone foundation basement and get started.
