
Basements are an essential part of any house. They are the foundation of the house and are often used for various purposes like storage, laundry rooms, and even as living areas. However, many homeowners overlook the importance of maintaining their basement walls, which can lead to unappealing and structurally unsound walls.
Concrete walls, in particular, can be hard to work with, and their rough surface can make it challenging to decorate them. In this blog post, we will share steps on how to smooth concrete basement walls, restoring them to their original pristine condition.
Can You Smooth Concrete Basement Walls?
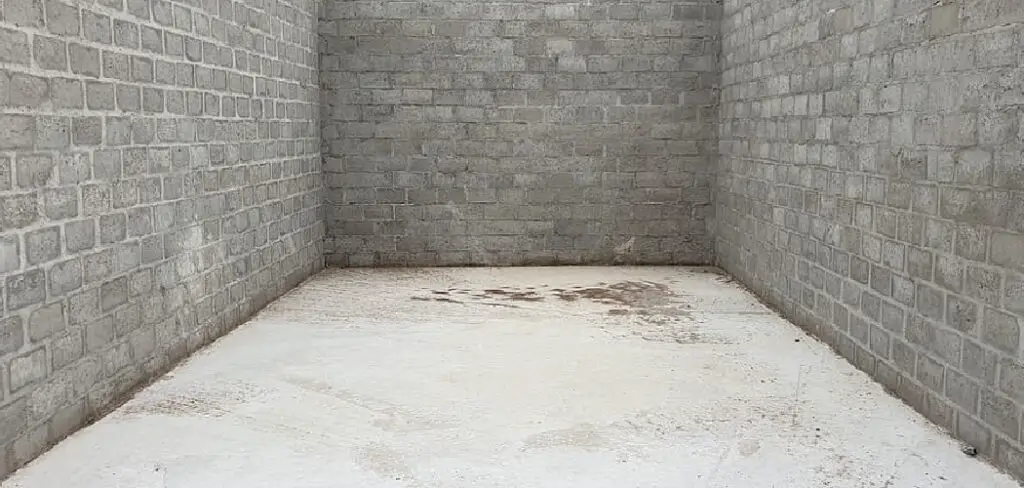
Concrete basement walls can often look dull, rough, and unfinished, making the space feel unwelcoming and cold. However, you might be surprised to learn that it is indeed possible to smooth concrete basement walls, giving your basement a more polished look.
Through the process of plastering, you can even out bumps, fill in rough areas, and create a much more appealing surface. This could also add value to your home if you plan on selling in the future.
Not only will your basement look better, but it will also feel more comfortable, making it a much more inviting space for your family and guests. If you’re tired of looking at unsightly walls in your basement, consider smoothing them out and giving your space the makeover it deserves.
Why Should You Smooth Concrete Basement Walls?
If you’re renovating your basement, one thing you don’t want to overlook is smoothing out your concrete walls. Sure, it may seem like an extra step that doesn’t make much of a difference, but the truth is that it significantly impacts the overall comfort and functionality of your space.
Decorating your basement can be a great way to enhance your home, but nobody wants to spend time in a room that looks and feels like a dungeon. By smoothing out your concrete walls, you’ll be creating a more polished and welcoming environment that will make your basement a more enjoyable place to spend time.
Plus, smooth walls are much easier to clean and maintain, helping you keep your space looking great for years to come. So why not take the extra step and smooth out those rough concrete walls? Your basement (and your family) will thank you!
How to Smooth Concrete Basement Walls Step-by-Step Guide
Step 1: Preparation
Preparation is crucial before beginning any home improvement project. Start by ensuring that the area around the walls is free from obstructions, and use protective gear like goggles and gloves.
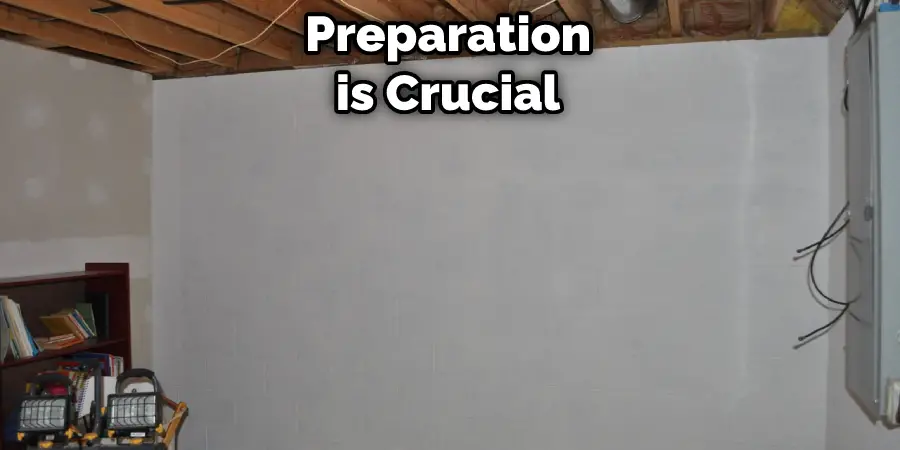
Assess the condition of the walls, noting areas that may require additional repair. Clean the walls thoroughly with a pressure washer, scrubbing with a stiff-bristle brush. Removing dirt and grime from the walls helps the smoothing process and improves the adhesion of any products applied to the walls later on.
Step 2: Fill Any Cracks or Holes
The next step is to fill any cracks or holes in the walls using an epoxy or concrete filler. Use a putty trowel to apply the product, ensuring that it is level with the surface of the wall.
Let the filler dry according to the manufacturer’s instructions, and sand the surface to remove any bumps or rough spots. The goal is to create an even, smooth surface before painting or applying finishing touches.
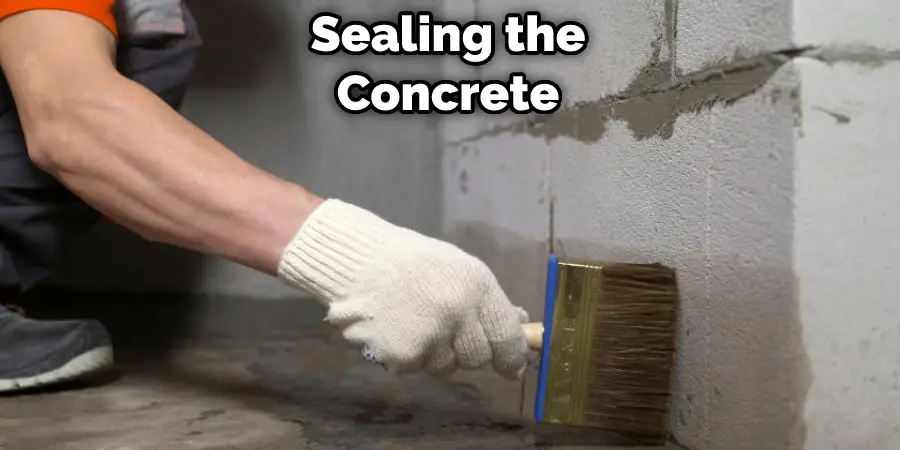
Step 3: Apply a Concrete Sealer
After filling any cracks, it’s time to apply a concrete sealer, which helps smooth the walls and make them more durable. Choose a concrete sealer suitable for basement walls, as some products may not be effective in this area due to the high moisture levels. Apply the sealer per the manufacturer’s instructions using a paintbrush or roller. Wait for the first coat to dry before applying a second coat.
Step 4: Apply Paint or A Decorative Finish
After sealing the walls, you can now apply paint or a decorative finish of your choice. Choose a paint suitable for concrete, and apply it evenly over the surface of the wall using a paintbrush, roller, or sprayer. If you prefer a decorative finish, consider using stucco or plaster. These materials can be applied to concrete walls, giving them a different texture and style.
Step 5: Maintain
Next, maintaining the newly smoothed and decorated walls is essential. Regularly inspect the walls for cracks, holes, or any other damage, and promptly repair any issues. You can also clean the walls using a damp cloth or sponge to remove dust, dirt, or stains.
Step 6: Replace Damaged Areas
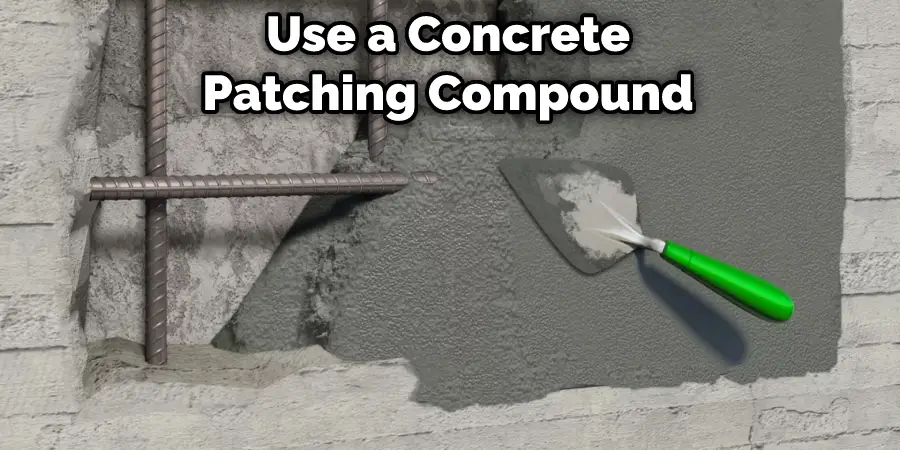
If you notice any areas of damage, like cracking or crumbling walls, it’s important to repair these immediately. Use a concrete patching compound to fill in any holes and cracks, and sand the area for a smoother finish. After this is done, let the area dry completely before applying paint or a decorative finish.
Step 7: Seal the Wall Again
Once you’re done with your repairs, it’s important to apply a sealer over the walls again. Ensure that you use one suitable for concrete basement walls, and follow manufacturer instructions on properly using the product. Let the sealer dry before applying any additional coats.
These steps can help you transform your rough and cracked concrete basement walls into beautiful, smooth surfaces. With the right preparation, materials, and maintenance, you can enjoy your newly renovated space for years to come.
5 Considerations Things When You Need to Smooth Concrete Basement Walls
- The first thing you need to do is determine the type of concrete wall you have. There are two types of concrete walls: poured and block. Poured walls are made from a continuous pour of concrete, while block walls are made from individual blocks that are joined together.
- Next, you need to identify the problem areas on your concrete wall. These are the areas that are cracked, chipped, or otherwise in need of repair. Once you have identified the problem areas, you can begin to repair them.
- If your concrete wall is made from poured concrete, you will need to patch the cracks with new concrete. Simply mix some new concrete and fill in the cracks to do this. Once the new concrete has dried, you can sand it down to match the rest of the wall.
- If your concrete wall is made from blocks, you will need to replace any damaged blocks. To do this, simply remove the damaged block and replace it with a new one. Once all of the damaged blocks have been replaced, you can then mortar them in place.
- Once you have repaired all of the damage to your concrete wall, you will need to smooth it out so that it is level with the rest of the wall. To do this, you can use a power washer or a hand sander. Start at the top of the wall and work your way down until the entire surface is smooth.
Benefits of Smooth Concrete Basement Walls
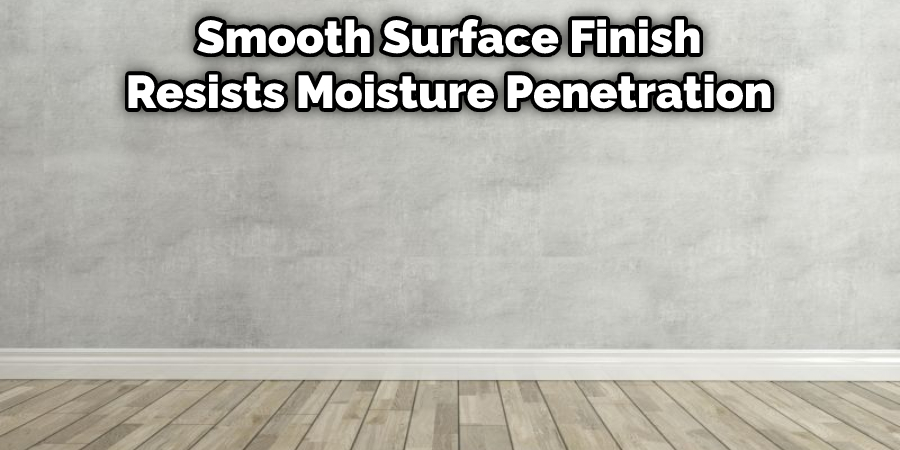
Smooth concrete walls in your basement come with several benefits. First, a smooth surface finish resists moisture penetration, preventing mold and mildew growth and protecting your home’s foundation. Additionally, smooth walls make cleaning and maintaining a neat, dust-free, and healthy environment in your basement easier.
In fact, smooth walls require less effort and resources to clean compared to textured surfaces. Smooth walls also facilitate better lighting in your basement space, brightening the room and making it appear more welcoming and inviting.
Finally, smooth concrete walls make it easier to install insulation, improving energy efficiency and lowering energy costs. By opting for a smooth finish for your concrete walls, you ensure a healthy, clean, and welcoming environment in your basement.
4 Common Mistakes People Make When Trying to Smooth Concrete Basement Walls
1. Not Preparing the Surface Properly
One of the most common mistakes people make when trying to smooth concrete basement walls is not preparing the surface properly. If the surface is not clean and free of debris, the concrete will not adhere correctly and will not be as strong. Additionally, any cracks or holes in the wall should be filled in before attempting to smooth the surface.
2. Not Using the Correct Tools
Another mistake people make is not using the correct tools. Concrete must be smoothed with a power sander or grinder in order to achieve a completely smooth finish. Attempting to smooth concrete by hand will result in an uneven, bumpy surface.
3. Not Allowing the Concrete to Cure
Another common mistake is not allowing the concrete to cure properly before adding any finishes. Concrete must cure for at least 24 hours before adding paint or other finishes. Adding finishes too soon will cause them to peel and flake off over time.
4. Not Sealing the Concrete
Finally, one of the most important steps in smoothing concrete basement walls is sealing the concrete once it has been smoothed. Sealing concrete will protect it from moisture and stains and will also make it easier to clean.
Conclusion
In summary, smoothing concrete basement walls is crucial in maintaining the condition and appearance of your house’s foundation. While the process may seem daunting, the steps outlined in this blog will help you achieve the desired results.
Remember, proper planning, preparation, and the use of the right products are essential in smoothing concrete walls. By following these tips, you can restore your basement walls to an attractive and durable surface that lasts for years to come. Thanks for reading our post about how to smooth concrete basement walls.
