Having a dryer in the basement can be a great convenience for homeowners, especially during times when doing laundry is frequent. With modern technology and engineering, it’s now easier than ever to install a dryer in your basement. But are there any potential risks associated with having one? In this blog post, we’ll explore what you need to keep in mind if you’re considering installing a dryer in the basement of your home.
We’ll also look at some key benefits that come with having this kind of setup in place. The goal of this article on how to vent a dryer in the basement is to provide you with all the information necessary to make an informed decision about whether or not it’s right for you and your space.
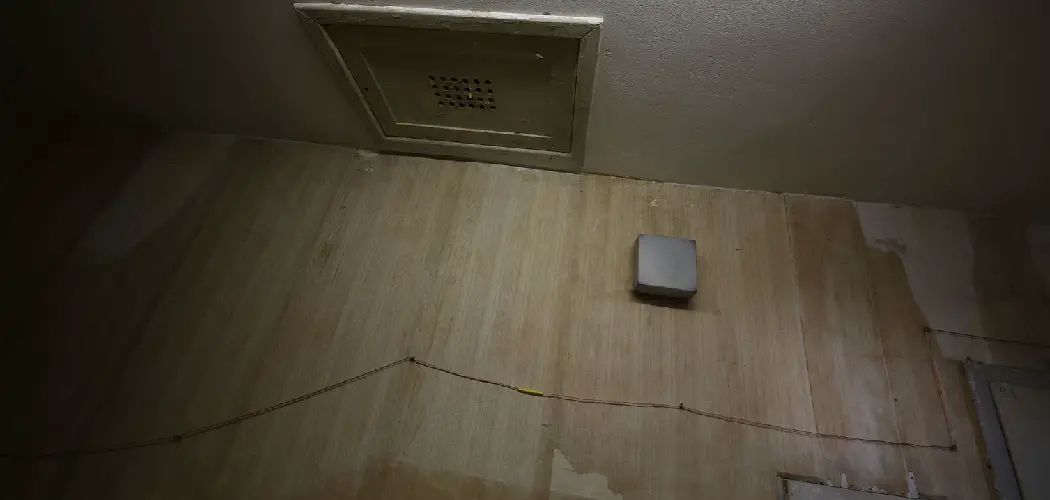
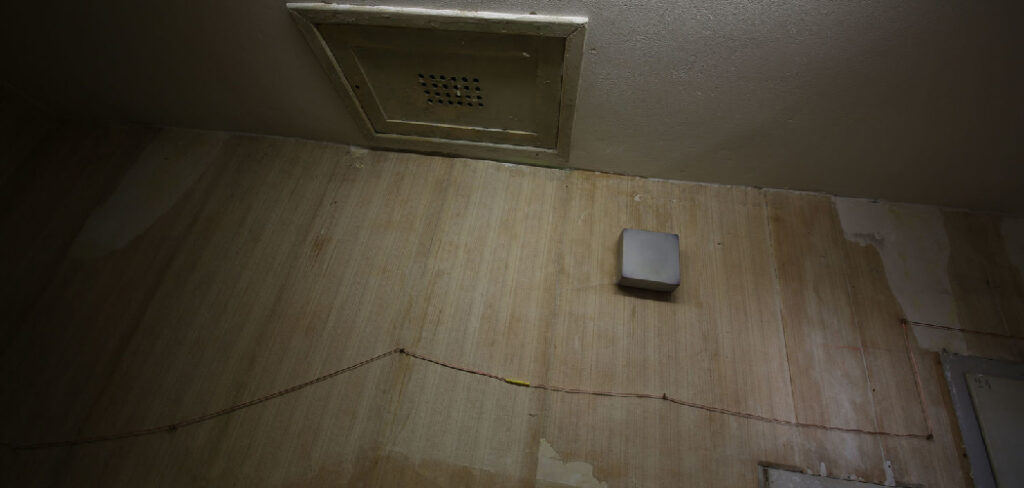
Why Do You Need to Vent a Dryer in the Basement?
1. Ventilation
The reason why you need to vent a dryer in the basement is due to the fact that a dryer generates hot air and moisture while running. Without proper ventilation, this could lead to uncomfortable living conditions in your home and can even cause mold or mildew growth.
2. Safety
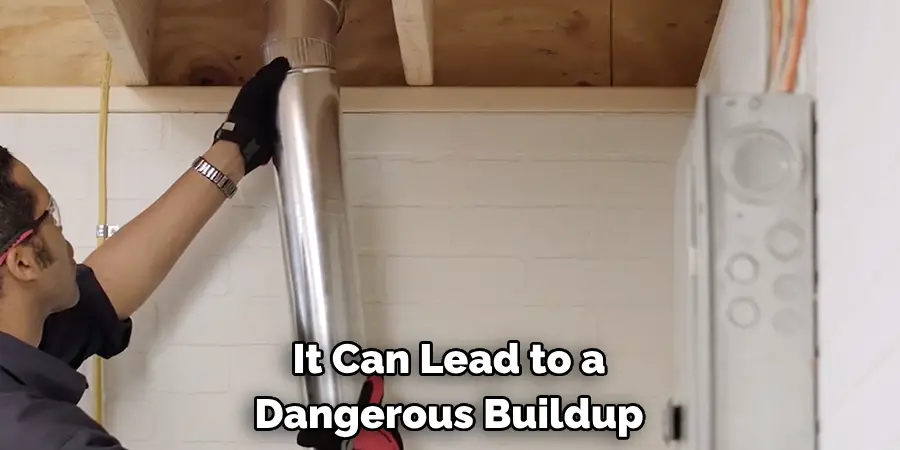
Having the right ventilation in place is also important for safety reasons. If your dryer vent isn’t vented properly, it can lead to a dangerous buildup of lint and other debris that can easily catch fire. Properly venting your dryer in the basement can help ensure that these hazards are taken care of effectively and safely.
3. Efficiency
Venting your dryer in the basement can also help make it more efficient and help reduce drying time. This is because when hot air is properly vented out of the dryer, it’s able to heat up faster and circulate through the rest of the house more quickly.
The Benefits of Venting Your Dryer in the Basement
1. Money Savings
Properly venting your dryer in the basement can lead to money savings in the long run. For starters, having an efficient system in place that is able to circulate air quickly helps reduce energy consumption and costs since it won’t need to run for as long. Additionally, vented dryers reduce the risk of lint buildup, meaning you won’t have to pay for costly repairs down the line.
2. Health Benefits
Venting your dryer in the basement also helps reduce the risk of mold and mildew growth due to improved air circulation. This can help keep your home and family healthier by removing excess moisture from the air more quickly and efficiently.
3. Space Savings
Finally, having your dryer vent in the basement can also help save space in your home since it won’t need to take up a large portion of it. This makes it perfect for those who live in smaller homes or apartments and still want the convenience of having a dryer without sacrificing too much space.
Required Items for Venting a Dryer
1. Vent Pipe
The first and most important requirement for installing a dryer vent in the basement is having the right vent pipe. This needs to be long enough to reach from the back of your dryer to an outside wall or window, depending on the location of your basement.
2. Elbow Joints
You’ll also need to make sure that you have enough elbow joints when setting up the vent pipe. This is because these help direct air upward and can be adjusted depending on the length of your vent pipe.
3. Wall Plate
Finally, you’ll need a wall plate to finish off the installation properly. This helps prevent any moisture or debris from entering your home through the vent pipe and also gives the setup a more finished look.
10 Ways How to Vent a Dryer in the Basement
1. Measurement
Measure the necessary length of pipe needed for installation. You’ll need to measure from the dryer vent to an outside wall or window. Also, make sure to factor in the number of elbows needed for installation.
2. Cut the Pipe
Using a pipe cutter, cut the necessary pieces of pipe to fit your dryer vent installation as closely as possible. Make sure that all cuts are straight and even so as not to impede airflow while using the dryer. Cutting the pipe too short can lead to complications and additional modifications down the line.

3. Connecting Pieces
Using elbow joints or straight connectors, connect all of the pieces of pipe together until you reach your desired length. Make sure that each joint is connected securely and properly so that it will not come apart while in use.
4. Secure Vent Pipe
Securely fasten the vent pipe to your dryer and the exterior wall or window. Make sure that all joints are airtight so that airflow won’t be blocked while using the machine. Securing the pipe properly can also help reduce the amount of noise it makes while in use.
5. Wall Plate Installation
Install a wall plate at the end of your vent pipe to prevent any moisture or debris from entering your home. This will also give the setup a more finished look and make sure that everything is securely fastened in place.
6. Caulking
Use caulk to seal the vent pipe and wall plate together to ensure that there is no air leakage. This will help you get the most out of your dryer and make sure that it runs as efficiently as possible.
7. Air Flow Test
Once everything is installed, it’s important to test the airflow of your setup. This can be done by using a vacuum cleaner to see if air is being properly circulated through the dryer vent. Airflow tests should be done regularly to make sure that your setup is functioning properly.
8. Insulation
If possible, you should also consider insulating the vent pipe where it exits the exterior wall or window to help reduce noise and improve efficiency. This can be done by using a foam sleeve which helps trap air and reduce noise levels while in use.
9. Regular Cleaning and Maintenance
In order to keep your dryer vent functioning properly, it’s important to clean it regularly and check for any blockages or buildup. This can be done by using a vacuum cleaner or compressed air to dislodge any debris and make sure that the airflow is working correctly.
10. Professional Assistance
If you’re unsure of how to install or maintain a dryer vent in your basement, it’s important to seek the assistance of a professional. They can help you ensure that everything is properly installed and configured for optimal efficiency, as well as provide tips on proper maintenance and cleaning.
Having the right ventilation in place when venting a dryer in the basement is essential for both safety and efficiency. With the right setup, you can reduce drying time and energy costs while also keeping your home and family healthier. By following these 10 steps, you’ll have everything in place to vent your dryer in the basement properly and reap all of the benefits it has to offer!
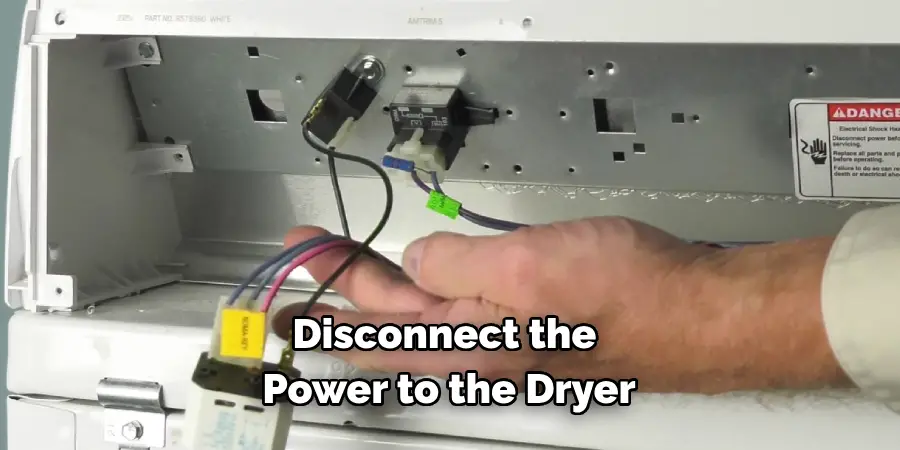
6 Safety Precautions to Follow
When venting a dryer in the basement, it is important to take safety precautions. Make sure you:
1. Disconnect the power to the dryer before beginning any ventilation work. This will prevent electric shock and reduce the risk of fire. Disconnecting the power can be done by unplugging it from the wall or turning off the circuit breaker.
2. Always wear safety goggles and gloves when doing any work involving electricity. This will help protect your eyes and hands from flying sparks during installation. Wearing safety equipment will also help prevent other injuries.
3. Make sure the area around the dryer is clear of any combustible materials such as wood, paper, or cardboard boxes. This will reduce the risk of fire and accidental burning.
4. Check the venting instructions for your specific dryer model before beginning the installation process. This will ensure that you are following all of the correct procedures and installing the machine correctly.
5. Install a vent hood to prevent lint from accumulating and being released into the air. Lint can be highly combustible, so it is important to keep it away from any potential sources of ignition.
6. Ensure that the vent goes outside and not into another room in the basement, as this can be a fire hazard.
Conclusion
Overall, removing staples from the floor is a manageable and straightforward task with the right steps in place. It is important to keep safety at the top of your mind and equip yourself with the necessary tools before getting started. With regular maintenance, you can easily prevent staples from otherwise damaging your flooring.
Gather any sharp objects, and use an adhesive remover to gently loosen up staples before attempting to remove them manually or using pliers. Once all traces of staples are removed from the floor properly, you may find it necessary to repair any holes or damages caused in the process. Having these tips on how to vent a dryer in the basement in hand will ensure that you remove staples safely and efficiently so as to avoid causing further damage to other materials around your worksite.