Are you looking for an easy, effective way of quickly and permanently fixing leaks or patching holes in your basement walls? If so, Drylok Fast Plug is the perfect solution. With superior interior waterproofing capabilities compared to traditional cement-based products, Drylok Fast Plug is ready to come in and get the job done. Read on if you’re interested in finding out how best to apply this incredible product!
Drylok Fast Plug might be the perfect solution for your issue. This product is designed to quickly and effectively seal leaks in concrete walls and floors as well as grout lines around showers, tubs, and other tiled surfaces. It’s made up of hydraulic cement that expands when it dries; this helps create a stronger bond than traditional methods. So if you’re looking for an easy way to protect your basement from water damage or just want to repair some existing cracks and holes in cemented walls, read on to learn more about how to apply drylok fast plug.
Why May You Want to Apply Drylok Fast Plug?
1. To Help Waterproof Your Home or Business
One of the main reasons you may want to apply Drylok Fast Plug is to help waterproof your home or business. This product is designed to fill and seal cracks, joints, holes, and other openings in concrete surfaces. This helps prevent water from seeping through the walls or floors of your structure.
2. To Prevent Damage Caused by Moisture
Another reason to use Drylok Fast Plug is to prevent damage caused by moisture. Moisture can cause mold, mildew, and rot in your walls or floors. These issues can be expensive to fix and time-consuming, so using a product like this can help you avoid them altogether.
3. To Improve Aesthetic Appeal
In addition to protecting your home or business from water damage, applying Drylok Fast Plug can also improve the overall aesthetic appeal of your space. The product is designed to match the color of most concrete surfaces, making it a great choice for those who want to make their walls and floors look nicer without compromising on functionality.
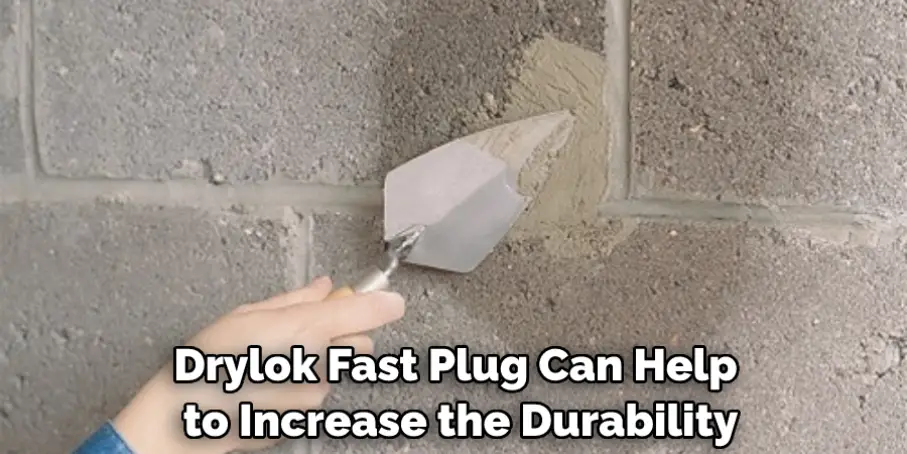
4. To Increase the Durability of Your Structure
Finally, applying Drylok Fast Plug can help to increase the durability of your structure. By filling and sealing cracks, joints, holes, and other openings in concrete surfaces, you can ensure that your walls or floors are better able to withstand wear and tear over time. This means less maintenance for you and a longer-lasting structure overall.
How to Apply Drylok Fast Plug In 5 Easy Steps
Step 1: Gather All The Tools You Need
The very first step is to make sure you have all the tools you need to apply Drylok Fast Plug correctly. This includes things such as a putty knife, rubber mallet, and masonry trowel.
Step 2: Clear Out The Area
Once you have gathered everything you need, it’s time to start preparing the area where the Drylok Fast Plug is going to be applied. Clear out the area and make sure there are no obstructions that will get in the way during application.
Step 3: Prepare The Surface
Next, you need to prepare the surface for the Drylok Fast Plug by using a masonry trowel. This will help smooth out any rough edges and create a level surface for the product to adhere to.
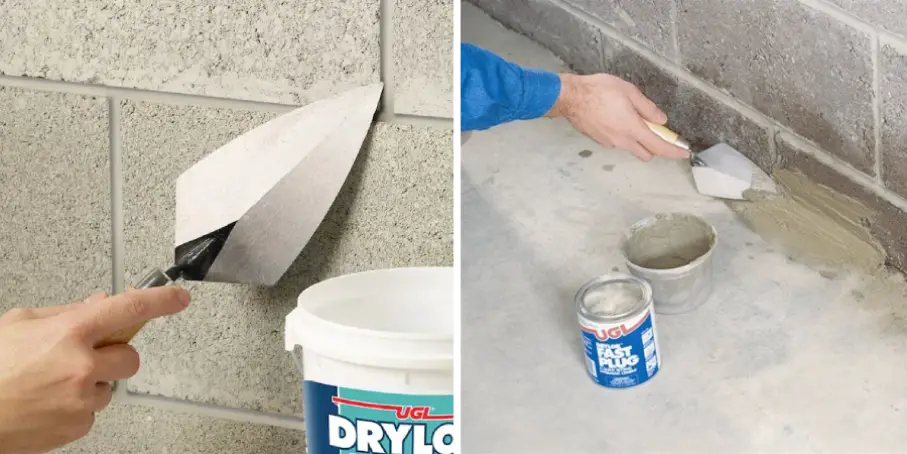
Step 4: Apply The Drylok Fast Plug
Once the surface is prepared, you can start applying the Drylok Fast Plug. Use a putty knife or rubber mallet and gently press the product into place. Make sure it’s firmly in place before moving on to the next step.
Step 5: Caulk And Paint
The last step is to caulk and paint the area where you applied the Drylok Fast Plug. This will help protect it from moisture and make sure it stays in place. Also make sure to let it dry completely before walking on the area.
Following these steps will ensure that you apply Drylok Fast Plug correctly and reap its full benefits. It’s an easy, cost-effective solution for waterproofing basements and other areas prone to water damage. With a little bit of preparation and effort, you’ll be able to apply Drylok Fast Plug and protect your home from moisture damage.
Some Tips to Apply Drylok Fast Plug
1. Do Not Use Salt-Based Cement
This is important, as the salt in the cement can react with the drylok and cause it to fail. Also you have to make sure that the surface you are applying it to is dry and clean before you start.
2. Wear Protective Gear
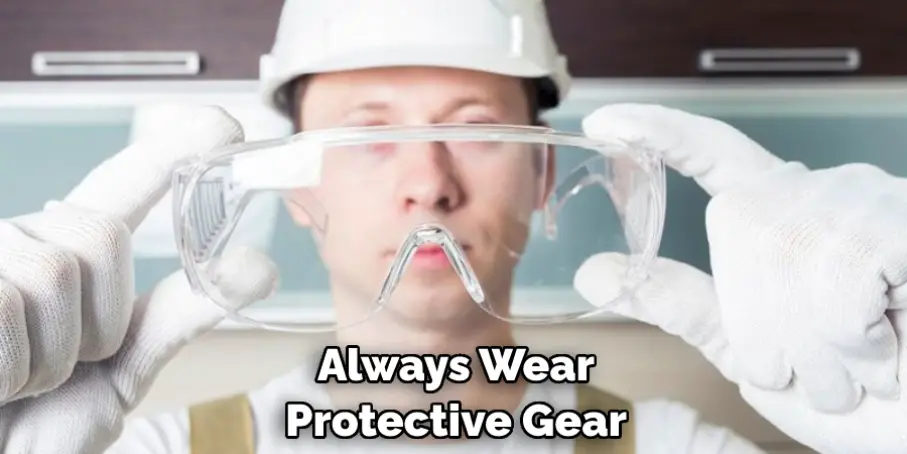
When applying Drylok Fast Plug, always wear protective gear such as safety glasses and gloves. This will help protect you from any potential hazards, such as dust or fumes that may be released during use.
3. Prepare the Area
Before you start the application, make sure to clear away any debris and excess material from the area that you are going to be working in. This will help ensure a smooth and even finish when you finish the job.
4. Apply the Drylok Fast Plug
Once your workspace is prepared, it’s time to start applying the Drylok Fast Plug. Start by pouring the material into a bucket and mixing it with water until you get a creamy consistency. Once ready, use a trowel or putty knife to apply the mix evenly over the area that needs to be repaired. Make sure to fill any cracks completely and smooth out any surface imperfections.
5. Cure the Drylok Fast Plug
Once you have applied the Drylok Fast Plug, allow it to cure for at least 24 hours before applying any additional coats or paint. This will ensure that the patch is strong enough to last for years to come.
Frequently Asked Questions
What Precautions Should I Take When Applying Drylok Fast Plug?
When applying Drylok Fast Plug to any surface, it is important to wear protective gear such as safety glasses and a respirator mask. Additionally, make sure the area you are working in is well-ventilated and that you avoid contact with skin and eyes.
What Tools Do I Need to Apply Drylok Fast Plug?
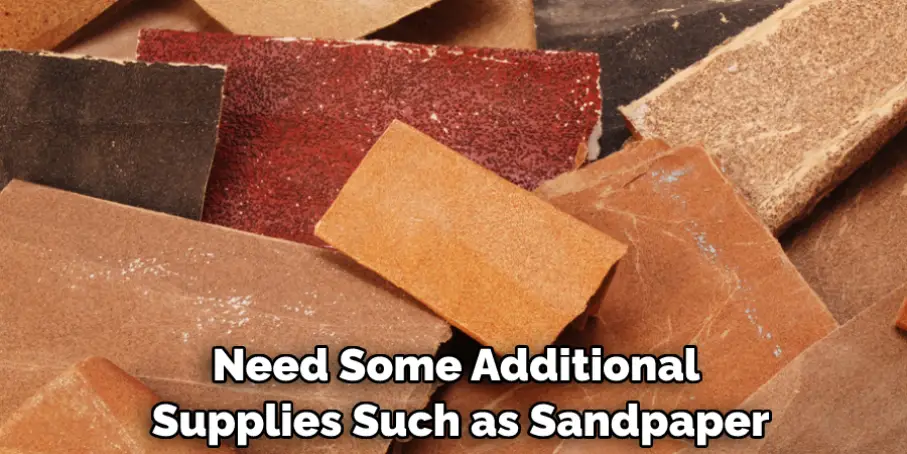
Before you begin, gather the following tools and materials: a trowel, a chisel or knife, water hose, gloves and safety gear. You may also need some additional supplies such as sandpaper for rough surfaces or wire brush for areas with mold.
How Should I Prepare the Surface Before Applying Drylok Fast Plug?
Before applying Drylok Fast Plug, you should first clean and dry the surface that will be sealed. Make sure to remove any loose debris or dirt from the area and use a wire brush for any areas with mold. If necessary, rough up the surface using sandpaper.
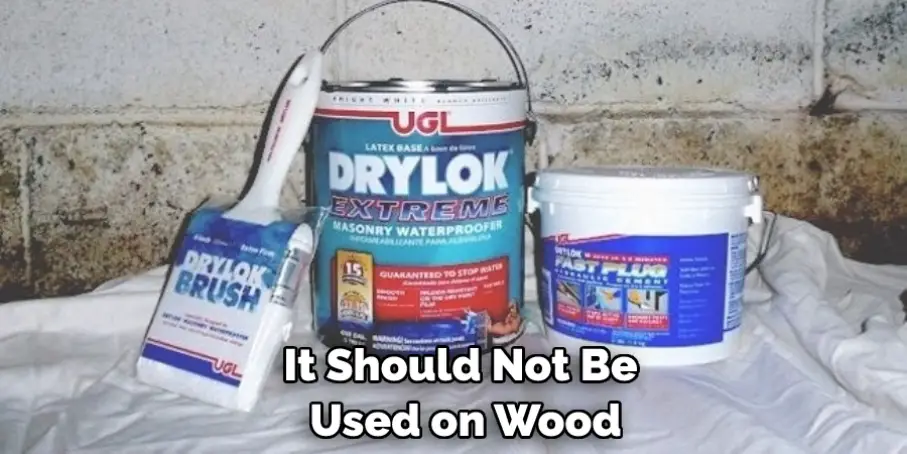
Can I Use Drylok Fast Plug On All Surfaces?
Drylok Fast Plug is designed to be used on concrete, brick and masonry surfaces. It should not be used on wood, metal or plastic. Additionally, it should not be used in areas that may come into contact with water such as showers or swimming pools.
Conclusion
Now you know how to apply drylok fast plug! In conclusion, applying Drylok Fast Plug is a great way to prevent foundation water seepage and any potential harmfulness. All you need is the fast plug, a trowel, and some patience! Start by finding a damp spot outside near your home patio area or foundation wall and then scoop it out with your trowel.
Once the surface is flatly evened out, apply your Drylok Fast Plug according to the instructions on the packaging. You may have to apply another few layers of Paint in order to be sure the installation of the Drylok Fast Plug has been done correctly.
