
If you’ve recently acquired a home with a basement that needs some TLC, then learning how to lower your basement floor might be the best way to maximize its potential. Whether you’re looking to increase the usability of your space by adding extra height or creating an open concept, feel between two spaces, lowering the existing subfloor can provide numerous benefits.
Read on for professional tips and tricks on how to lower basement floor efficiently and cost-effectively!
Tools and Materials You Will Need to Lower Basement Floor
- Measuring Tape
- Circular Saw
- Sledgehammer
- Pry Bar
- Shovel or Garden Spade
- Protective Gear (Goggles and Gloves)
- Concrete Blocks
- Cement Mixer or Bucket
Step-by-Step Guidelines on How to Lower Basement Floor
Step 1: Measure the height
Before beginning any work, you’ll want to measure the existing height of your basement floor. This will help you know how much of the subfloor needs to be removed and can also serve as a starting point for calculating how many materials you’ll need. Measuring the floor is simple. Just use a measuring tape to determine how many inches or feet you need to remove.
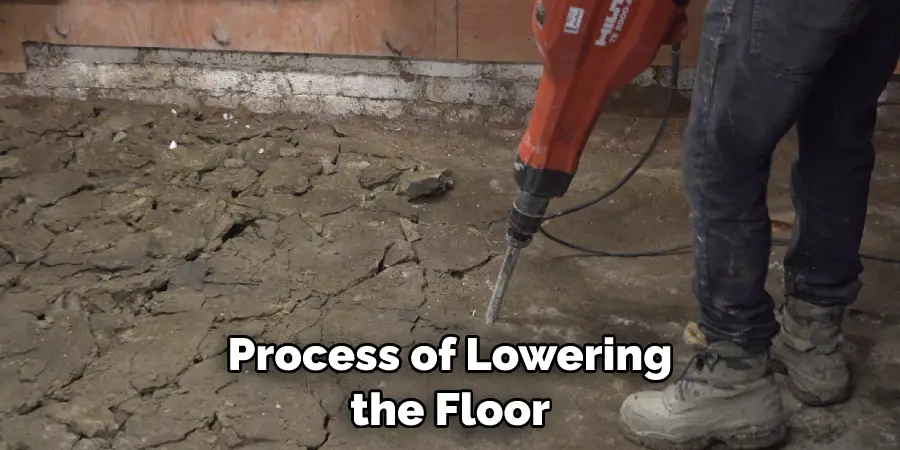
Step 2: Prepare the Space
Clear out any existing furniture or clutter that may be in the way. Put on your protective gear, and use a sledgehammer to break apart the existing flooring material. Remove as much of the debris as possible with a shovel or garden spade before proceeding to the next step. When preparing your space, be sure to also inspect the existing wall studs and ceiling joists for any signs of damage that may require you to make repairs.
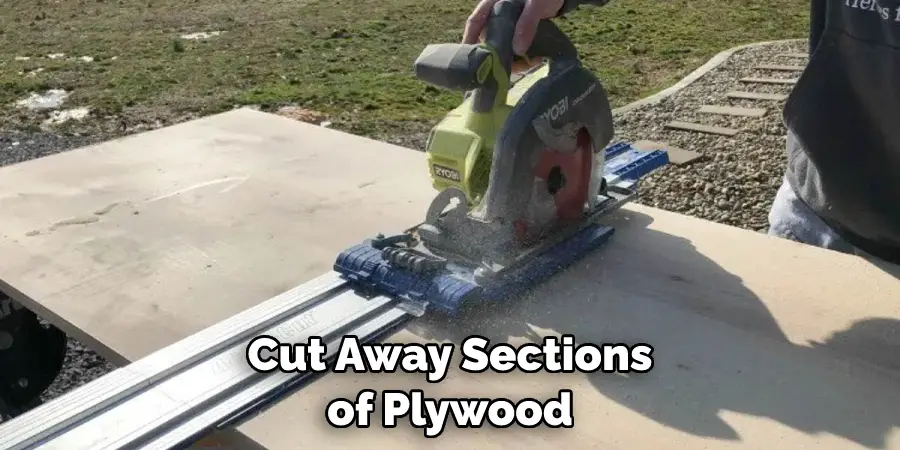
Step 3: Cut the Plywood
Use a circular saw to cut away sections of plywood from the floor. Start at one corner of the room and work your way around in an orderly fashion. When cutting, be sure to leave enough plywood around the edges so that you can attach it back to the framing as needed. Cutting the plywood will reduce the overall height of your basement floor.
Step 4: Install the Concrete Blocks and Cement Mix
It’s time to add some strength back into your floor by installing cement blocks and cement mix. Place the concrete blocks close together at an angle and fill in any gaps with a layer of cement mix. Thoroughly tamp down the mix to ensure a strong and level floor. Make sure that all of your blocks are even and flush with each other before proceeding to the next step.
Step 5: Place the Plywood
Replace the plywood back into position on top of the newly installed blocks. Secure it in place with nails or screws for added stability. If the plywood is not flush with the blocks, you can use a pry bar to level it out.
Step 6: Level and Seal
Level out any bumps or hollows in your new floor by applying a layer of self-leveling compound. Use an appropriate sealant to protect against moisture damage and water intrusion. Finally, wait for the self-leveling compound to set before allowing anyone to walk on or use the basement floor.
Congratulations, you’ve successfully lowered your basement floor! With these simple steps and a little bit of patience, you can easily increase usable space and create a more inviting atmosphere in your home. Have fun with it!
Additional Tips and Tricks to Lower Basement Floor
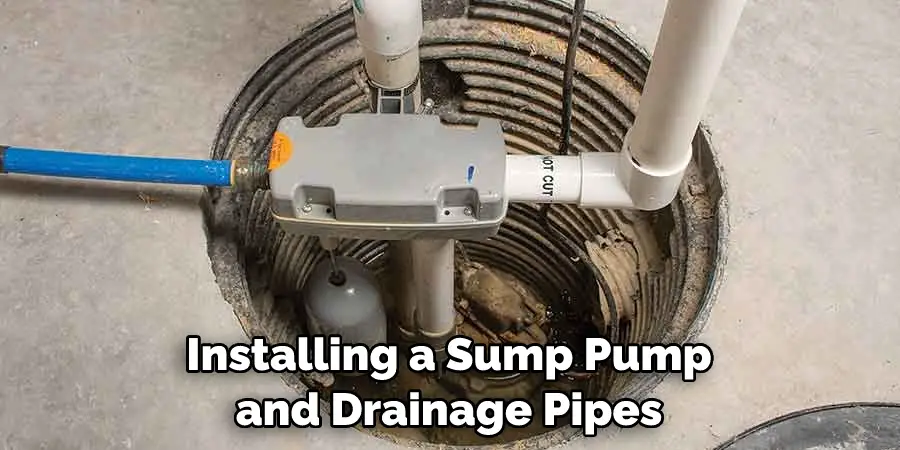
1. Consider a Sump Pump and Drainage System:
Installing a sump pump and drainage pipes will allow you to collect water and dry the basement floor. This is important, especially if you plan on using your basement as a living space or a storage area. A drainage system will help you to keep your basement clean and prevent any flooding from happening.
2. Invest in Waterproofing Solutions:
Investing in waterproofing solutions such as a moisture barrier, sealant, and insulation will help keep the basement dry and free from any unwanted water. Waterproofing solutions are also important when lowering the basement floor because they will help protect the surrounding areas from water damage and any new materials that might be added.
3. Consider Lower Floor Elevation:
In some cases, lowering the height of your basement floor can effectively reduce the amount of water that accumulates on the surface. This method requires professional installation and can be expensive. This method can be expensive, but it is worth considering as it can help save you money in the long run.
4. Install an Egress Window:
An egress window can help provide natural light to your basement and give it a much more inviting atmosphere. It is also important for safety reasons, as it provides an easy exit in the event of an emergency or power failure. If you install an egress window, you will also need to ensure that the basement floor is at least 6 feet below ground level to comply with safety regulations.
5. Choose Appropriate Flooring:
When you are lowering the basement floor, it is important to choose appropriate flooring to ensure that your new space is safe and comfortable for everyone. Different flooring types, such as carpet, linoleum, ceramic tile, or hardwood, can be used depending on the space’s use. Each type of flooring has its own benefits and drawbacks, so it is important to do your research and make an informed decision.
6. Consider Replacing Any Damaged Flooring:
If your basement has existing flooring, it is important to consider replacing any damaged areas before you start the process of lowering the floor. This will help ensure that the new surface is level and even. The damaged flooring can also be a potential source of water damage, so it is best to ensure that any areas are replaced or repaired before you begin the process.
7. Insulate The Walls And Floors:
Insulating your walls and floors can help reduce condensation, which will keep your basement dryer for longer periods of time. It can also help reduce energy costs and improve the overall comfort of your basement.
By following these tips and tricks, you can effectively lower the floor of your basement to achieve a more aesthetically pleasing look and improved functionality. With careful planning and preparation, this project can be completed in no time while ensuring that the integrity of the structure remains intact.
Things You Should Consider While Lowering Basement Floor
1. Distance from Ground Surface:
Keep in mind that the lower the basement floor, the farther away it will be from the ground surface outside. Therefore, you should consider how much space is available for access and ventilation shafts. If necessary, you can also dig some distance down to compensate for this difference in height between the inside and outside.
2. Foundation Structure:
It is important to ensure that the basement floor and foundation are structurally sound before starting any work. This includes inspecting the existing walls, footings, and supports to make sure they can handle the extra weight of a lowered basement floor. If necessary, you should also consider reinforcing or replacing these components as needed.
3. Drainage System:
Installing a proper drainage system is essential for lowering the basement floor. Without adequate drainage, excess water and moisture can accumulate in the basement and cause damage to your home. It’s important to determine the best location for the drains before starting work and make sure they are installed correctly.
4. Flooring:
When it comes to the actual flooring, you have several options available. Carpet and tile are popular for their durability, but hardwood or laminate can be used if desired. Be sure to choose a material that is water-resistant as well as easy to clean. Additionally, consider insulation or vapor barriers for added protection.

5. Building Codes:
Lastly, checking with your local building codes before starting any work on the basement floor is important. This will ensure that all changes meet safety and structural standards set by your municipality. It also helps avoid any potential fines or other problems down the line. Following these guidelines can help make sure the job is done right and that your basement floor will be a safe and stable space for years to come.
By considering each of these important points, you can ensure that lowering your basement floor is done safely and efficiently.
Conclusion
In summary, how to lower basement floor requires knowledge and experience to do the job successfully. You should research extensively online or consult with a contractor before embarking on such a project. Be aware of all local building codes and permits you will need if you plan to lower your basement floor in order to do it properly.
Additionally, while there are numerous methods used to lower a basement floor, like cut and fill, removal of underpinning material, or installation of girders, it’s best to ask your local hardware store which is most suitable for the type of soil conditions present in your area.
Depending on the size and layout of your room, appropriate partitions can also be added accordingly. Consequently, taking into consideration all these steps before proceeding with lowering your basement floor may help make this process easier while giving you complete satisfaction with the results.