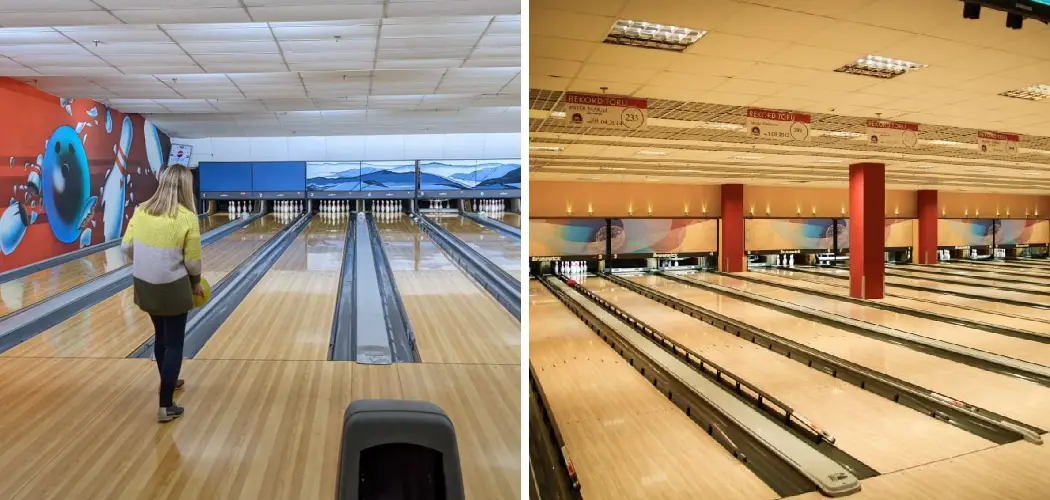
Do you dream of having your own private place to hang out with friends and enjoy a game of bowling? If so, why not make that dream come true by building a full-sized bowling lane in the comfort of your own home?
With some basic DIY knowledge and materials readily available online or at any hardware store, you can create an amazing entertainment space complete with alleys, gutters, pinsetters, scorekeepers, and more.
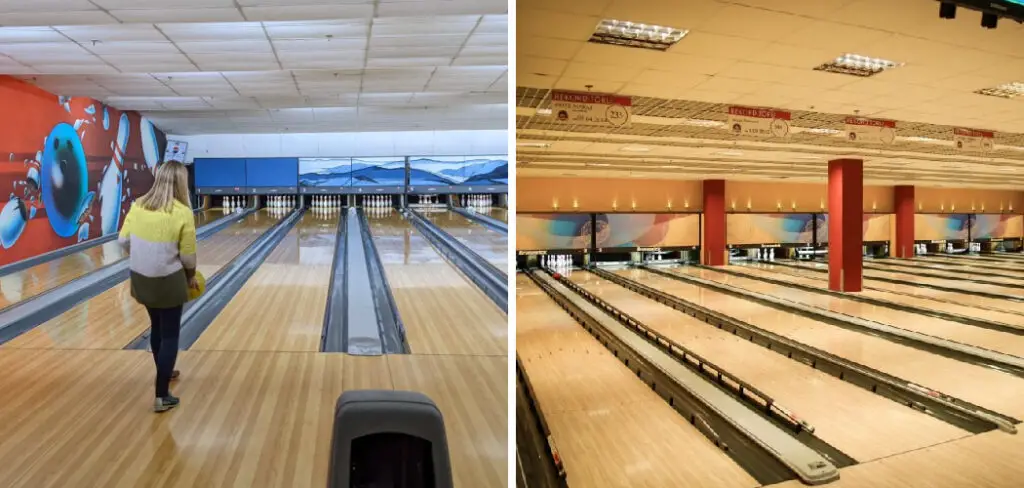
In this blog post, we’ll walk through the steps needed on how to build a bowling lane in your basement and what materials and tools are required.
Tools and Materials You Will Need to Build a Bowling Lane in Your Basement
- Woodworking tools and supplies: saws, drill, hammer, nails, screws
- Concrete blocks or bricks
- Leveling sand
- Rebar
- Plywood sheets
- Carpet padding
- Bowling lane wood (typically maple)
- Lane oil sealer/lane cleaner/lane conditioner
- Lane hardware (optional)
- Pinsetter, scoring system, ball return system
- Paint/stain and varnish (optional)
Step-by-Step Guidelines on How to Build a Bowling Lane in Your Basement
Step 1: Measure Your Basement Space and Prepare the Area
The first step to building a bowling lane in your basement is to measure the space where you’ll be building the lane. Make sure you measure accurately to ensure that all materials fit and there is enough space for your equipment. Measuring the area ahead of time will also help you plan where to place specific components such as lighting, gutters, and pinsetters.
Once you’ve done that, start preparing the area by cleaning and leveling it. If necessary, add more concrete blocks or bricks to level the ground so everything will sit evenly when you build your bowling lane. You can also use leveling sand if needed.
Step 2: Install the Rebar and Begin Laying Out Your Bowling Lane
Once your area is ready, you can begin laying out your bowling lane. Start by installing the rebar on either side of the space to create a frame for the lane. Make sure everything is level so that your lane won’t be crooked when it’s finished. While installing the rebar, make sure you leave enough space for the pinsetters and scorekeeping equipment.
Step 3: Add Plywood to Create a Level Surface
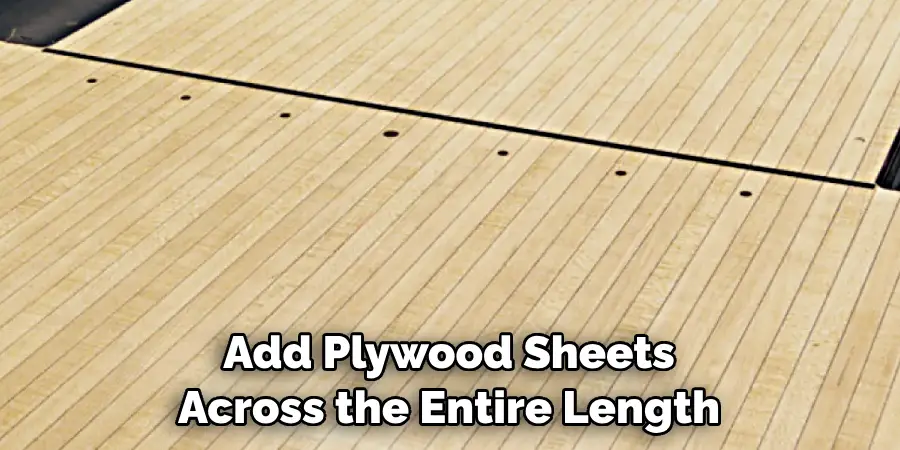
Next, add plywood sheets across the entire length of your bowling lane. This will ensure that everything is level even when you begin laying down the bowling lane wood. Make sure you use nails or screws to secure the plywood in place. This will also give you a chance to add additional features like bumpers or gutters if desired.
Step 4: Add Carpet Padding and Layers of Maple Lane Wood
Once the plywood is in place, it’s time to start adding the maple-lane wood. Start by laying down carpet padding, followed by layers of maple logs cut into planks. Make sure the edge pieces are cut accurately so that they fit together well and create a seamless look. You can also add additional features like bumpers or gutters here.
Step 5: Seal, Clean, and Condition Your Bowling Lane
Once your bowling lane is in place, it’s time to seal, clean, and condition it. This is important to ensure that your lane performs well and extends its lifespan. You can use a lane oil sealer, cleaner, and conditioner to do this. Let everything sit overnight before you begin using it for bowling games.
Step 6: Install the Scoring System and Pinsetter
Finally, it’s time to install the equipment needed for bowling. This includes the scoring systems and pinsetters. Make sure everything is properly connected and wired to ensure that it works correctly. You can also add additional features like ball return systems if desired. In this step, you can also add paint or varnish to your bowling lane if desired.
That’s all there is to build a bowling lane in your basement! With some basic DIY knowledge and materials, you can create an amazing entertainment space for you and your friends to hang out in. Now all you need is some practice and you’ll be ready to roll. Good luck!

Additional Tips and Tricks to Build a Bowling Lane in Your Basement
- Make sure you have a large enough space to accommodate the length of the lane and any potential extras such as bumpers, gutters, or dividers. Measure your room before you start buying materials so that you know what size lane to build.
- Buy quality materials for your bowling lane project. You want to ensure that everything is sturdy and well-made so that your lane will last for many years.
- Invest in some good tools to aid you during the construction process. A circular saw, nails, screws, and a drill should all be part of your toolkit.
- Take your time while constructing the bowling lane. Measure twice and cut once! This will help prevent errors and costly mistakes.
- Use a level to make sure your lanes are straight and even before you begin laying the wood for the bowling lane.
- Make sure that the wood used is treated with some sort of sealant or finish to protect it from moisture, bugs, and other elements.
- When installing the rails for your bowling lane, make sure that they are level and the gaps between them are consistent.
- Install a lane divider to keep balls from going down the wrong lane or into neighboring lanes.
- Add carpeting around your lanes to protect your floors from wear and tear caused by rolling balls.
- Finally, don’t forget the pins – consider buying a set of regulation-size ones to complete your bowling lane!
These tips and tricks will help you build a fun, functional bowling lane in your basement. With patience and careful planning, you’ll be ready to host some memorable tournaments in no time! Good luck!
Precautions Need to Follow for Building Lane in Your Basement
- Investigate local zoning rules and building codes to make sure your project complies with regulations.
- Use levelers to ensure that your bowling lane is completely flat, or risk a bumpy experience for bowlers.
- Consider the space available in your basement before beginning installation. Make sure you have enough room for all of the components of the lane, such as the ball return system and approach area.
- Be aware that building a bowling lane can be dangerous, with tools like saws used in the process. Work with professionals if you feel uncomfortable handling these tools yourself.
- Research the types of materials you’ll need to complete construction and compare prices between different suppliers before making your purchase.
- Make sure you have the necessary tools for the job, such as saws and drills, before beginning construction of your bowling lane.
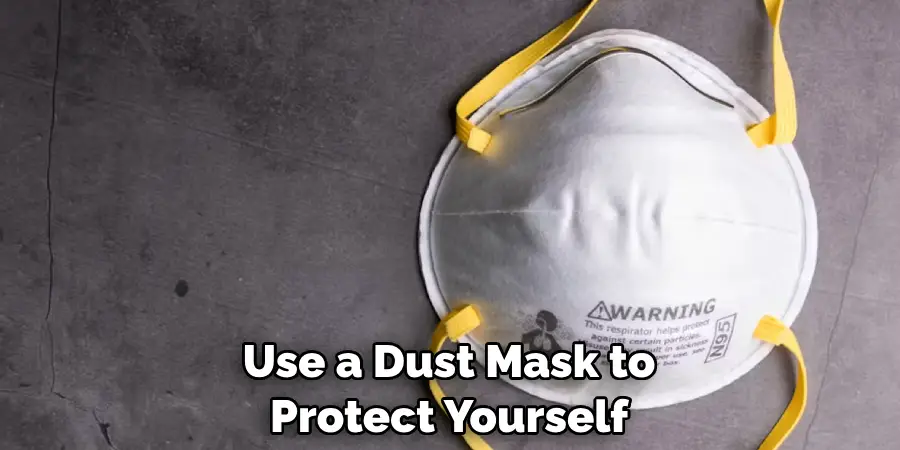
- Wear protective gear at all times while constructing your lane and use a dust mask to protect yourself from particles that may be in the air.
- Purchase high-quality wood for the lane’s construction, as this will ensure a smoother lane surface.
Following these tips will help you to safely build a bowling lane in your basement and ensure that the finished product meets all local building codes. With patience and dedication, you’ll soon have your own home bowling alley!
Frequently Asked Questions
Do I Need a Building Permit for a Home Bowling Alley?
Depending on the size, location, and type of construction you plan to undertake when building your bowling lane, you may need a building permit. It’s important to check with your local municipality before beginning the process.
How Do I Install the Bowling Lane?
To install your bowling lane, first, map out the area in which you plan to construct it. You can use chalk lines and markers to clearly define the size of the lane. Then, begin framing the walls that will house the lane. Afterward, secure the railings along each side of your alley and prepare to install the lane by staining and sealing it. Finally, attach the lane to the railings with screws and mount the pinsetter and ball return system in place.
How Do I Maintain a Bowling Lane?
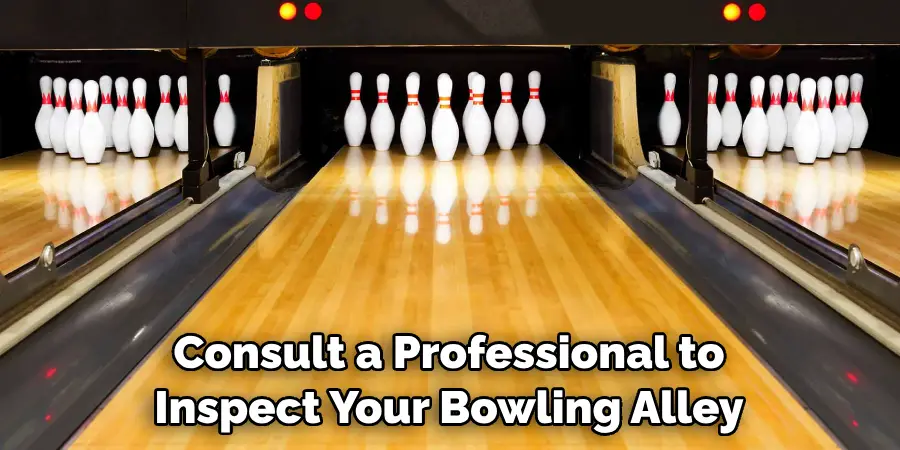
To ensure your bowling alley remains in excellent condition, you should regularly maintain your equipment. Be sure to check for loose or wobbly pins, clean the pinsetter and ball return system, dust and wax the lane, and keep an eye out for any potential issues. Additionally, you should consult a professional to inspect your bowling alley for signs of wear or damage at least once a year.
Conclusion
With the above outlined you will easily understand how to build a bowling lane in your basement. With proper planning and preparation, you can easily construct a bowling alley that will provide hours of fun for yourself and your family.
However, it is important to bear in mind local regulations and building codes as well as the need for periodic maintenance. Following these steps will ensure a safe and enjoyable experience for everyone involved.

