
Are you looking to install laminate flooring in your home? Before you do that, you’ll need to ensure the surface is level. This can be done by leveling the wood subfloor before laying down the laminate boards. Here’s how to level a wood subfloor for laminate flooring.

Moving into a new home can be exciting, but for the savvy homeowner, it’s just the beginning of a long list of projects. If you’ve been considering adding laminate flooring to your space, then it’s important first to ensure that you have a level subfloor. With many homes featuring concrete or uneven wood beneath their carpets and linoleum, giving yourself the time to survey your floor accurately is crucial before installing any new type of covering.
In this blog post, we will explore what needs to be done to prep your surface for successful laminate installation!
What Will You Need?
Before you begin, it’s important to have the right tools and materials on hand. You’ll need the followings:
- A level
- Plywood (for patching)
- Floor Leveler compounds
- Trowel
- Sandpaper
- Hammer and nails
- Laminate flooring of your choice!
Once you have all of these items, you’re ready to begin.
10 Easy Steps on How to Level a Wood Subfloor for Laminate Flooring
Step 1. Prep the Area:
The first step is to clear the floor of any furniture or fixtures that may be attached to the floor. Then, you’ll want to ensure the surface is debris and dust-free. Be careful to remove any nails or screws that may be sticking out of the surface.
Step 2. Use a Level:
Take your level and place it in various areas on the floor. If there are any dips or low points, these will need to be leveled out before proceeding with the installation. As you make your way around the room, pay close attention to any irregularities.

Step 3. Measure & Mark Unlevel Areas:
Once you have identified any unlevel areas of the subfloor, it’s time to measure and mark them off using a pencil or tape measure. This will help when you begin patching and leveling the area later on! Don’t forget to make a note of any significant dips or high points that may be present.
Step 4. Patch Unlevel Areas:
Cut pieces that are the same size and shape as the unlevel areas using plywood. Then, attach these pieces to the subfloor with a hammer and nails. If the plywood isn’t sitting flush with the surface, add some floor leveler compound (available at most hardware stores) to bring it up.
Step 5. Apply Floor Leveler Compounds:
Once all of your patches are in place, you’ll need to spread floor-leveler compounds across them in order to even out any bumps or irregularities. This can be done using a trowel or spatula. Try to use a thin layer of compound in order to prevent any unnecessary buildup.
Step 6. Allow the Compound to Dry:
Allow ample time for the compound to fully dry overnight before proceeding with installation – at least 12 hours is recommended! Ensure the area is dry by putting a few drops of water on the surface. The water should not be absorbed into the compound, indicating it’s ready for use.
Step 7. Sand Down Any High Points:
Using sandpaper, lightly sand down any high points that may have formed after drying. This will ensure the surface is even and smooth. As you’re sanding, use your level to check the surface periodically. Because sanding can create dust, wearing safety goggles and a face mask is a good idea.
Step 8. Vacuum the Subfloor:
Using a vacuum cleaner, be sure to thoroughly clean the area before laying down your laminate boards. Any dirt or dust can cause unnecessary wear and tear on your flooring over time! You can also use a damp cloth to clean up any stubborn debris. It will also remove any leftover compound.

Step 9. Lay Down Laminate Boards:
Finally, you can begin to lay down your laminate boards in whatever pattern you desire. Make sure each board is firmly attached to its neighboring boards using a tapping block and hammer. Otherwise, the boards may come apart over time.
Step 10. Enjoy Your New Floor:
Once all of your laminate boards are installed, take a step back and enjoy the fruits of your labor! Your new laminate floor should be level and ready to withstand the test of time. Remember, if you ever need to make repairs in the future, these same steps can be applied.
Following these steps will help you ensure a smooth, even surface and successful installation of laminate flooring in your home. Remember to take your time when measuring, patching, and leveling out any dips or irregularities – your floor’s longevity depends on it!
5 Additional Tips and Tricks
1. Start With the Lowest Spots. When you’re leveling a wood subfloor for laminate flooring, start by treating the lowest spots first. This ensures that you will be able to create a more even surface on the whole floor.
2. Add Additional Plywood if Necessary. If your wood subfloor is particularly uneven, you may need to add an extra layer of plywood over it before beginning to level it out. This will help ensure that your laminate flooring is properly supported and leveled when installed.
3. Pump up the self-leveler before applying it. To ensure that your self-leveler adheres correctly, pump it up with a drill and mixing paddle for several minutes before applying it over the subfloor.
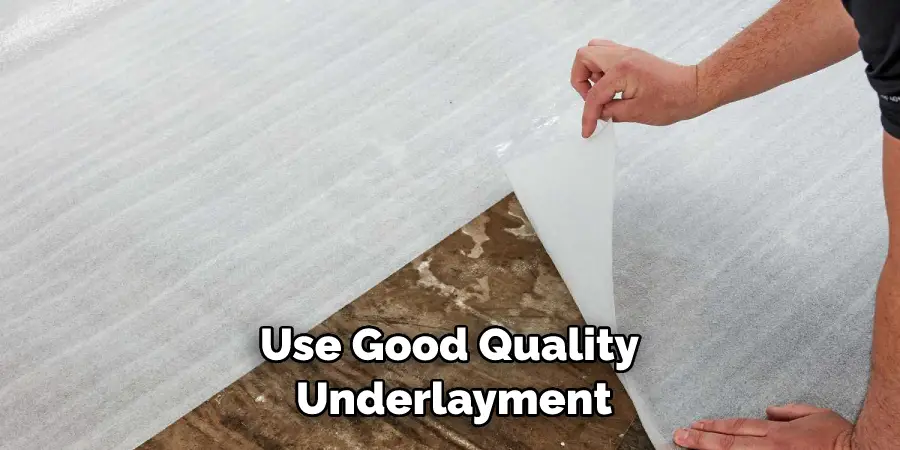
4. Don’t Skimp on Underlayment or Glue. When installing laminate flooring, make sure to use good quality underlayment and glue. This will help provide additional cushioning, sound absorption, and stability for your laminate flooring.
5. Seek Professional Help if Necessary. If you’re having trouble leveling the wood subfloor or don’t feel comfortable doing so yourself, it’s best to seek out the help of a professional installer.
They can provide expert advice on how to level your wood subfloor so that it is ready for your new laminate flooring installation.
5 Things You Should Avoid
1. Don’t Skip Steps. As with any DIY project, it’s important to take your time and make sure that you don’t miss any steps when leveling a wood subfloor for laminate flooring.
2. Don’t Use Inferior Materials. Be sure only to use high-quality materials and supplies when leveling your wood subfloor for laminate flooring. Low-grade or inferior materials can result in an uneven or unstable surface.
3. Don’t Rush the Drying Process. Ensure that the self-leveler has completely dried before continuing to install your laminate flooring. This will help ensure that the floor is level and stable once installed.
4. Don’t Ignore Uneven Areas. If you find an area on the wood subfloor that is particularly uneven, make sure to address it before installing your laminate flooring. Otherwise, it could cause issues in the long run.
5. Don’t Forget to Clean Up After Yourself. After leveling your wood subfloor for laminate flooring, take the time to clean up any messes and vacuum away any debris or dust from the area before installation.
This will help ensure that your new laminate flooring looks its best once installed!
Can You Lay Laminate Flooring Over Uneven Subfloor?
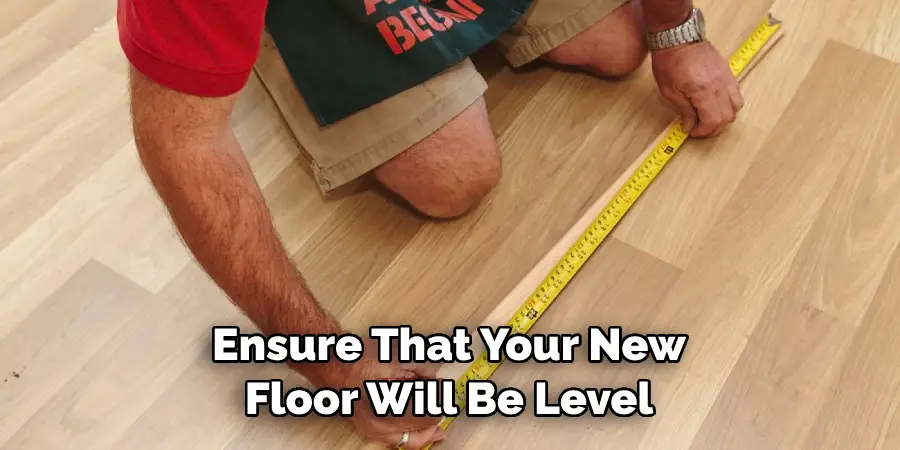
The short answer is yes, but it’s best to level the subfloor first. Uneven subfloors can cause a number of problems when installing laminate flooring, including gaps between the planks, creaking and cracking noises, and warped boards. It’s best to make sure your wood subfloor is even before laying down any laminate flooring. This way, you can ensure that your new floor will be level and stable for years to come!
Additionally, use quality underlayment and glue when laying your laminate, as this will help provide additional cushioning, sound absorption, and stability.
If you’re unsure of how to level a wood subfloor for laminate flooring, it’s best to seek the assistance of a professional installer.
Ultimately, investing the time and energy into leveling the subfloor before installing laminate will save you money in the long run by ensuring that your new floor looks great and lasts longer!
Conclusion
From beginning to end, the process of leveling a wood subfloor for laminate flooring is fairly simple and straightforward. The right tools, materials, and supplies will give you the perfect and flat surfaces required for new laminate flooring.
All in all, leveling a wood subfloor requires patience as it can take several days; however, with proper preparation and knowledge of the steps, this project can be done successfully with minimal investment of time and resources. Furthermore, completing the task yourself is a great way to save money on installation costs.
With this guide on how to level a wood subfloor for laminate flooring, getting and having amazing floors just got a lot easier! Take some time to research and explore your options. As always, have fun with this project, learn something new every day, and don’t forget to invite friends over to show off your new space!
