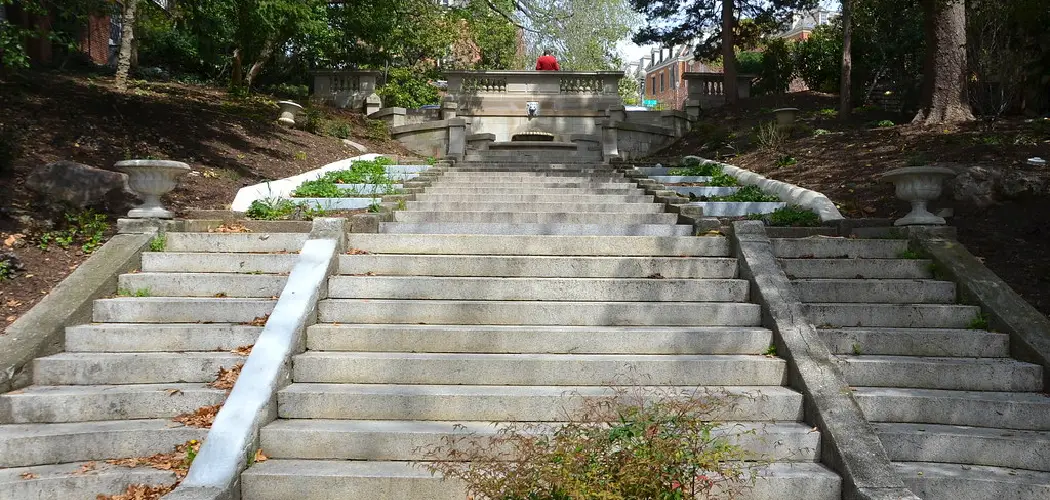
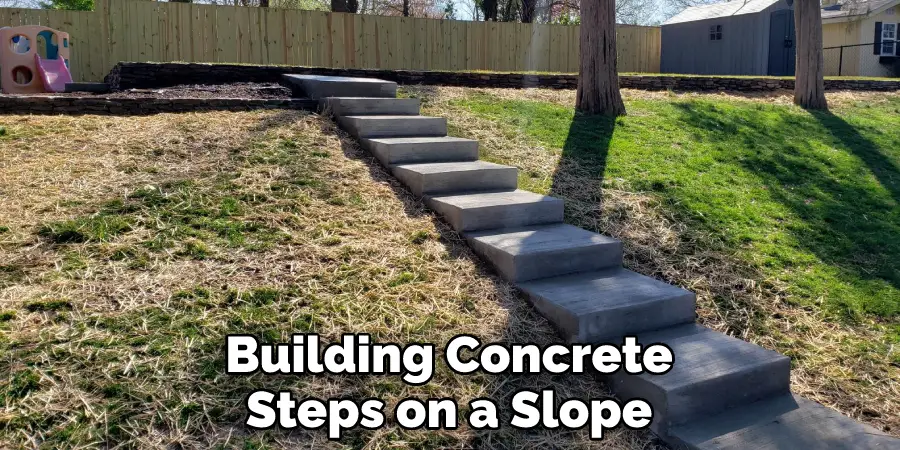
Are you interested in learning how to build an attractive set of concrete steps on a slope? If so, then this is the blog post for you! Concrete steps offer a fantastic way to bring life and style to any outdoor space whilst also solving issues like providing easier access where slopes exist.
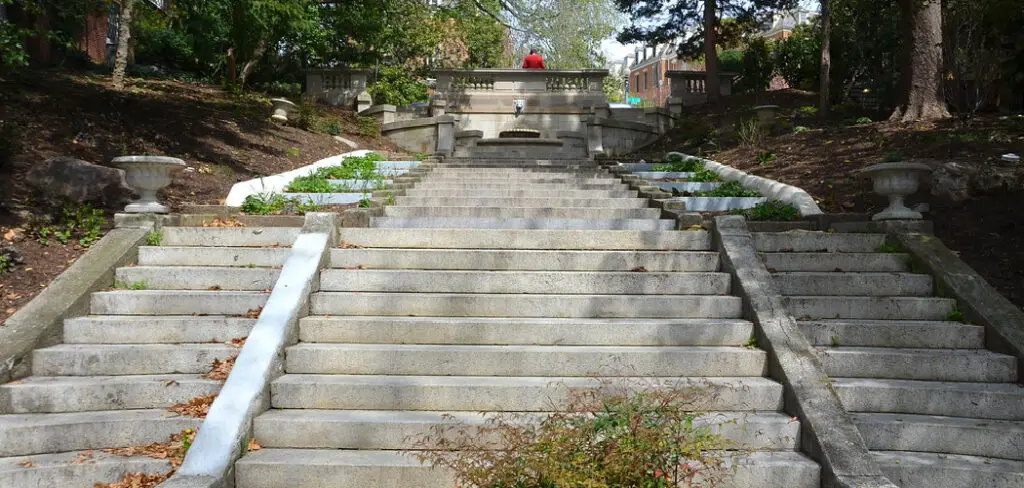
Not only can having concrete steps in place add visual appeal to your landscape, but they are extremely durable and low-maintenance too. We’ll take you through all the necessary steps involved with creating these beautiful additions, from properly preparing beforehand, deciding whether or not footings will be required, and even covering options and decorating ideas!
With these practical tips on how to build concrete steps on a slope, we’re sure that anyone looking to bring added functionality (or charm!) around their home will have no issue successfully building their own concrete stairs out of necessity or whimsy alike.
What Will You Need?
Before you get started, it’s important to ensure you have all of the necessary materials and tools for this project. Each will help ensure your stairs turn out just as planned. Here’s what is needed:
- Concrete (quantity determined by the total size of steps)
- Rebar
- Gravel
- Sand
- Masonry tools
- Tape measure
- Level or line leveler
- Shovel and rake
- Wheelbarrow
- Hammer drill (if footings are required)
10 Easy Steps on How to Build Concrete Steps on a Slope
Step 1. Preparing the Area:
Before any type of concreting is done, it’s important to prepare the area by removing any debris and vegetation. With a slope, you’ll need to dig out an area that is both level and wider than the total width of your steps. Be careful not to go too deep.
Step 2. Setting Footings:

In order to ensure your stairs are structurally sound, you may choose to set footings for added stability and support. If this is the case, you will use a hammer drill with a masonry bit to create holes in which concrete can be poured for the footings. As a rule, footings should extend at least 6 inches below the frost line in your area – so keep this in mind when measuring and calculating.
Step 3. Adding Rebar:
Once your footings are set, it’s time for rebar! Rebar helps add strength and durability to all concrete structures, so make sure you lay out your rebar correctly. Ensure each end is squared off and secure the rebar in place with ties.
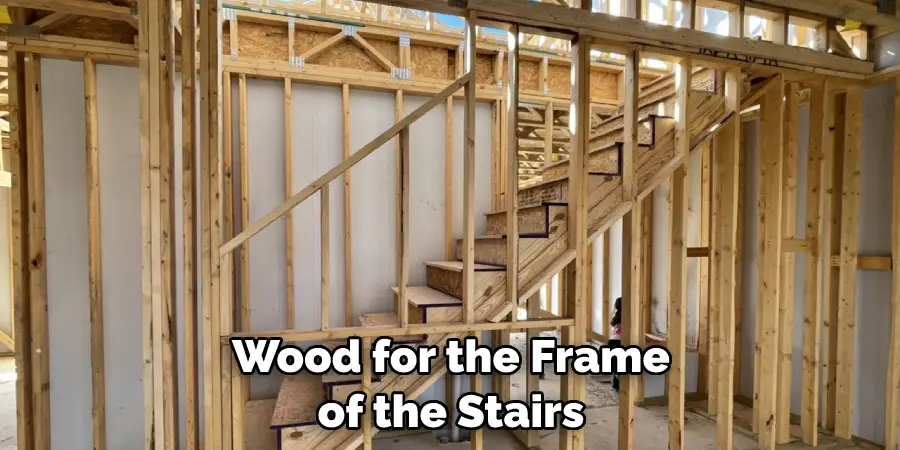
Step 4. Creating the Formwork:
Formwork is incredibly important when it comes to any type of concreting as it helps keep everything in place until the concrete has hardened. For steps, this means creating a form for each step by setting planks of wood around the edges of where you want the steps to be. Don’t forget to add a form for the riser too!
Step 5. Filling with Gravel and Sand:
Once your formwork is complete, use gravel and sand to fill up around 3/4 of each step’s form before adding water. This will ensure that there are no air pockets in the mix once you pour in the concrete. Try to keep the sand and gravel as level as possible.
Step 6. Pouring and Leveling:
Now it’s time to pour the concrete! Make sure you carefully pour in the mix, filling up each step form slowly and evenly before using a level or line leveler to ensure no air pockets could weaken your stairs over time. If you are using footings, make sure to pour concrete into these too.
Step 7. Finishing Up:
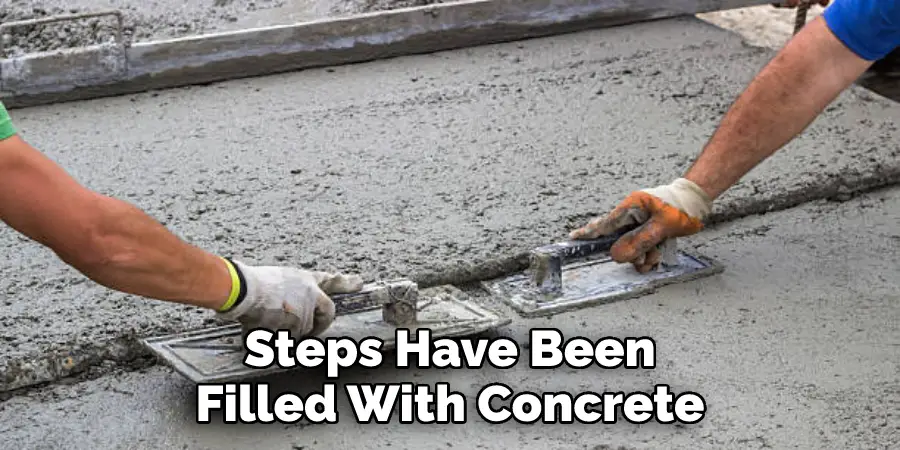
Once all of your steps have been filled with concrete, use a trowel or finishing tool to smooth out the surface and get rid of any rough edges for a professional look. You may also want to create a slight pitch away from the slope to ensure adequate draining. It will also help prevent any water from pooling up on the steps.
Step 8. Curing Time:
It’s essential that you allow your newly poured steps enough time to cure (at least 48 hours) to ensure maximum strength and durability. You can cover the steps with plastic to help keep them moist during this time. Don’t forget to remove the formwork once you’re done.
Step 9. Adding Finishing Touches:
Once your steps are fully cured, you can add a sealer or other decorative touches as desired (including painting or staining). Keep in mind that sealant will help protect your steps from weathering and wear and tear over time. If you are planning on adding any type of railing, now is the time to do it.
Step 10. Enjoying Your New Steps!
After all of these steps, it’s time to sit back and enjoy the results of your hard work! Proper care and maintenance will provide years of beauty, functionality, and enjoyment with your new concrete stairs. Remember to keep up with regular maintenance and check for any signs of damage or wear and tear – your stairs will thank you!
By following these steps, anyone can successfully build concrete steps on a slope for their home. With planning, the right materials and tools, and plenty of patience – your dream stairs will be completed in no time!
5 Additional Tips and Tricks
1. Start by measuring the slope to determine the placement of your steps. Make sure to measure from the ground up in order to ensure a safe and secure set of stairs.
2. Use pressure-treated wood for the frame of the stairs, as it is more durable and water-resistant than regular lumber. This will help them last longer and keep your structure sturdy against any weather conditions or terrain changes.
3. Use gravel underneath your concrete foundation as a base layer before pouring concrete into each step form. This will provide stability and support when you are done with construction.
4. To avoid cracking, use reinforcing mesh when laying down concrete on each step form. This metal mesh can be used at horizontal and vertical points to give additional strength to the steps.
5. Once your steps have been poured, use a broom or brush to create a non-slip surface on the concrete. This will provide traction and prevent slip and fall accidents when walking up and down the stairs.
By following these tips and tricks, you can easily build sturdy and safe concrete steps on any slope! You can easily complete this project with the right measurements, materials, and techniques.
5 Things You Should Avoid
- Don’t skimp on the materials. Make sure you’re using high-quality concrete and other construction materials that are strong enough to support the weight of those walking up and down your steps.
- Avoid pouring too thick of a slab when laying the first step, as this could lead to cracking or sinking over time.
- Don’t forget to create drainage channels around each step so water can flow away from the steps.
- Steer clear of unevenly spaced risers between steps, as this can cause people to trip and fall as they ascend or descend your stairway.
- Never forget about safety measures like railings and non-slip surfacing. These features help provide extra stability and increase traction, which is especially important for steps built on a sloped surface.
Knowing these tips can help ensure that your concrete steps are built safely and last for years to come! It’s always best to seek out the advice of a professional if you’re uncertain about the project.
What is the Formula for Concrete Stairs?
When it comes to the actual formula for concrete stairs, there is no one-size-fits-all answer. The exact measurements and materials used depend on the size of your stairway and the type of slope you’re working with.
However, in general, concrete stairs require a combination of cement, sand, gravel, and water. It is also important to reinforce the foundation beneath each step with rebar or some other form of support so that they remain sturdy and secure over time.
For more detailed instructions on building concrete steps on a slope, consider consulting a professional contractor with experience in this area. They will be able to provide personalized advice based on your specific situation and ensure that the job is done properly.
Conclusion
How to build concrete steps on a slope doesn’t have to be a difficult process. With the right research and planning, you can complete your project with confidence and expertise.
By following our step-by-step process, we hope this blog post has provided all of the information necessary to build safe and secure concrete steps for your sloped yard. Remember to always consider your specific situation before beginning any construction project.
Good luck, and be sure to check in with your local municipality’s building code regulations, as it is essential that all steps are up to code. If followed correctly, these steps will look great and surely bring added value, charm, and beauty to your outdoor space.
You Can Check It Out to Install Skirting Boards on Brick Wall
