
Have you ever considered finishing the stairs down to your basement? With so many choices in design and materials, this project can be daunting. But it doesn’t have to be! By following a few simple steps, you can transform your stairs into an attractive and practical feature of your home.
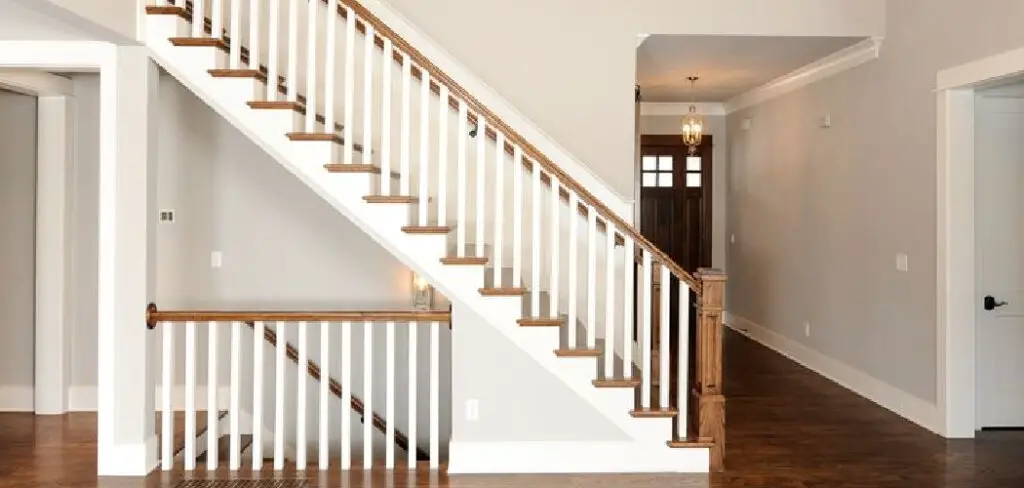
Installing a set of finished stairs adds safety and style and can also be used to make a big statement in any living space. Stair risers, treads, handrails, and winder-style steps – are just some of the factors you’ll need to consider when determining how best to finish the stairs in your basement.
Whether you’re looking for ways to cover old wooden steps or decorate new ones with tile, carpeting, or other items, this guide will walk you through the process of how to finish stairs to basement that adds value and appeal to your home.
What Will You Need?
Before getting started, it’s important to gather all the necessary items. Here is a checklist of what you will need to finish your stairs:
- Hammer
- Screwdriver
- Level
- Nails or screws
- Wood glue
- Primer and paint or stain in the color of your choice
- Risers, treads, winder steps (if necessary)
- Handrails
Once you’ve gathered the items you need, you can move on to the next step: preparation.
10 Easy Steps on How to Finish Stairs to Basement
Step 1. Preparing Your Stairs
The first thing to do is inspect the stairs and ensure they are in good condition and free of any damage. Repair any broken or missing pieces, and use wood glue to attach them securely. Be careful with any nails or screws that you use, as these can weaken the integrity of the stairs.
Step 2. Measuring Your Stairs
Now it’s time to measure the stairs to ensure your new parts fit correctly. Measure each tread and riser individually and the width of the staircase at its widest point (a level is handy for this). You can then use the measurements to purchase the appropriate treads and risers.
Step 3. Prepping for Installation
Once you have all the measurements, it’s time to start prepping for installation. Sand down any rough areas on existing steps and remove any nails or screws that could be in the way of installation. If you’re installing new risers, use wood glue to attach them.

Step 4. Installing the Treads
Now it’s time to install the treads. Start with the bottom step and work your way up. Make sure each piece is level before moving on to the next one. Secure them in place with nails or screws, depending on what material you’re working with.
Step 5. Finishing Touches
Once all of the treads are in place, it’s time for the finishing touches. This includes adding handrails, trim, and any other details that you may want to incorporate into your stair design. Additionally, you can paint or stain the stairs in any color of your choice.
Step 6. Painting or Staining
The last step is painting or staining your stairs to give them a finished look that complements your home decor. Use a high-quality primer and finish with two coats of paint or stain, allowing each coat to dry before applying the next. As you’re painting or staining, make sure to cover any wood glue that was used to attach the risers.
Step 7. Finishing Up
Once you’ve finished painting or staining your stairs, it’s time to celebrate! You now have a beautiful set of stairs that will add value and appeal to your home. With some basic tools and supplies, you can create an attractive, stylish, safe space.
Step 8. Check for Stability
Once the stairs are finished, it’s important to check for stability. Make sure that the steps are level and securely fastened. You may also want to add nonslip treads or handrails to reduce the risk of slips and falls.
Step 9. Add Accessories

Finally, you can add any finishing touches you’d like, such as area rugs, wall hangings, plants, and more. These accessories can help create a warm and inviting atmosphere in your home while adding a touch of personality to the space. Ensure that they are securely attached to avoid any tripping hazards.
Step 10. Enjoy Your New Stairs!
Congratulations on completing your project! Now you can enjoy your beautiful new stairs and bask in all the hard work you put into this project. Remember, safety comes first, and always use caution when walking up or down your stairs. With that in mind, enjoy the extra space in your home and all of the possibilities it brings!
Finishing your stairs to the basement can be daunting, but with the right preparation and materials, you’re sure to create a stunning, stylish, and safe space. With these easy steps, you can transform your stairs into an attractive addition to any home. Best of luck!
5 Additional Tips and Tricks
- Install a stair tread gauge to ensure that the treads are all of even depth.
- Use a jigsaw to cut out any curves in the stair tread, such as a lip around the edge of each step.
- Securely fasten all pieces with glue and screws. Make sure you use the appropriate type and size of screw for each piece.
- Install a handrail along the side of your stairs, if desired. Make sure to secure it with screws and brackets to ensure safety properly.
- Finally, use wood filler or caulk to fill any gaps between the treads and risers. This will prevent trips and falls due to uneven steps.
Following these tips should help you finish your stairs to the basement perfectly! Good luck!
5 Things You Should Avoid
- Don’t rush the job. Take your time to ensure that each step is properly cut and measured before attaching it.
- Don’t use nails to secure the stairs. A person’s weight could cause the steps to loosen over time, which can be dangerous.
- Avoid using screws of all the same size; different pieces require different sizes of screws for optimal stability and strength.
- Avoid sanding too aggressively or too little when smoothing down wood surfaces; this can lead to an uneven finish or weak joints in between sections.
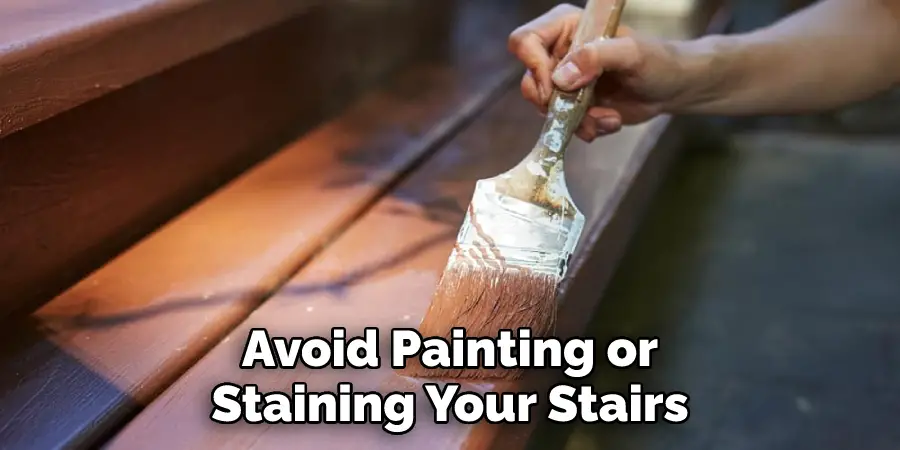
- Finally, avoid painting or staining your stairs until you have completed any additional construction tasks (such as installing handrails). Doing so prematurely could lead to damage or improper adhesion of the new coatings.
By following these tips, you should be able to finish your stairs to the basement without any issues successfully!
What is a Suitable Floor Covering for Stairs?
When choosing a floor covering for your stairs, it is important to take into consideration the level of durability you need. The most common types of floor coverings for stairs are carpeting and hardwood.
Carpeting is softer and more comfortable underfoot but may not be as durable, while hardwood offers superior durability but can be cold and uncomfortable. For an in-between solution, tile or laminate flooring offer good wearability and comfort that will last longer than carpets but without being too harsh on feet as hardwood can be.
Whichever type of floor covering you decide on, make sure to install it properly so that it stays securely attached to the stair treads for maximum safety. Additional measures, such as using a stair tread gauge, can help ensure that your floor covering is laid evenly, so there are no trip hazards. As a final touch, you may want to consider applying an anti-slip coating for added safety.
Which Floor Color is Best?
When choosing the best floor color for your stairs, it is important to take into consideration the overall look and feel of your home. Colors can have a huge impact on how spaces are perceived and experienced, so you want to make sure you pick one that will elevate the atmosphere of your interior.
Consider shades such as wood tones or beiges for a classic, timeless look. Opt for white or light gray shades if you prefer something more modern. Dark colors like blacks and deep blues can also create an elegant atmosphere, while bright colors like neons are perfect for creating a vivid yet playful ambiance. Whichever hue you decide on, make sure that it goes well with the rest of your decor by matching or complementing your home’s existing colors.
Finally, remember to pick a floor color that won’t show dirt and debris too easily so your stairs will stay spotless for longer! Considering these factors should help you choose the best floor color for your stairs.

Conclusion
Finishing the stairs to a basement is not an overly difficult task but can be complicated if not done properly. With assistance, dedication, and proper techniques, you can easily create a beautiful staircase to your basement. As this project requires particular attention to detail and attention, it is important to make sure all measurements are accurate before exploring further.
Take your time with each step of the stair build process, and take note of any adjustments that need to be made. With patience and preparation, anyone can easily complete this job in no time at all!
Hopefully, the article on how to finish stairs to basement has been helpful in guiding you through the process. With these tips and tricks, you can easily create a stunning staircase that will be aesthetically pleasing and safe for all.