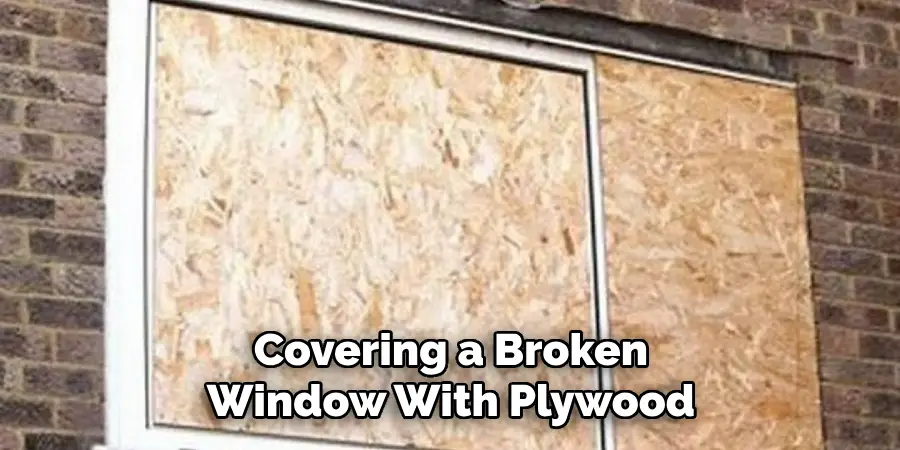
Have you ever accidentally broken a window? Knowing the right steps to take can help minimize damage and ensure safety. But if a repair isn’t an immediate option, covering the broken window with plywood is usually your best bet for keeping people outside from entering while allowing some light into the room.
Whether you’ve done it before or not, here’s a helpful guide on covering a broken window with plywood. Always be cautious when working with plywood; the sharp edges can be dangerous.
In this blog post, we’ll provide detailed instructions on properly covering your broken window with plywood so that it can stay secure until it’s time for repairs or replacement. Read on to learn more about how to cover a broken window with plywood!
What Will You Need?
Before you get started, you’ll need the following items:
- Plywood
- Circular saw
- Hammer & Nail
- Measuring Tape
- Chalk Line
- Wood Glue & Caulk
- Sandpaper
Once you have all the necessary items, it’s time to start.
10 Easy Steps on How to Cover a Broken Window With Plywood
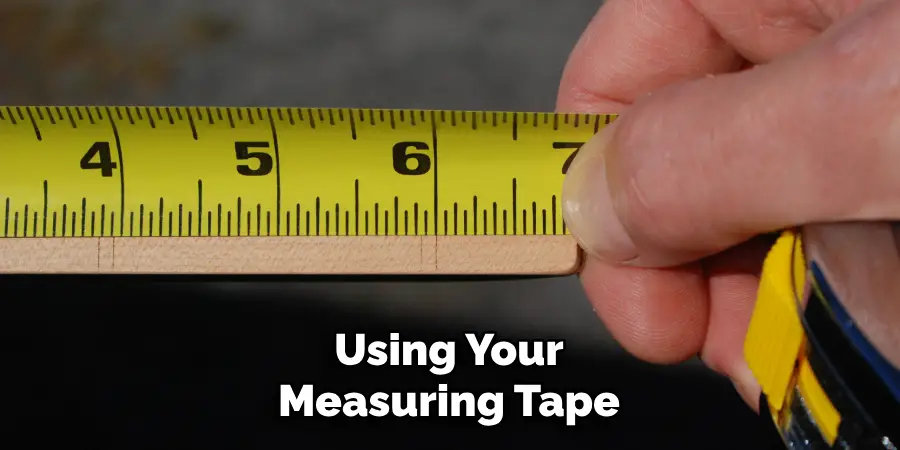
Step 1: Measure & Cut Plywood
Using your measuring tape, measure the length and width of the window opening. Then, use your circular saw to carefully cut the plywood to fit the size of the opening. If necessary, use sandpaper to smooth out any rough edges.
Step 2: Use a Chalk Line
Next, you’ll need to use a chalk line or marker to mark a straight line across the piece of plywood. This will help guide you in placing it into the window opening. As you do this, make sure that the line is centered.
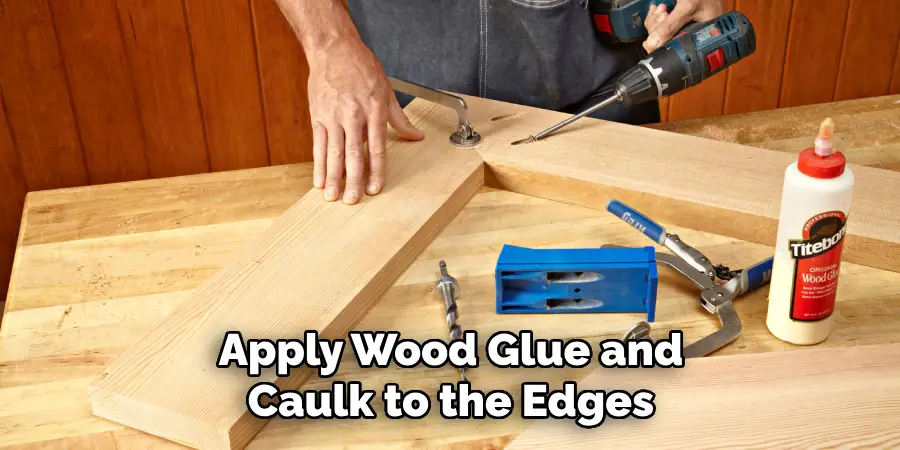
Step 3: Secure Plywood with Wood Glue & Caulk
Once your piece is marked and ready to go, apply wood glue and caulk along all four plywood edges. This will prevent water from seeping into your home through gaps between the window and plywood. Another option is to use silicone caulk instead of traditional wood glue.
Step 4: Place the Plywood Into the Window Opening
Carefully lift the plywood and place it into the window opening. Ensure it is centered, then press down firmly on all four edges. You can use a hammer and nail to secure the plywood into place. If necessary, you can repeat steps 1-4 for additional pieces of plywood. This will ensure that your window is properly secured from unauthorized entry.
Step 5: Trim Excess Plywood
Once everything is in place, use a circular saw to trim any excess pieces of plywood that may be hanging out from the window opening. Again, use sandpaper to smooth out any rough edges if needed. If there are still gaps between the plywood and the window, you can fill them with caulk or wood glue.
Step 6: Secure the Final Piece with Wood Glue & Caulk
After you’ve trimmed the excess wood, apply wood glue and caulk to the edges of your final piece of plywood. This will help ensure that everything is properly in place and secure. Use a hammer and nail to secure the plywood into place further.
Step 7: Test for Proper Fit & Security
Once you’ve secured the plywood, test it out to ensure no gaps or openings around the edges. If necessary, use additional caulk or wood glue to cover any gaps. You should also check for a proper fit – if the window opening is too large, you may need to use larger pieces of plywood or add extra pieces to fill in any extra space.
Step 8: Allow Plywood Time to Dry
Give the caulk and wood glue enough time to dry before adding any additional weight on top of it. This will ensure that the plywood stays in place and is secure. Don’t worry if the glue takes a few hours to dry; it’s better to be safe than sorry.
Step 9: Secure Plywood From Outside
Once everything has had time to dry, check from outside your home to ensure the plywood is properly secured. If there are any loose pieces, use a hammer and nail to secure them into place. Keep in mind that the plywood should be able to withstand any weather conditions, so make sure to double-check its security.
Step 10: Clean Up & Dispose of Materials Properly
When you’ve finished covering the broken window with plywood, it’s important to clean up any excess materials and dispose of them properly. Ensure all saws and other tools are safely stored away before leaving the area. As always, use caution when working with any potentially dangerous materials.
These simple steps can help keep your home secure until the window is repaired or replaced. Always remember to use caution when working with plywood, and if you need additional help, don’t hesitate to call a professional.
5 Additional Tips and Tricks
1. When covering a broken window with plywood, make sure that you use a piece of wood that is thick enough to protect against the elements. It should be at least half an inch thick.
2. To ensure a tight fit, trace the outline of the window frame onto the plywood before cutting it to size. This will help you make sure that your measurements are accurate.
3. Use weather-resistant screws when attaching the plywood – this will help keep out moisture and other elements that could cause further damage or weaken the structure of your home. Also, use two screws per side to allow enough space for expansion and contraction due to changing temperatures.
4. You can also apply a sealant around the edges of the plywood for extra protection against water leakage and air infiltration.
5. it’s best to paint or stain the plywood to match your home’s exterior for a more finished look. This will help it blend in better with the rest of the house and provide an added layer of protection against fading due to the sun.
By following these tips and tricks, you can rest assured that your broken window is safely covered with plywood until a professional can come in and replace it. Be sure to follow the safety precautions recommended by experts to avoid any further damage or injury.
5 Things You Should Avoid
- Do not use nails to attach the plywood – this could cause further damage to your home and won’t provide a secure fit.
- Avoid using thin pieces of wood for covering broken windows – instead, make sure you use thick enough material to protect against the elements.
- Do not try to cover the window without measuring first – your measurements must be accurate for the plywood to have a tight fit on all sides.
- Don’t forget to seal around the edges of the plywood – this will help protect against moisture and air infiltration, which can further damage or weaken your home’s structure.
- Don’t skip the painting or staining process – this will help your plywood blend in better with the exterior of your home and provide an extra layer of protection against fading due to the sun.
By avoiding these mistakes, you can be sure that covering a broken window with plywood is done correctly and safely. Keep these tips in mind when tackling any home improvement projects!
What Kind of Plywood Do You Use to Cover Windows?
When covering a broken window with plywood, you must use the right type of material. Plywood is one of the preferred materials for this project as it is strong and durable enough to withstand outdoor elements and provide sufficient protection until a professional can come in and replace the window. The best type of plywood to use is exterior-grade or marine-grade plywood – these are more resistant to moisture and will not expand or contract due to temperature changes.
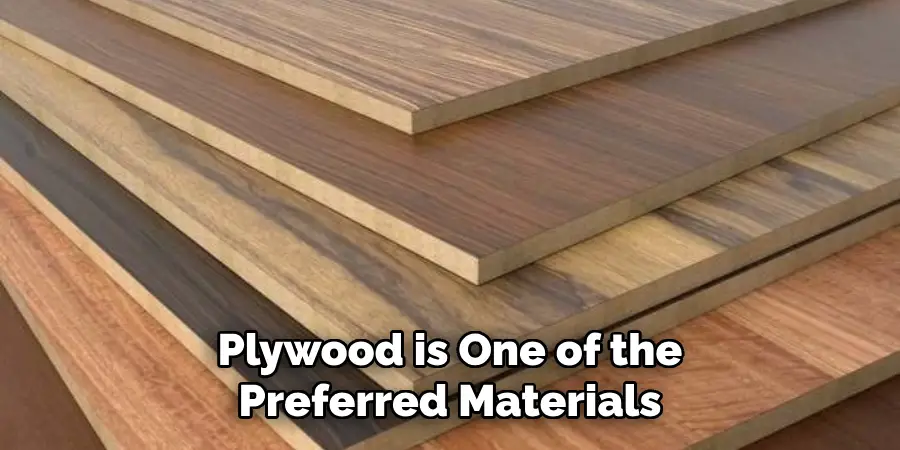
Make sure that you select a piece that is thick enough (at least half an inch) to protect your home properly from rain, wind, and other elements.
Now that you know what kind of plywood to use when covering windows, follow the tips and tricks outlined above to ensure that your project is done safely and correctly!
Conclusion
Now you know how to cover a broken window with plywood! If the problem is larger than patching or boarding up the window, it’s important that you call in a professional to replace the entire window.
Remember, boards and sheets of plywood are temporary solutions. Don’t wait too long before replacing your window, or you may notice issues with heat transfer into your home and significant increases in your energy bills. When hiring professionals, be sure to research their services and review their quality of work to ensure they properly secure your windows.
In the meantime, by using the tips outlined above and properly following all safety steps, you can easily board up an area around a broken window until it can safely be replaced. Hopefully, this article has given you all the information and advice you need for a successful project of covering a broken window with plywood!