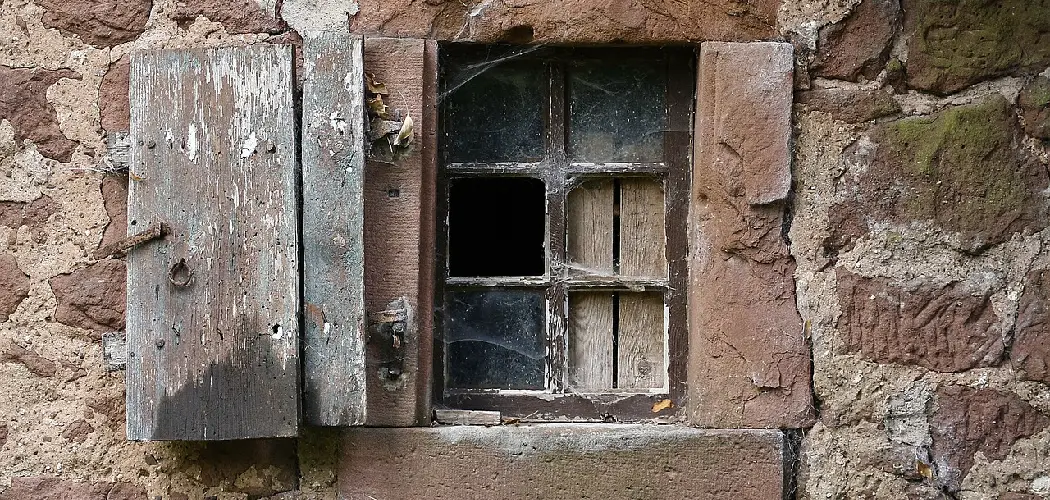
Are you dealing with a broken basement window? Need a quick fix until you can get it fixed professionally? Here’s how to temporarily fix a broken basement window.
If you’ve recently discovered a broken basement window, chances are it’s been a while since you’ve done any maintenance or repair work around your home. Don’t worry—even if you don’t have experience handling these kinds of jobs, some steps can help prevent further damage until the job can be professionally done. With just a few tools, supplies, and steps, you can quickly make temporary repairs until something more permanent can be done.
In this blog post, we’ll walk through temporarily fixing a broken basement window so you and your family can stay safe and sound in your home. Read on to learn more!
What Will You Need?
Before you start, make sure you have the following items on hand:
- Plywood (one piece that’s large enough to cover the window)
- Caulk (siliconized acrylic caulk is best for this job)
- Hammer and nails or wood screws
- Tape measure or ruler
- Utility knife or jigsaw (for cutting the plywood to the right size)
Once you’ve gathered everything, you’re ready to move on to the next step.
10 Easy Steps on How to Temporarily Fix a Broken Basement Window
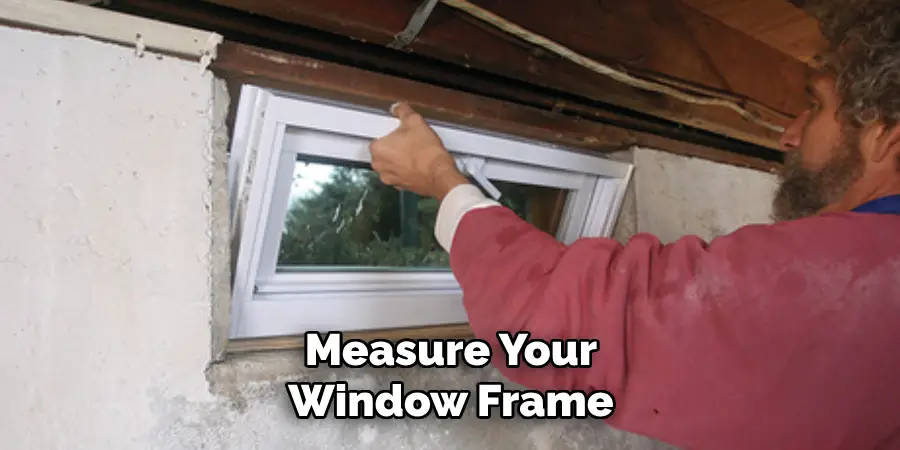
Step 1. Measure Your Window
The first step is to measure your window frame—it needs to be measured precisely in order to get the right size for the plywood. As you measure, also make sure to take into account any molds or trim around the window. If you have a jigsaw, you can use it to cut the plywood accordingly.
Step 2. Cut Plywood
Once you’ve measured your window, it’s time to cut out a piece of plywood that will fit in the frame. Use a utility knife or jigsaw to make sure that the plywood is an exact match for your window frame. Try to cut the plywood so that it’s a bit larger than the frame in order to ensure a snug fit.
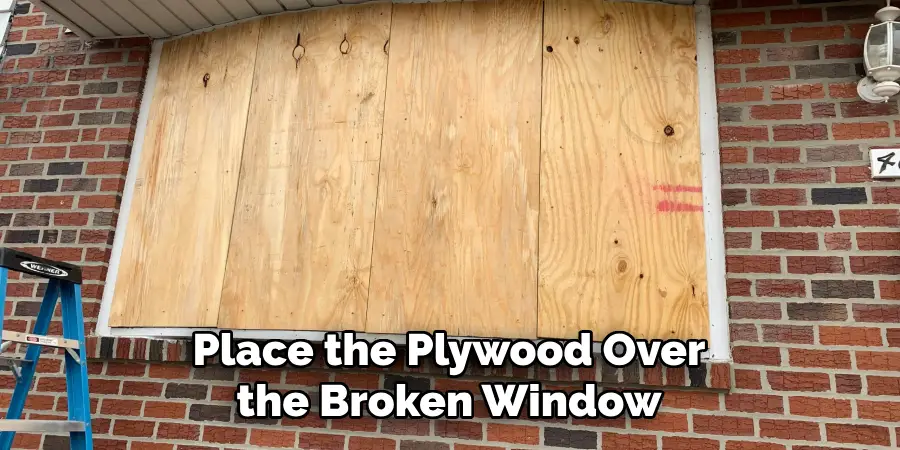
Step 3. Place Plywood Over Window
Now it’s time to place the plywood over your broken window and secure it in place using nails or wood screws. Make sure that you’re careful not to damage any of the surrounding walls while hammering in nails or screws! Additionally, be sure to secure the plywood firmly into each corner of the window frame.
Step 4. Caulk Around Edge
After the plywood is securely in place, you’ll need to caulk around the edge so that it seals the window properly and prevents any water from seeping in. Use siliconized acrylic caulk to avoid any gaps or leaks. It’s also important to make sure that the caulk is properly sealed and dried before moving on.
Step 5. Let Caulk Dry
Once you’ve applied the caulk, let it dry completely before moving to step 6. If the weather is cold, you may need to wait several hours to set fully. As you wait, cover the plywood with a tarp or plastic sheeting to prevent any water from entering.

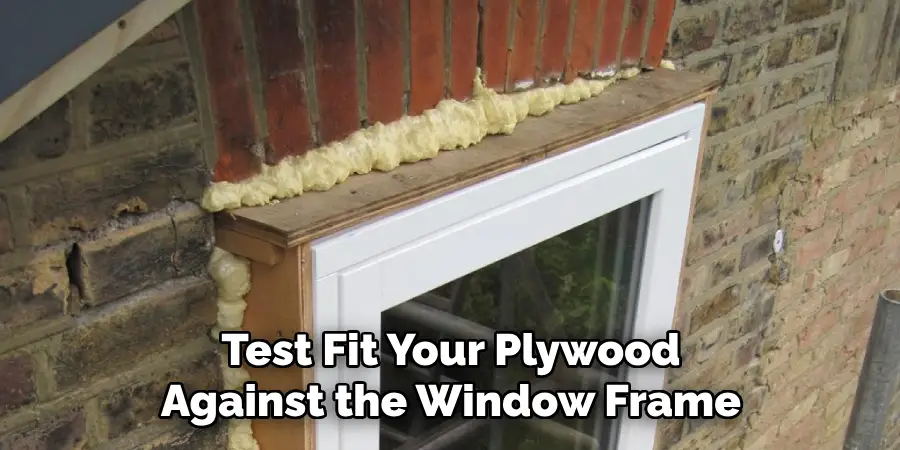
Step 6. Test Fit
When the caulk has dried, test fit your plywood against the window frame—you can use a few extra nails if necessary to ensure a snug fit and no gaps between the plywood and frame. Don’t forget to use a level or plumb bob in order to make sure that the plywood is even and straight. You can also use shims to adjust the fit if necessary.
Step 7. Caulk & Seal Edges
To ensure that there are no air leaks, use caulking around the edges of the plywood. Make sure to apply a generous amount of caulk in order to fill any gaps and seal the window properly. If necessary, you can also use weatherstripping around the edges of the plywood to provide extra insulation.
Step 8. Let Caulk Dry
Once you’ve applied the caulk, let it dry completely before moving on to step 6. If the weather is cold, you may need to wait several hours for it to set fully. As you wait, make sure to cover the plywood with a tarp or plastic sheeting to prevent any water from entering.
Step 9. Test Fit
When the caulk has dried, test fit your plywood against the window frame—you can use a few extra nails if necessary to ensure a snug fit and no gaps between the plywood and frame. Don’t forget to use a level or plumb bob in order to make sure that the plywood is even and straight. You can also use shims to adjust the fit if necessary.
Step 10. Enjoy Your Temporary Fix
Once everything is securely in place, you can enjoy peace of mind knowing that your broken basement window has been temporarily fixed. Remember, this fix is only temporary—you should still plan on getting a professional to come out and replace or repair your window as soon as possible.
By following these ten simple steps, you can fix a broken basement window temporarily. This quick fix should help keep your home safe until something more permanent can be done. For more helpful tips and advice on home repair and maintenance projects, check out the rest of our blog!
5 Additional Tips and Tricks
- Cover the window with a plastic sheet to keep out drafts and moisture until it can be permanently fixed.
- Use clear packing tape to hold the edges of the plastic sheet in place if necessary.
- Place a board across the bottom of the window frame to prevent wind or debris from entering your basement through the opening.
- Add insulation around the sides and bottom of the window to keep out cold air during winter months.
- monitor the condition of the temporary fix, as it may need to be replaced or reinforced over time. Doing so will help prevent any further damage from occurring in your basement.
By taking a few simple steps, you can temporarily fix a broken basement window until you are able to get it professionally repaired.
5 Things You Should Avoid
- Do not use duct tape or any other type of sticky tape to cover the window, as it could leave a residue on the glass.
- Only attempt to repair the window yourself if you are familiar with how windows work – this could result in further damage and costly repairs later on.
- Avoid putting anything heavy on top of the window frame, such as furniture or other items, as this could cause additional stress and strain on the frame.
- Do not leave the temporary fix in place for more than a few weeks at a time, as this may further deteriorate your basement windows over time.
- Avoid using caulk around the edges of the window frame, as this can eventually lead to mold and mildew growth.
By following these few simple tips, you should be able to safely and effectively temporarily fix a broken basement window until it is professionally repaired. Taking the time to care for your windows in this manner properly will help keep them in good working condition for years to come.
How Do You Cover a Broken Basement Window?
Covering a broken basement window is a quick and easy way to protect your home from the elements until you can repair it professionally. To do this, begin by measuring the dimensions of your window frame and then cutting a piece of plywood that matches the size of the window.
Place the plywood over the broken window and firmly secure it with nails or wood screws. Then caulk around the edges of the plywood to ensure a snug fit and prevent any water from seeping in.
Finally, cover the plywood with a tarp or plastic sheeting to remove any moisture or wind while waiting for professional repair services. Following these steps will provide you with a safe and effective temporary fix for your broken basement window.
By following the steps above, you can easily and quickly cover a broken basement window until it is professionally repaired.
Conclusion
All in all, temporarily fixing your broken basement window doesn’t have to be a difficult task. An adhesive-backed weather strip could be your solution until you can securely and permanently fix the issue. If the problem persists for an extended period of time, you should always consult a professional who may be able to provide insight as to what actions need to be taken next.
Ultimately, anyone can get a handle on temporarily fixing a broken basement window with supplies that require little effort and cost. So take a deep breath, grab the necessary materials, and confidently tackle this home project!
Hopefully, the article on how to temporarily fix a broken basement window has given you the knowledge required to carry out this task in your home. If you follow all of these steps, you can keep your basement safe and dry until a professional can fix it for good. Good luck!