
When working with ceiling tiles, one of the most important tips to remember is learning how to cut them correctly around sprinkler heads. This can be a challenging task if you are unfamiliar with the procedure. Not only does it require precision to ensure that the tile fits properly around each head, but it can also be dangerous if not done properly.
Cutting ceiling tiles around sprinkler heads is a great way to get a smooth, professional finish when installing ceiling tiles. This method ensures that the edges of the tiles fit snugly against the sprinkler head and reduces the possibility of leaving unsightly gaps or spaces between them.
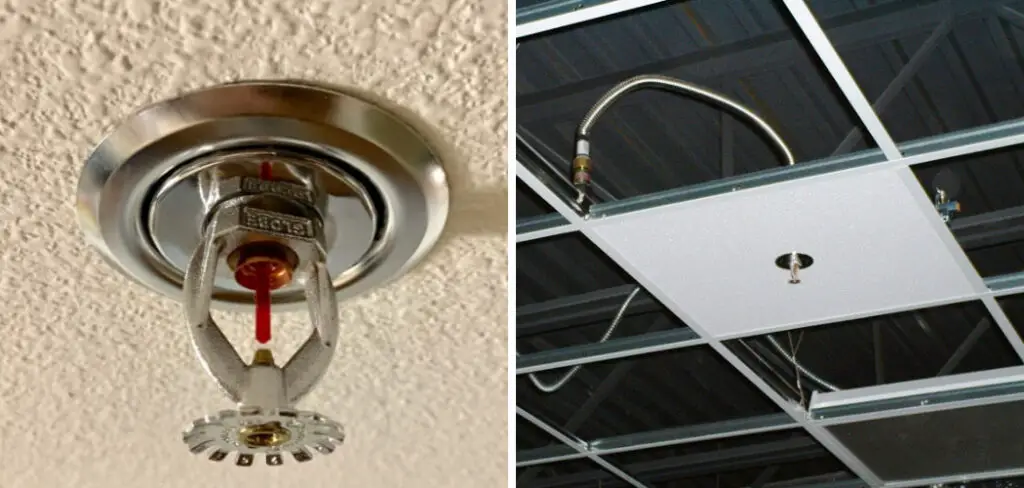
Additionally, this approach eliminates the need for additional caulking or adhesives to secure the tiles, making it a faster and more cost-effective option. You can find step-by-step instructions on how to cut ceiling tiles around sprinkler heads in this blog article.
Step-by-step Instructions for How to Cut Ceiling Tiles Around Sprinkler Heads
Step 1: Inspect the Area
Before beginning the project, carefully inspect the area around the sprinkler head. Ensure that no electrical wires are in the ceiling and that there is enough space to work safely and comfortably.
Step 2: Measure & Mark
Measure and mark the outline of where you would like to cut on a piece of scrap paper or cardboard using a ruler and pencil. Position your tile onto the ceiling directly above where you’ve marked on the paper or cardboard. Secure it in place using a few nails, being careful not to puncture any wires.
Step 3: Trace & Score
Carefully trace around the perimeter of your outline with an X-Acto knife or other sharp tool. Then, score the tile around each edge of your outline by lightly pressing down on the blade and pushing it away from you in a gentle sawing motion.
Step 4: Cut & Remove Excess Tiles
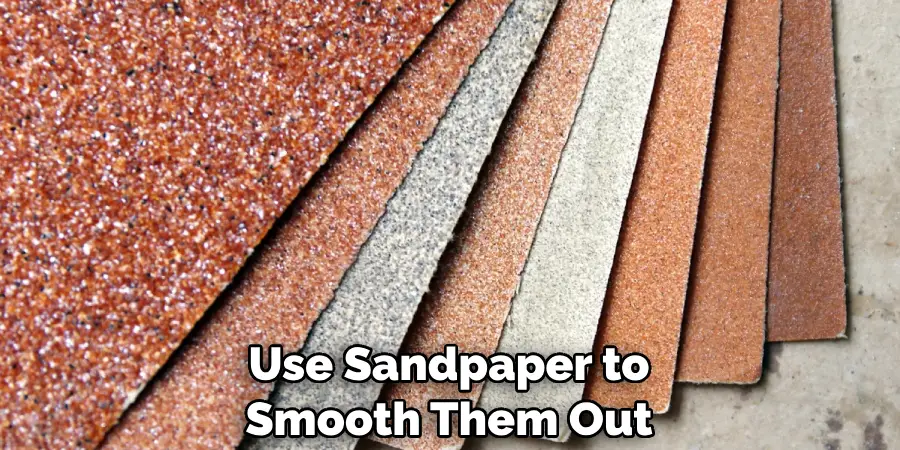
Once you’ve finished scoring, press into the center of your outline and cut inward. Then, use your hands or a pair of pliers to remove any excess material carefully. To get a smooth finish, sand down the edges of the cut tile using fine-grit sandpaper until they’re completely smooth.
Step 5: Fit & Secure Tile
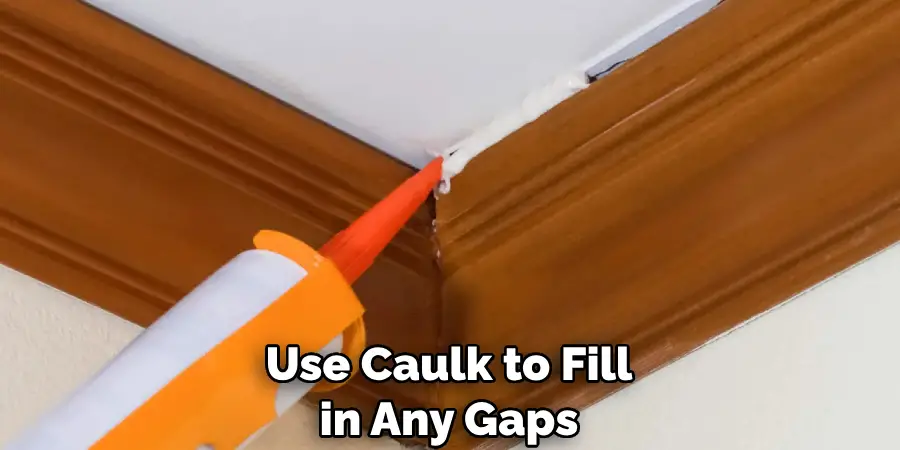
Fit your tile back into place and secure it with nails or tile adhesive. To create a watertight seal, use caulk to fill in any gaps between the tile and the sprinkler head or ceiling surface. Wait for your caulk to dry before lightly sanding the edges. Then, clean up any excess dust and debris from the floor or ceiling.
By following these steps, you can easily and safely cut ceiling tiles around sprinkler heads. It’s important to note that this project should be done with extreme caution and care, as any mistakes could lead to potential electrical hazards or water damage.
Safety Tips for How to Cut Ceiling Tiles Around Sprinkler Heads
- Always wear safety glasses when cutting ceiling tiles to protect your eyes from debris.
- Wear a face mask and gloves to avoid inhaling particles or coming in contact with dust and other materials while cutting the tile.
- Ensure you’re cutting at least 3 feet from the sprinkler head to reduce the risk of damage.
- Cut the tile slowly and methodically using a sharp utility knife, jigsaw or other appropriate cutting tool.
- When cutting near the sprinkler head, support the remaining piece to ensure it doesn’t fall on anyone below.
- Mark off any area where you plan to place a cut with a pencil or marker to ensure accuracy.
- Dispose of the cut pieces in an appropriate waste container for easy and safe disposal.
By following these safety tips/precautions, you can successfully cut ceiling tiles around sprinkler heads without any major incidents or hazards.
How Do You Protect the Ceiling From Dust and Debris When Cutting?
When cutting ceiling tiles around sprinkler heads, protecting the surrounding area from dust and debris is important. To do this, spread a drop cloth below the work area and place pieces of painter’s tape along the edges of the tile where you will be making your cuts. This will help contain any mess and keep the dust away from your work area. When you are finished, use a vacuum cleaner to remove any dust or debris left behind.
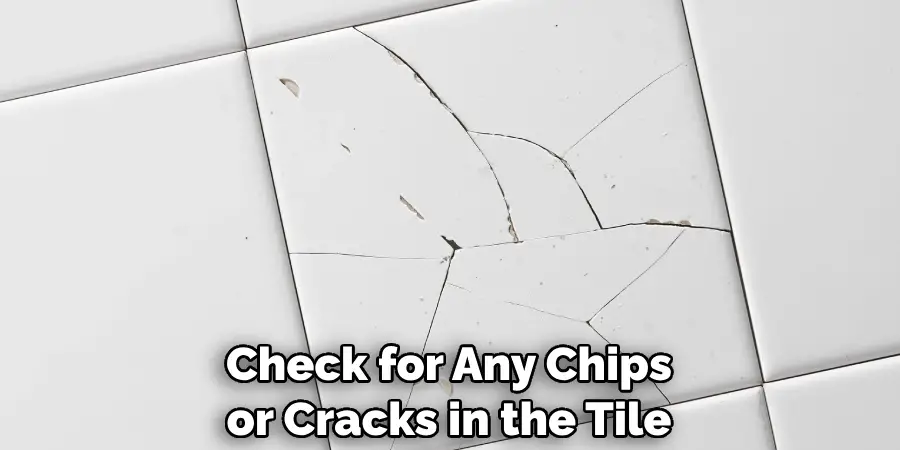
You can also use a wet cloth to wipe down the area and ensure it is clean before reinstalling the tile. Be sure to check for any chips or cracks in the tile itself before completing the job. If there are any, replace the tile before continuing. Once you are finished cutting around the sprinkler heads, use a bead of caulk or silicone adhesive to seal the edges and prevent water from seeping through. This will help protect your ceiling against moisture damage and ensure that it lasts for years to come.
How Long Does It Typically Take to Cut a Single Tile Around a Sprinkler Head?
Cutting ceiling tiles around a sprinkler head can be a tedious job, but it’s important for the safety of your home or building. It usually takes 10 to 30 minutes to cut one tile, depending on the size and shape of the tile as well as the type of saw being used. Generally, it takes longer if you use a manual saw, but it will be much faster if you use an electric one.
In order to cut the tile correctly, you need to ensure that your saw blade is in good condition and sharp enough to make precise cuts. You should also take into consideration the type of ceiling tile that needs to be cut and select a blade that is suitable for cutting it. Additionally, measure the area around the sprinkler head to determine the size and shape of the tile that needs to be cut.
How Do You Clean Up After the Project is Complete, and Are There Any Long-term Maintenance Considerations?
Clean-up is a relatively simple process once the ceiling tiles have been successfully cut around the sprinkler heads. Start by wiping down the cutting area with a damp cloth to remove any dust and debris. Then, check for any irregularities in the tile shape or edges and use sandpaper to smooth them out as needed. Finally, apply silicone caulk to the edges of the tile to make sure that it is securely and properly adhered to.
As far as long-term maintenance considerations, periodic inspection of the cut tiles around sprinkler heads is a must. Ensure there are no irregularities in their shape or fit, and check for any signs of wear or tear. Additionally, if you notice any discoloration, yellowing, or cracking of the ceiling tiles, replace them as soon as possible to avoid further damage.
Finally, remember to periodically check the sprinkler heads for signs of clogging and ensure they function properly. These steps will ensure that your ceiling tiles stay secure and look great for years.
What Are Some of the Common Mistakes to Avoid When Cutting Ceiling Tiles Around Sprinkler Heads?
When it comes to cutting ceiling tiles around sprinkler heads, there are some common mistakes you should avoid. One of the most common mistakes is not being careful enough and accidentally cutting the sprinkler head itself. To prevent this from happening, make sure to use a steady hand and take your time when measuring and cutting around the sprinkler head.
Another common mistake is cutting the tile at an incorrect angle or shape. This could lead to a poor fit, and worse yet, it could even cause an injury.
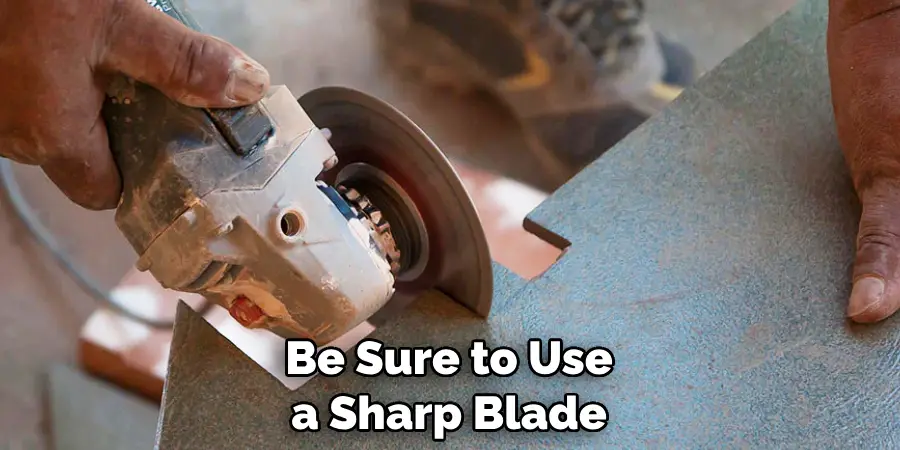
To avoid this, always double-check the measurements before you begin cutting. Additionally, be sure to use a sharp blade and make sure to cut slowly and accurately for best results. Finally, you should never rush the cutting process. When it comes to cutting ceiling tiles around sprinkler heads, accuracy is key.
If you try to hurry through the job, there is a higher chance of making a mistake and ending up with an uneven result. By following these tips and avoiding common mistakes, you can confidently, safely, and accurately cut ceiling tiles around sprinkler heads.
Conclusion
The main disadvantage of cutting ceiling tiles around sprinkler heads is that getting the cut edges to fit properly in place can be difficult. If the cut edges are crooked, this can cause a gap in the tile which will let air and moisture flow through. This could also lead to water damage if there is any leakage within the sprinkler head.
In conclusion, cutting ceiling tiles around sprinkler heads can be tricky, but with the right tools and technique, it doesn’t have to be difficult. Using a carbide tipped saw blade for cutting tile is essential for getting clean, precise cuts that won’t damage your tiles or your sprinkler heads.
If possible, mark out an area where the tile will be cut to avoid costly mistakes. I hope reading this post has helped you learn how to cut ceiling tiles around sprinkler heads. Make sure the safety precautions are carried out in the order listed.