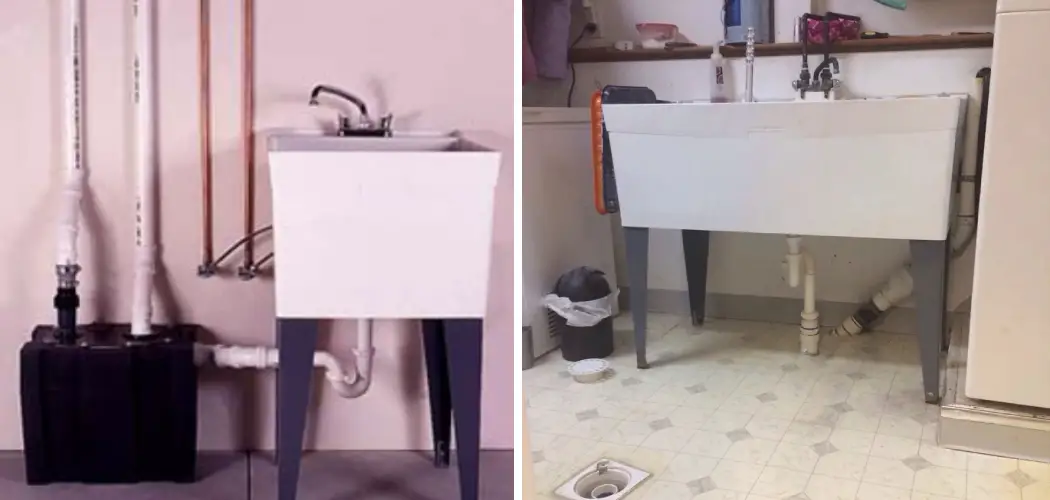
Are you looking for how to drain utility sink in basement? Whether it’s a clogged or worn-out pipe that’s preventing proper drainage or you need to replace an older model, this process can get a bit tricky. Draining and replacing outdoor utility sinks can be tedious if done incorrectly, leading to costly repairs.

In this post, we’ll provide step-by-step instructions on how to go about draining your basement utility sink safely and efficiently. After reading through our tips and tricks, you will have the confidence to tackle even the most difficult projects.
Whether you’re dealing with a stubborn pipe or want to upgrade to an older model, this guide will walk you through the necessary steps for draining your utility sink in the basement. With our guidance, you’ll find that draining a utility basin doesn’t have to be intimidating!
What Will You Need?
To get started, you’ll need to make sure you have all the necessary tools and materials for the job. Here’s a basic list of what you’ll need:
- Pliers
- Wrench or Ratchet Set
- Basin Wrench
- Bucket/Container
- Socket Wrench
- Pipe Thread Tape
Once you have all your materials ready, it’s time to get started on the actual draining process.
10 Easy Steps on How to Drain Utility Sink in Basement
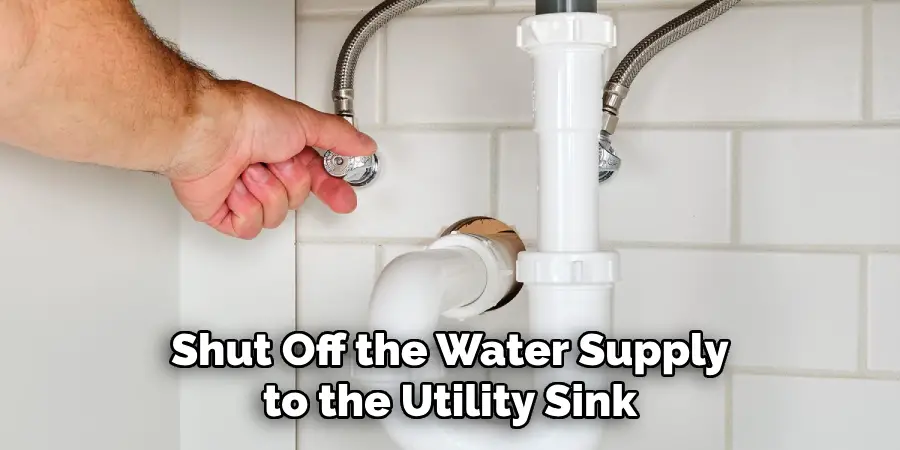
Step 1. Shut Off the Water Supply:
Shut off the water supply to the utility sink. This is typically located in a utility closet or near the outdoor faucet. If you’re unsure where it is, check the home’s water meter or consult a professional before proceeding.
Step 2. Unscrew the Faucet:
Unscrew the faucet from its base using a wrench or ratchet set. Make sure all water has stopped flowing before you start unscrewing. As you loosen the faucet, unscrew it from the sink bowl using a basin wrench.
Step 3. Loosen the Pipe Fittings:
Loosen and remove any pipe fittings connected to the sink’s drain system using a basin wrench. To avoid damaging them, make sure to work slowly and carefully. You can also use a socket wrench to help loosen any stubborn fittings.
Step 4. Place a Bucket Underneath:
Once all pipe fittings are removed, place a bucket underneath the utility sink to catch any water left in the pipes. Try to tilt the sink as much as possible to facilitate drainage. If there is a shutoff valve on the sink, turn it to the “off” position. This will stop any remaining water from flowing out.
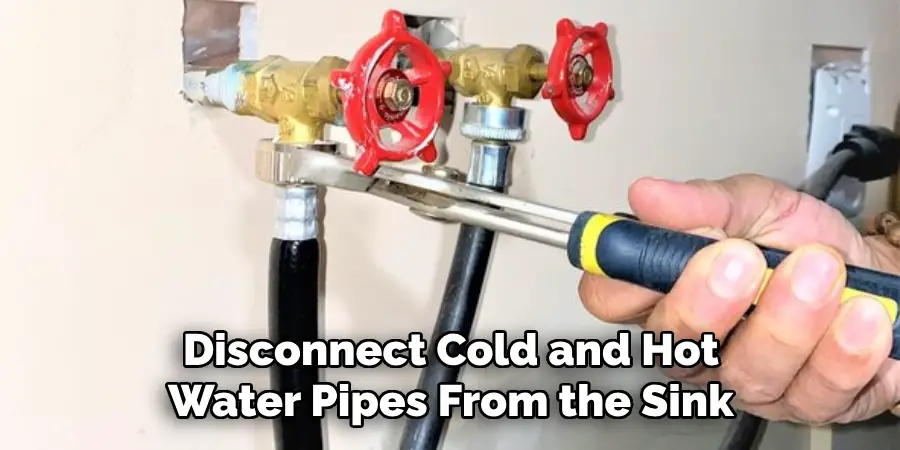
Step 5. Disconnect Pipes:
Disconnect cold and hot water pipes from the sink using your socket wrench. Make sure to unscrew both pipes in a slow, counter-clockwise direction. This will ensure that you don’t damage them or cause any leaks.
Step 6. Remove the Old Sink:
Once the pipes are disconnected, removing the old utility sink from its basin is time. Lift the sink up and out while being careful not to spill any of the remaining water inside. If necessary, use a bucket or container to catch any water as you lift it.
Step 7. Clean Out the Basin:
Clean out any debris or dirt from the inside of the basin with a damp cloth or vacuum cleaner attachment. Ensure no standing water or other liquids are left inside before moving on to the next step. Be careful not to scratch or damage the basin when cleaning it.
Step 8. Prepare for Installation:
If you are replacing the old sink with a new one, use pipe thread tape around the edges of the pipes to help create a better seal. This will prevent any potential leaks from occurring later on. Additionally, make sure there are no kinks or bends in the pipes that could cause a blockage.
Step 9. Reinstall Pipes and Sink:
Reattach cold and hot water pipes to the utility sink basin using a socket or basin wrench. Once they are secured, lower the new sink into place while ensuring it is well seated in its basin. Keep in mind that the sink should be securely fastened to the basin in order to prevent any water from leaking out.
Step 10. Turn On the Water Supply:
Finally, turn on the water supply at its valve source and check for leaks around your newly installed sink before declaring success! Remember to tighten all pipe fittings and connections one more time if needed. Just like that, you have successfully drained your utility sink in the basement.
By following these steps, you should better understand how to drain the utility sink in the basement. Always use caution when dealing with plumbing and take the necessary safety precautions. Feel free to consult a professional if you’re ever in doubt.
5 Additional Tips and Tricks
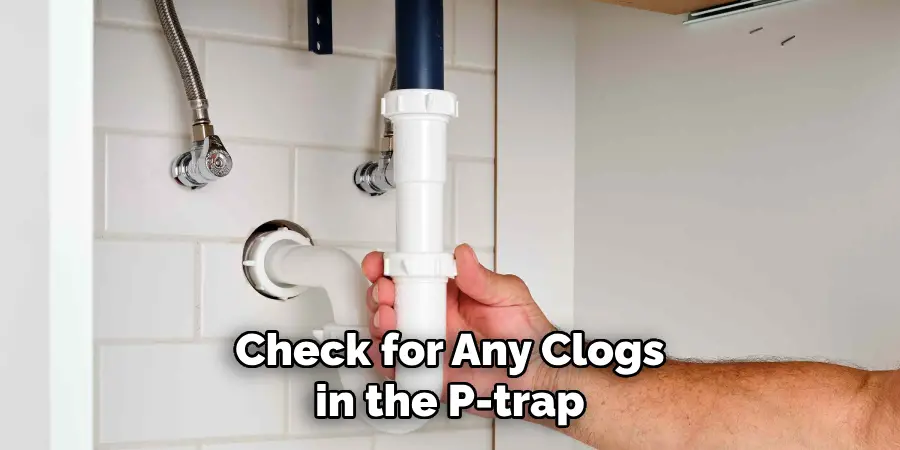
1. If the water in your utility sink isn’t draining properly, check for any clogs in the P-trap. To do this, loosen both ends of the P-trap and remove the U-shaped pipe, inspecting for any buildup.
2. If you have a sump pump in your basement, you can use it to drain water from your utility sink by connecting a hose to the outlet and running it down to an area where you want to drain the water.
3. Make sure that your basement floor is sloped so that the water will drain away from the utility sink to prevent flooding or pooling of water near the sink.
4. Consider adding a backflow valve on the outlet pipe leading outside if you are concerned about sewer gases returning to your home through this pipe connection.
5. To avoid clogs in your utility sink, inspect all visible pipes and connections for any debris or buildup. Additionally, use an enzyme-based drain cleaner to help prevent clogs from forming in the future.
Follow the product’s instructions to ensure that it is used safely and effectively. Remember that regular use of strong chemicals can damage your plumbing system over time, so take care when using them.
5 Things You Should Avoid
- Avoid using chemical drain cleaners, which can damage your plumbing system and cause health problems.
- Do not flush any items that may become stuck or clog the pipes, such as clothes, paper towels, food waste, etc.
- Do not pour grease, oil, or fats down the sink, creating a buildup of sludge in your plumbing system over time and leading to clogs.
- Do not force plungers through a pipe connection which can damage it or cause the leaking of water from the joint.
- Never use boiling water to try and clear a clog, as this can turn solids into liquid form and worsen the blockage issue in the long run. Always use cold water.
Always take the proper safety precautions when performing any plumbing work or repairs in your basement. If you need clarification on something, consult a professional plumber for assistance. Ensuring that your utility sink is properly draining and maintained can save you from potentially costly repair bills.
Why is My Utility Sink Not Draining?
Utility sinks usually become clogged when debris accumulates inside the pipes, such as hair, soap scum, dirt, and other objects. If this happens, your sink will not drain properly, and you may need to take steps to clear any clogs.
Additionally, if the outlet pipe is blocked or has a crack in it, the water from the sink won’t be able to flow through and will back up instead. To check for any blockage or damage in your pipes, inspect them regularly. If any repairs are needed, have them taken care of immediately by a professional plumber.

Finally, if you notice an accumulation of standing water near your utility sink, it could be due to poor drainage or improper installation. Make sure that there is an adequate slope to your basement floor so that water can drain away from the utility sink, and if necessary, have a professional look at it for further inspection.
By following these tips, you can unclog and maintain your utility sink in your basement successfully.
Conclusion
In conclusion, draining a utility sink can be a daunting task. But by following the steps outlined in this article, it should be much easier for you to do so safely and effectively. Besides ensuring the water is turned off properly, it’s also important to check all of your plumbing south of the P-trap for clogs or blockages that might be causing the backup.
If you observe any signs of excess wear and tear on the pipes, such as corrosion or leakiness, you should replace them immediately, as they could contribute to your drainage issue.
With some time and effort, you now have the information necessary to tackle this project confidently. From removing and cleaning out any debris from your pipes to using a hose and bucket to flush your drain lines out properly, taking care of a clogged utility sink doesn’t need to be complicated or expensive.
The article on how to drain utility sink in basement helped give you the information and tips you need. Good luck!
