
Are you looking to give your laundry room a facelift? If so, installing a laundry tub drain pipe can be an easy and effective way to improve the functionality of your space. Not only is it possible to enhance the look and feel of your utility area, but this project allows for drainage with minimal plumbing complications.
Whether you’re looking for a basic laundry tub installation, or trying to learn more about the challenging parts of the job, here is a comprehensive guide on how to install a laundry tub drain pipe.
In this guide, we’ll outline how to install laundry tub drain pipes step-by-step to achieve optimal drainage in your home. We hope that providing you with clear information on what supplies are needed, best practices for doing the job right, and tips for preventing clogs will make it easier than ever before!
What Will You Need?
Before you get started with installing your laundry tub drain pipe, make sure to gather the necessary supplies. These will include:
- PVC piping
- A drain basket and washer
- PVC cement
- Tape measure or ruler
- Marker
- Hack saw
- Utility knife
- Pipe wrench or pliers
- Screwdriver or drill (optional)
- Level (optional)
- Putty knife (optional)
- Thread seal tape (optional)
Once you have gathered all the supplies needed for the project, it’s time to begin!
10 Easy Steps on How to Install Laundry Tub Drain Pipe
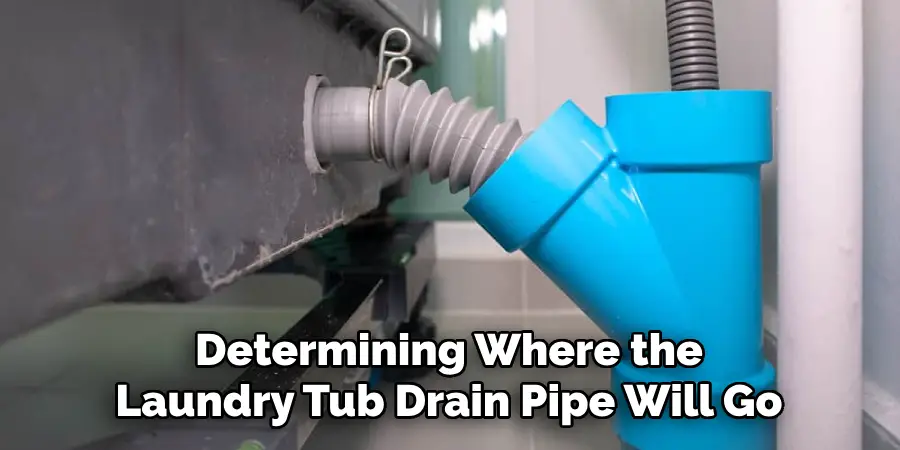
Step 1: Measuring and Picking the Right Spot
Once you have all your supplies, it’s time to start the installation process. The first step is determining where the laundry tub drain pipe will go. Measure the area and ensure no obstructions, such as pipes or wires, will interfere with the project.
Step 2: Assembling the Drain Pipe
Once you have measured out the area, it’s time to assemble your drain pipe. Start by attaching one end of PVC piping to a waste tee using PVC cement. Then attach an elbow joint to each side of the waste tee. Finally, use more PVC cement to join all three pieces together.
Step 3: Install the Washer and Basket
Once you have assembled your drain pipes, you can then install a washer and basket. Start by measuring the hole where you place the washer and basket with a tape measure or ruler. Then, use a marker to mark the spot where it should go.
Step 4: Use the Hack Saw
Once you have marked your spot, remove your hack saw and cut through any obstructions, such as pipes or wires. Make sure that there is enough clearance around the washer and basket to avoid potential clogs later on down the line. If you have difficulty cutting through the material, use a utility knife to help.
Step 5: Attach the Washer and Basket
Attach the washer first using screws or a drill (optional). Then attach the drain basket to the washer using PVC cement, making sure that everything is securely fastened and lined up properly. You can also use a putty knife to make sure that the basket is tight and secure.
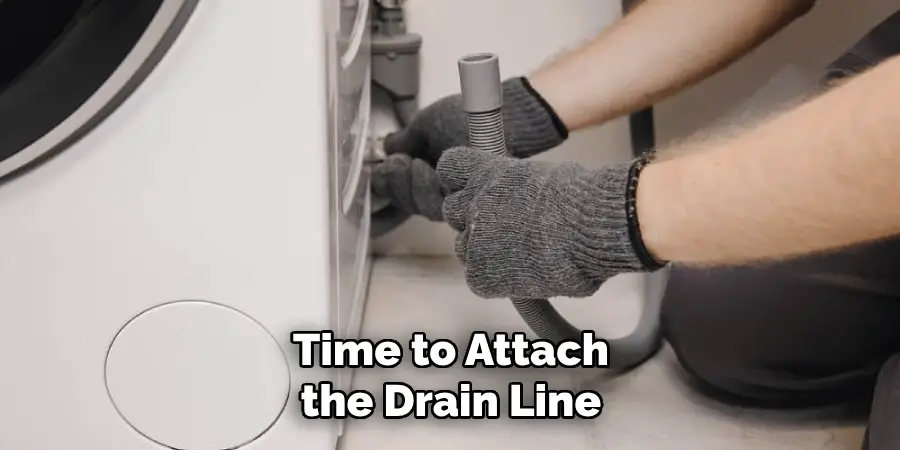
Step 6: Attach the Drain Line
Once the washer and basket are attached, it’s time to attach the drain line. Start by attaching one end of the PVC piping to a waste tee using PVC cement. Then, attach an elbow joint to each side of the waste tee and use more PVC cement to join all three pieces together.
Step 7: Connecting Pipes
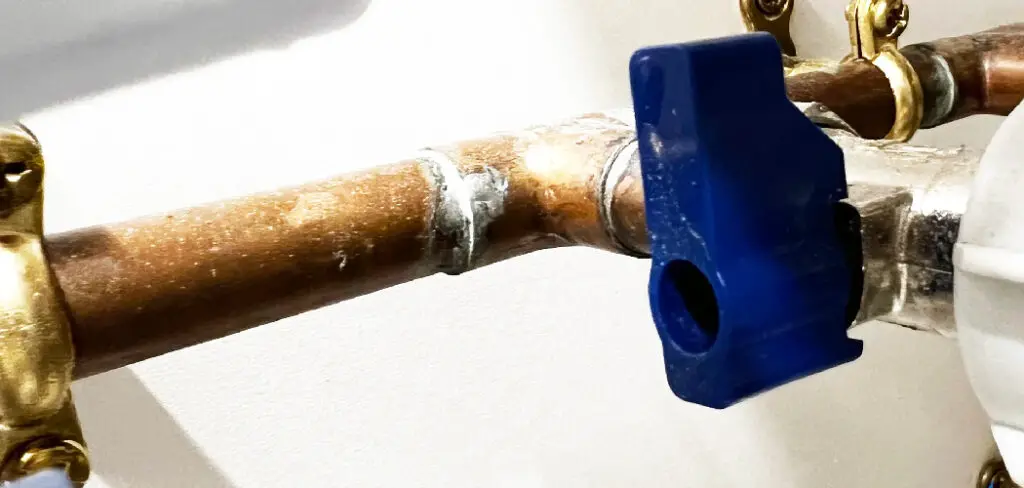
Next, you will need to connect the pipes from your drain line to your existing plumbing system. Make sure that all connections are secure using pipe wrenches or pliers. If necessary, apply thread seal tape (optional) around any threaded joints for extra security against leaks.
Step 8: Making Sure Everything is Level
Before you move on to the next step, use a level (optional) to ensure the drain line is installed properly. Adjust any sections that are level once everything is even and aligned correctly. If everything looks good, you can move on to the next step.
Step 9: Caulk Around Drain Line
Once your pipes have been connected and secured, it’s time to fill any gaps around the drain line with caulk using a putty knife (optional). This will help protect against potential water leakage in the future. Don’t forget to clean up excess caulk and wipe away dirt or debris.
Step 10: Test Out Your Work
Finally, turn on the faucet or water supply and let it run for several minutes. Ensure there are no leaks in your system before you move on to the next step. Remember, if you find any leaks, make sure to go back and tighten the connections until they are secure.
Congratulations! You have successfully installed your laundry tub drain pipe and are ready to enjoy the improved functionality of your utility area. With these easy steps to install a laundry tub drain pipe, you can easily give your laundry room a facelift.
5 Additional Tips and Tricks
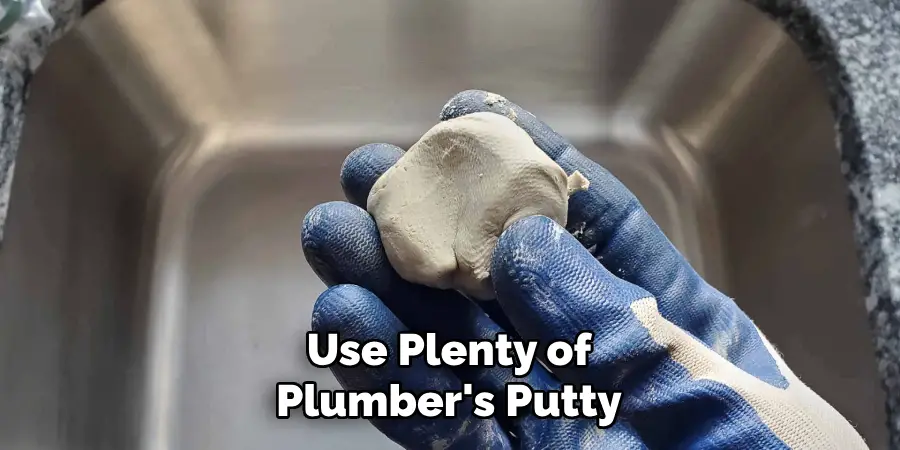
- Use plenty of plumbers’ putty and caulking when installing the laundry tub. This will create a watertight seal for the drain pipe.
- Always use plastic slip joint fittings for the drain pipe connection to ensure a tight seal and prevent any leaks.
- When installing the laundry tub, make sure that it is level in order to avoid drain water from pooling in one area of the tub.
- Ensure that your laundry tub meets all local building codes before installation to prevent any issues.
- To make sure everything is secure, test your installation with a bucket of water to check for any leaks or weak spots before using your new laundry tub regularly.
Following these simple steps will help you install your laundry tub drain pipe correctly and quickly!
5 Things You Should Avoid
- Avoid using metal slip joint fittings as they are not watertight.
- Don’t forget to use the plumber’s putty and caulking when installing the laundry tub in order to ensure a watertight seal.
- Do not install the laundry tub on an uneven surface, or it may pool drain water in one area of the tub.
- Be sure to adhere to all local building codes for your area so that you don’t incur any issues with your installation.
- Never skip testing your installation with a bucket of water before using it regularly, as this could lead to unnecessary leaks or weak spots in the pipe connection.
By following these tips, you can ensure your laundry tub drain pipe is correctly installed and secure!
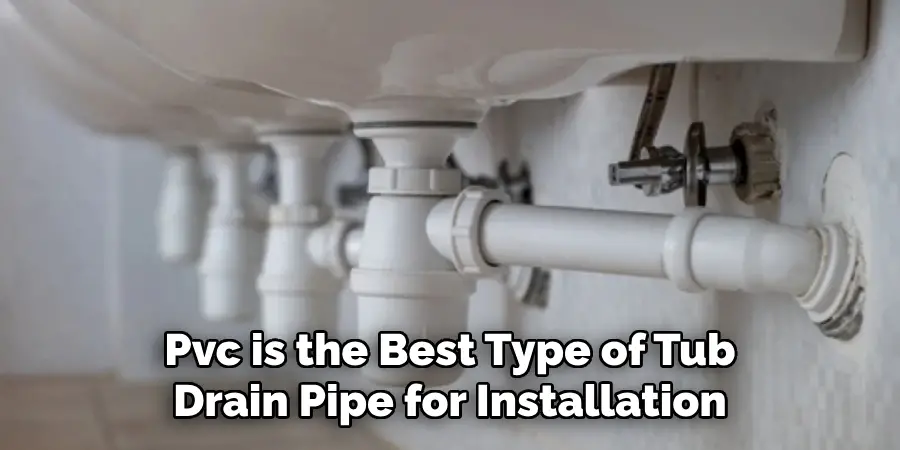
What is the Best Type of Tub Drain Pipe?
PVC is the best type of tub drain pipe for installation in a laundry tub. This material is strong, durable, and will last longer than other materials, such as metal or plastic slip joint fittings. It also has the advantage of being watertight and resistant to corrosion. Additionally, it’s easier to install than metal pipes and can be bent to fit into tight spaces. Regarding laundry tub drain pipes, PVC is the optimal choice for a safe and secure installation.
Happy installing!
Following these tips and tricks ensures that your laundry tub drain pipe is installed correctly and securely! With the right materials and proper technique, you’ll enjoy your new laundry tub in no time.
What Are the Parts of a Tub Drain?
The parts of a tub drain include the waste pipe, overflow tube, tailpiece, trap arm, P-trap, and slip joint nut. The waste pipe is responsible for draining wastewater from the laundry tub. The overflow tube prevents water from overflowing in case of an emergency. The tailpiece connects the drainpipe to the sink or bathtub. The trap arm connects the tailpiece to the P-Trap, an odor barrier that prevents bad smells from entering your home through the drain pipes.
Finally, the slip joint nut connects all these components into one piece and ensures no leaks are present in your installation.
These are some important parts to consider when installing a laundry tub drain pipe. By following these tips and tricks, you can be sure that your laundry tub drain pipe is installed correctly and securely!
Conclusion
Installing a laundry tub drain pipe may seem daunting, but following the steps outlined here can be done in no time. Remember to check your local laws regarding plumbing and always double check all aspects of the installation before doing anything. Make sure to use quality materials that meet local regulations for drainage, and you should have no problems with your new laundry tub drain pipe.
An ounce of prevention is worth a pound of cure when dealing with such a major home improvement project. With some basic knowledge, tools, and a plan, you can successfully install a laundry tub drain pipe!
Hopefully, the article on how to install laundry tub drain pipe has given you the information and confidence you need to take on an installation yourself. Good luck!
