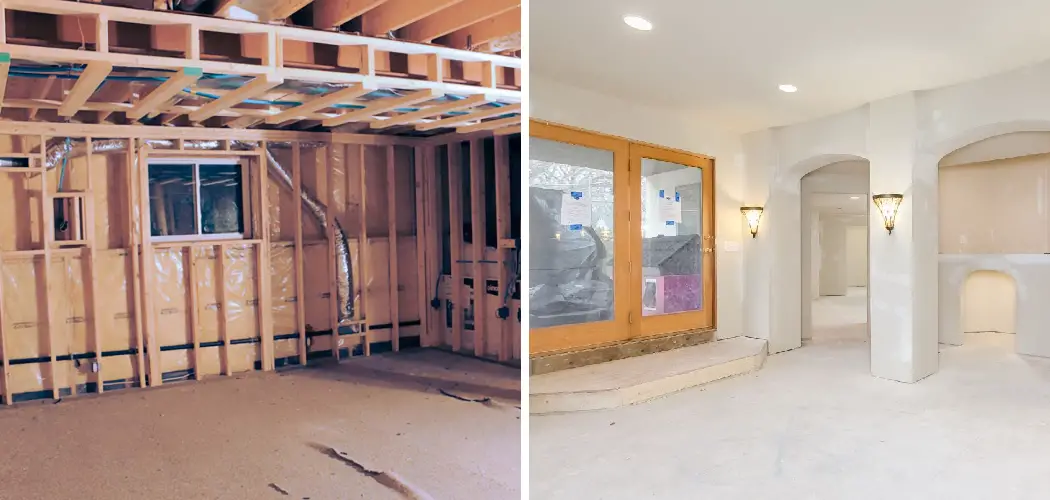
Are you looking to take advantage of the extra space in your home and finish your basement? Finishing a basement can add significant value to any home, especially here in Colorado where having an additional room or living space is incredibly useful. Whether it’s for hobbies, a family gathering area, or even office space, finishing a basement can be both time consuming and expensive. But don’t worry!

In this blog post, we will discuss the steps needed to make up for those costs and walk through how to finish a basement in colorado with ease. Read on if you are interested in learning more about what it takes to finish a basement in Colorado!
Safety Measures You Should Take
Before starting to finish a basement in Colorado, it’s important to take safety measures. Make sure your foundation is secure and there are no signs of water damage. Additionally, check for any electrical hazards and repair them before beginning construction. Inspect the air quality as well since basements can trap moisture leading to mold growth which can be hazardous for your health.
11 Step-by-step Guidelines on How to Finish a Basement in Colorado
Step 1: Assess the Condition of the Basement
Take a look at your basement and assess its condition. Make sure to check for any mold, water damage, or moisture buildup. Pay attention to the quality of your walls and ensure that they are not cracked or crumbling. It’s also important to make sure your floor is level and that there are no signs of foundation problems, such as buckling or bowing. This is a crucial step in the process of finishing a basement and should not be skipped.
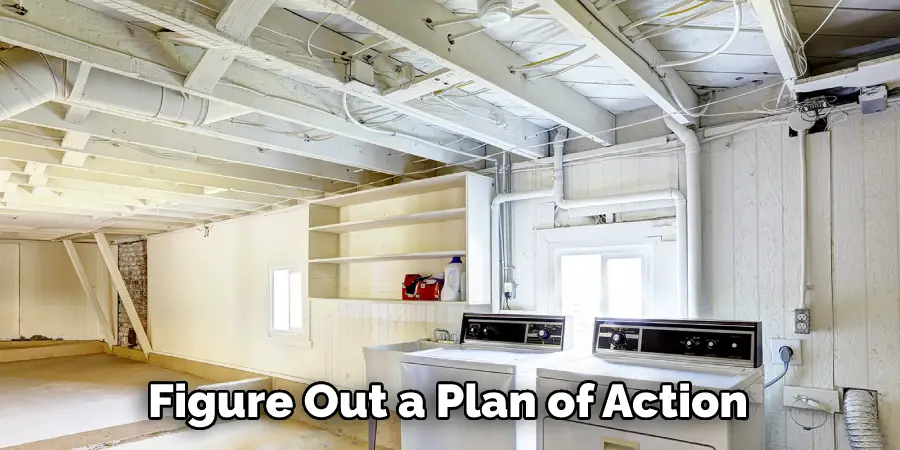
Step 2: Decide on a Design and Layout
Now that you have an understanding of the condition of your basement, it’s time to decide what type of design and layout you would like for your space. How are you planning on using the area? Do you want a family room or an office? Sketch out your ideas so that you can figure out a plan of action. It’s important to take measurements in order to ensure that your design will fit the space.
Step 3: Estimate Costs
Create a budget for the project and make sure to factor in all costs associated with finishing the basement, such as materials, labor, and any other necessary expenses. Research local contractors who specialize in basement remodeling and get quotes from each one. Be sure to inquire about any hidden fees that may be associated with the project before signing a contract.
Step 4: Install Insulation
Installing insulation is key when it comes to finishing your basement. Insulation helps to keep your home warm during the winter months and cool during the summer months. Make sure to use either fiberglass or rigid foam insulation, as they are both effective at keeping energy costs down. If possible, create an air barrier between the insulation and drywall to further increase energy efficiency.
Step 5: Set Up Plumbing
If you plan on using your finished basement for anything other than storage, you will need to install plumbing fixtures such as sinks, toilets, and showers. Consider hiring a professional plumber to ensure that everything is done correctly and up to code. It’s important to discuss your plans with them beforehand so that they can provide an accurate estimate of the cost.
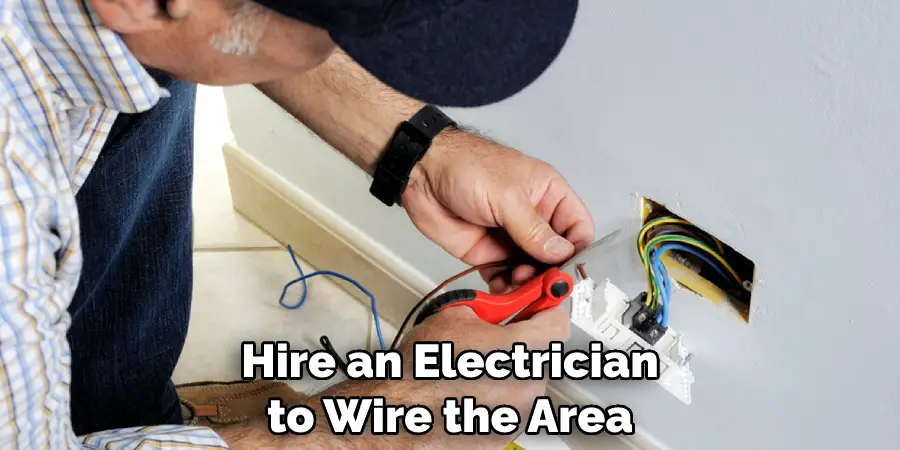
Step 6: Install Electrical Wiring
Hire an electrician to wire the area with outlets that fit your needs. This includes lights and fans as well as any necessary power points for appliances such as refrigerators or freezers. Make sure that all wiring is up to code and meets local regulations. However, if you are confident in your own electrical skills, then you may be able to do this step yourself. It is important to be aware of the potential hazards associated with working with electricity and to take all necessary safety precautions.
Step 7: Install Drywall
Secure drywall sheets onto the walls using nails or screws, and make sure to seal any seams with caulk or plaster of Paris. This will help ensure that no moisture can seep in through the walls and cause damage. It will also provide soundproofing and make the room look more professional. This is the time to add any wall treatments or textures that you desire. If you’re feeling ambitious, you can also add a drop ceiling and/or wainscoting.
Step 8: Apply Paint
You can either hire a professional painter or do it yourself if you feel confident in your painting skills. Start by priming the area and then apply two coats of paint for maximum coverage. Consider adding a bright color to give the space character and life! But make sure to use a high-quality paint so that it can withstand the moisture and humidity levels found in basements. It is also important to remember that dark colors will absorb more light, making the room appear smaller.
Step 9: Add Flooring
Choose flooring that is both durable and suitable for the space. Popular options include hardwood, tile, vinyl, or carpeting. Make sure to measure the area accurately before buying and installing flooring so you don’t end up with too much or too little material. This is also a great time to give the room some personality by adding area rugs and other decorative touches.

It is important to remember that some flooring materials, such as carpet and wood, may require additional insulation under the subfloor.
Step 10: Add Finishing Touches
Once all of your main components are in place, it’s time to add the finishing touches! Hang curtains over windows, add furniture (if necessary), mount a TV on the wall, and install trim around doorways. These small details will make a big difference in how the space looks and feels. If you’re feeling creative, consider adding accent lighting or painting one wall with a bold color to liven up the room.
Step 11: Check for Safety Issues
Go through the entire area one more time to ensure that everything is safe and up to code. Make sure smoke alarms, carbon monoxide detectors, and other safety devices are installed in the proper locations. This is also a good time to check for any signs of water damage or air leaks and to address them accordingly. Once all safety protocols have been met, your newly finished basement is ready to be enjoyed!
Finishing a basement in Colorado is an exciting but challenging project. With careful planning and preparation, you can create a beautiful space that you will love for years to come! By following these steps on how to finish a basement in colorado, your finished basement will be warm and comfortable for all who enter it! Good luck!
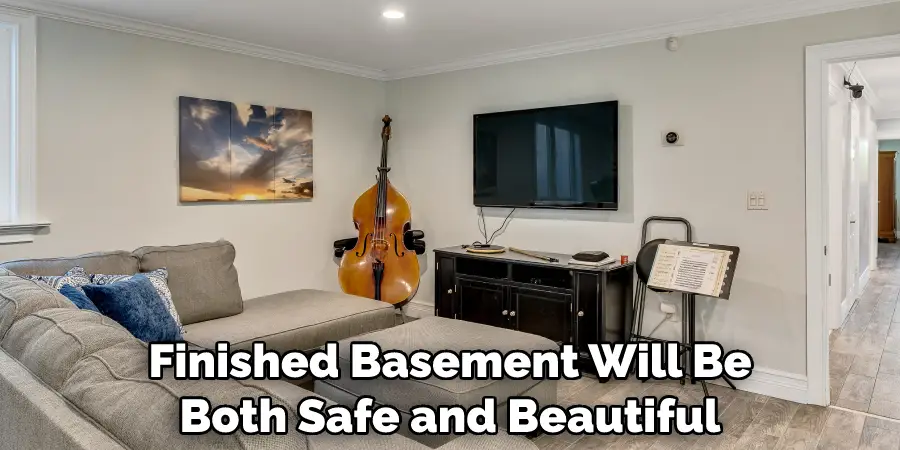
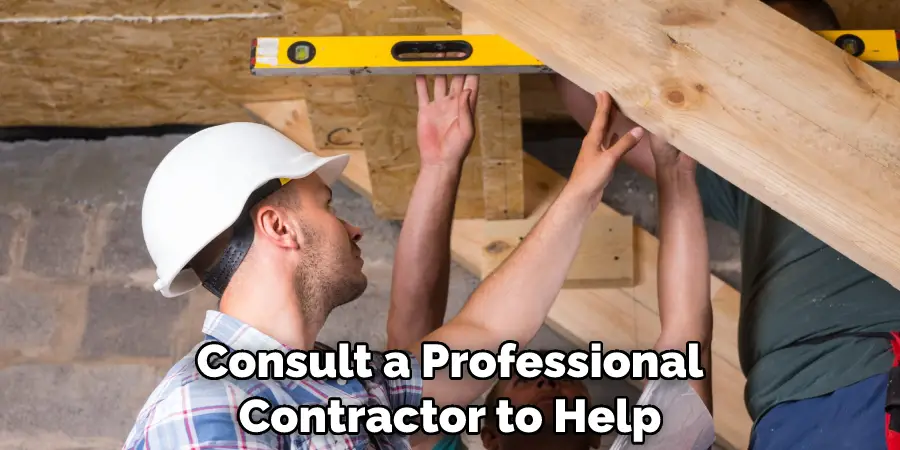
Do You Need to Get Professional Support?
It is always recommended to get professional support with any type of home renovation project, especially when it comes to something as important as finishing a basement. If you require assistance, reach out to an experienced contractor who can help guide you through the process and make sure that everything is done properly. This way, your finished basement will be both safe and beautiful! Remember, you don’t have to go it alone – there are professionals available to help you.
How Much Will It Cost?
The cost of finishing a basement in Colorado will vary depending on the size and complexity of the project. Generally, you can expect to pay anywhere from $10,000 to $25,000 for the entire job. Of course, this price range does not include any additional furniture or accessories that you may need to purchase. Be sure to budget accordingly and do your research so you know what to expect.
Frequently Asked Questions
Q: What Materials Do I Need to Finish a Basement in Colorado?
A: The materials you will need to finish a basement in Colorado will depend on the size and scope of your project. At a minimum, you will need lumber, drywall, insulation, paint, flooring materials, and any trim pieces you may want to include. You may also need additional tools and supplies depending on what type of work is being done.
Q: How Long Does It Take to Finish a Basement in Colorado?
A: The amount of time it takes to finish a basement in Colorado will depend on the size and scope of the project. A professional contractor can typically complete the job in one to two weeks if working with an average-sized area. For larger projects, it may take up to three or four weeks.
Q: Can I Do the Work Myself?
A: If you have some basic DIY skills, it is possible to do some of the work yourself. However, it is advised that you consult a professional contractor to help guide you through the process and ensure that everything is done properly. This way, your finished basement will be both safe and beautiful!
Q: What Are Some Design Ideas for Finishing a Basement in Colorado?
A: There are many ways to make the most of your finished basement. Consider adding accent lighting, painting one wall with a bold color to liven up the room, and adding furniture or other pieces that will help create the atmosphere you want. Installing curtains over windows, adding bold wall art, and even creating a bar or entertainment space are all great ways to make your basement unique and comfortable.
Conclusion
Thanks for reading this article on how to finish a basement in colorado. Finishing a basement in Colorado may seem like an intimidating project, but with the right plan and commitment, it’s certainly doable. Knowing how to choose a contractor, selecting the appropriate materials, gaining insight from local building codes, and making decisions on what your project will entail are essential steps for any homeowner embarking on this adventure.
It’s also important to remember that tackling your project one step at a time is critical in order to ensure you stay within budget and complete it successfully.
Keep in mind that things may not always go as planned but being flexible, having a solid foundation of knowledge, and being willing to roll with the punches may result in your dream basement becoming a reality. With the right diligence you could soon have an additional space perfect for entertaining friends or giving yourself some extra room to spread out. No matter what you decide to do it’s sure be a weekend well spent!
