
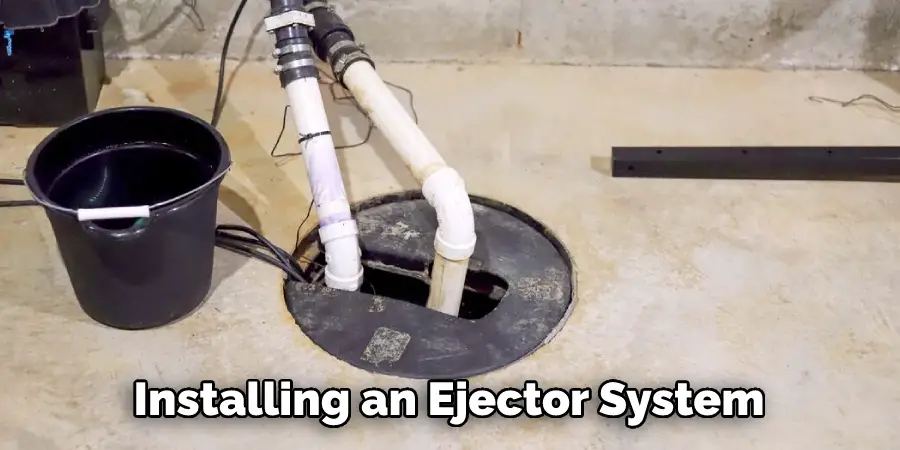
Doing your own sewage ejector pump installation can seem like an intimidating project. It is important to know how to install sewage ejector pump in basement. But it doesn’t have to be! With the right guidance and a bit of patience, you can successfully install a sewage ejector pump in your basement without requiring a professional.
In this blog post, we will show you step-by-step how to install one of these powerful pumps so that your home’s drainage system functions properly and efficiently. So if you are ready to take control of your plumbing needs and get those nasty backed-up liquids out fast; let us help guide you through the process.
Tools You Will Need
- Safety Gear: Gloves, Eye Protection, Dust Mask
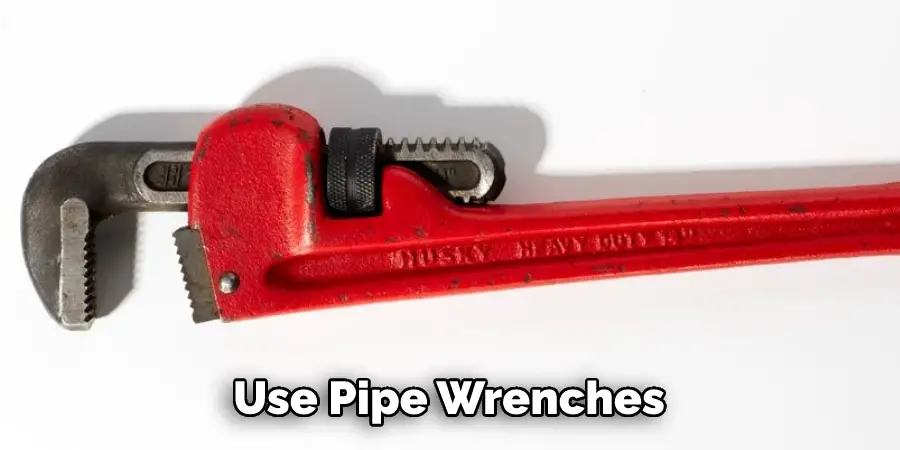
- Pipe Wrenches
- Power Drill with Bits
- Hammer and Chisel
- Level
- Shovel
- Teflon Tape
7 Steps Guide on How to Install Sewage Ejector Pump in Basement
Step 1: Locate Your Sewage Ejector Pump
This location will be determined by the layout of your home’s sewage system. Generally, the pump should be located near a drain inlet or just below the basement floor.
If you are looking to install a sewage ejector pump in your basement, the first step is to make sure you know exactly where it needs to be located. This will depend on the layout of your home’s sewage system, so consulting a professional plumber may be the safest and most efficient option. Generally speaking.
However, if your home has an inlet drain then the pump should be placed near it or just below the basement floor. Installing it in an area with good air circulation is also highly recommended as this will help keep the pump running smoothly and reduce odors.
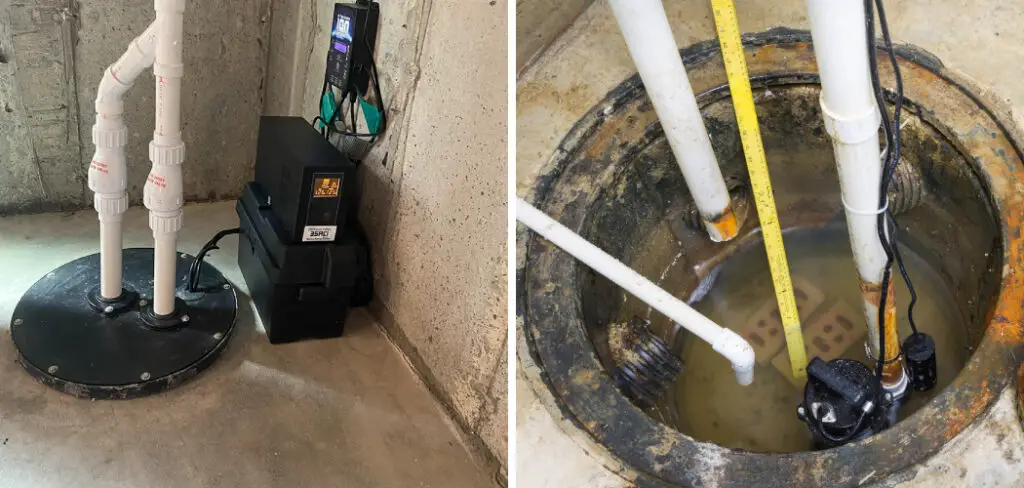
Step 2: House the Pump and Its Associated Components
This area should be at least twice as long and wide as the actual pump itself. Make sure that it is level and free of obstructions such as rocks or other debris.
Using your shovel, dig out an area that is large enough to comfortably house the pump and its associated components. To ensure proper fitting and efficient movement of waste, the area needs to be twice as long and wide as the actual pump itself.
Take care to make sure that the space is level and clear of any obstructions such as rocks or debris. Once this is in place, you can begin to think about other preparatory steps before installing your new sewage ejector pump.
Step 3: Place the Pump Into It
If you are working with an already existing sewage ejector pump, make sure to securely attach it to its base before installing it.
Once the area for the pump is dug out, it’s time to secure the pump in its spot — if you are using an existing pump, make sure to firmly attach it to its base. To ensure proper functionality, use a level and check that the mounting bolts are uniform.
After doing this step and connecting lines as necessary, turn on the power to the ejector pump to ensure the complete success of the installation. Following these simple steps will guarantee a properly installed sewage ejector during your next project.
Step 4: Connect All Pipes Leading From the Inlet and Outlet
Installing a sewage ejector pump in your basement is an essential task. Before beginning the installation, make sure you have all your tools and materials ready to go. First, use pipe wrenches to connect each of the inlet and outlet pipes from the pump to their respective lines. Pay close attention so that you are connecting the correct pipes.
Once each connection is made, be sure to wrap Teflon tape around each joint for the perfect water-tight seal. If done correctly, your new sewage ejector pump will be well on its way toward completing this manageable project.
Step 5: Double-check to Make Sure the Pump is Level
The key to successfully installing your pump involves secure attachment to the floor.
Drilling pilot holes into the concrete allow for masonry screws or anchors to hold the pump in place – anchors are recommended for extra security. After the pump is secured, double-checking that all connections are tightened and that it is level will ensure optimal function and performance.
All of these steps are necessary when installing a sewage ejector pump, so make sure they are completed thoroughly before moving on to any other steps.
Step 6: Connect a power source to the pump
To ensure a successful installation of a Sewage Ejector Pump in your basement, the first step is to connect it to a power source. Depending on the type of unit, you need to either turn on the breaker switch or flip the power switch. Once it has been properly connected and turned on, you can test the system.
Pour water into the inlet pipe and make sure it can flow correctly through both pipes and out of the outlet pipe. Doing this will give you peace of mind that your pump is installed securely and working properly.

Step 7: Reduce Odors and Prevent Pests From Entering Your Home
After you’ve hooked up your sewage ejector pump and tested the system, make sure to take the extra step of sealing any openings with a hammer and chisel.
Not only will this prevent any odors from slipping out, but it will also keep pesky pests away who might come in through those tiny gaps. This might seem like an arduous task but it is worth it.
Just a few seconds of work can make all the difference in protecting your home from uninvited guests.
And that’s it! You are now ready to enjoy the convenience of having a sewage ejector pump installed in your basement. Remember to keep it well-maintained and clean, as this will help ensure the longevity of your system.
Good luck with your sewage ejector pump installation! If you have any questions or need help troubleshooting, be sure to contact a licensed plumber for assistance.
Hope this helps!
Tips to Install Sewage Ejector Pump in Basement
- Determine the location of the sewage ejector pump.
- Cut a hole in the floor for the sewage ejector pump.
- Install the sewage ejector pump in the hole.
- Connect the sewage ejector pump to the sewer line.
- 5. Connect the discharge pipe to the sewage ejector pump.
- Connect the check valve to the discharge pipe.
- Install a cleanout tee on the discharge pipe.
- Cover the hole around the sewage ejector pump with concrete.
- Turn on the power to the sewage ejector pump.
- Test the sewage ejector pump.
How to Make Sure You Have the Right Setup for Installing a Sewage Ejector Pump?
Installing a sewage ejector pump correctly is essential for proper function and to avoid costly repairs, so it’s important to make sure your setup is appropriate before you begin.
Make sure that the size of the ejector pit, the diameter of water lines, drain lines, vents, and clearance from walls meet local plumbing code requirements. You need to ensure that the pump chosen can manage the capacity needed and will fit in the pit.
If you are purchasing a pump and don’t use the largest one allowed by the local plumbing code and have a smaller-sized pipe leading back to the gravity sewer line, your ejector pump may run constantly or prematurely wear out. Finally, inspect the installation to make sure everything was installed correctly.
How to Avoid Common Mistakes When Installing a Sewage Ejector Pump?
Installing a sewage ejector pump can be a tricky job, but with the right knowledge, any homeowner can do it on their own.
Researching the specific features and requirements before starting is key to success. It’s also important to carefully prepare the area where it will be installed so that you have ample space and ensure there are no nearby obstructions. Installing an ejector system also requires some in-depth plumbing experience.
If this is beyond your ability, it’s best to call in a professional plumber who knows what they’re doing. Finally, follow all manufacturer instructions closely as this will give you the best chance for successful installation and reliable operation in the future. With these tips, you’ll be able to avoid common mistakes when installing your new ejector pump.
How To Professionally Install a Sewage Ejector Pump In Your Basement?
Installing a sewage ejector pump in your basement can seem like an intimidating task for anyone, but it doesn’t have to be! By following the proper steps, you can install this essential piece of equipment with ease. First, plan out where you will be placing the pump and make sure its discharge pipe is connected to the appropriate drain line.
Then measure and cut the pipe accordingly. Additionally, check to ensure all components are securely fastened before connecting power. Ground-fault circuit interrupter outlets must be used for pumps shorter than 25 feet to ensure proper installation according to National Electrical Code Standards.
Lastly, test the pump by filling up the tank with water and starting it up – it should function without any issues! Although there are nuances when installing a sewage ejector pump, following these simple steps can make this project as easy as 1-2-3!
Conclusion
Installing a sewage ejector pump in your basement is not as difficult as it may seem. You should carefully determine how to install sewage ejector pump in basement.
With these easy-to-follow instructions, you will have your new sewage ejector pump installed and operational in no time.
Always consult with a professional if you have any questions or concerns during any step of the installation process.
