Do you have a problem with hairline cracks appearing in your home’s foundation walls? It is important to know how to fix hairline cracks in foundation wall. It can be a troubling sight to see, prompting questions about the building’s structural integrity and overall safety. Thankfully, the repair is possible!
In this blog post, we’ll cover exactly how to diagnose and fix any hairline cracks that may appear in your foundation wall. We’ll also discuss what causes them—and more importantly—how best to prevent future cracking from occurring. Read on for all of the necessary steps for addressing these pesky little flaws and ensuring a strong, stable foundation for your home!
Tools You Will Need
- Putty Knife
- Wire Brush
- Masonry Sealer
- Masking Tape
6 Steps Guide on How to Fix Hairline Cracks in Foundation Wall
1. Inspect the Crack
Before attempting any repair, it’s important to first inspect the hairline crack closely and determine its cause. Is it due to settling or a shifting foundation? Or is there evidence of water damage around the area?
Inspecting a hairline crack in your foundation wall is essential before any repair or maintenance work begins. Identifying the cause of the crack could save you time, energy, and money as it allows you to address the underlying issue first.
It also helps you determine if it’s a minor problem resulting from settlement or shifting foundations, or whether there is evidence of water damage that may require further attention. Regardless of what caused the crack, a thorough inspection is key to determining the next steps and ensuring that those steps are taken with intention and accuracy.
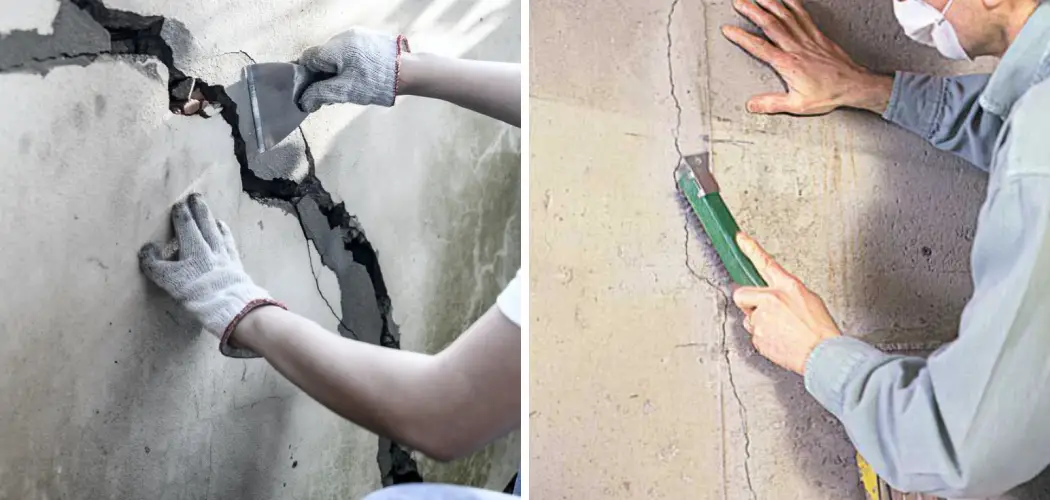
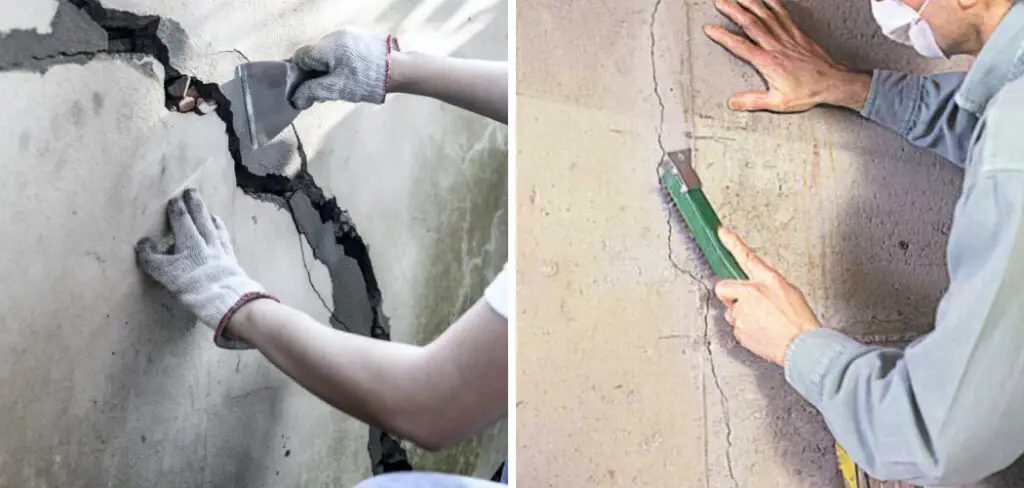
2. Clean Out the Crack Thoroughly
Use a putty knife and wire brush to remove any dirt, debris, or residue from the crack. This is an important step for ensuring a strong and effective repair.

Taking the time to clean out a crack in your foundation wall thoroughly is essential for repairing it correctly. With a putty knife and wire brush, scrape away any dirt, debris, or residue from the crack. Doing this will help ensure that the repair can be done correctly and be long-lasting.
It is also important not to overlook any small pieces of dirt or gravel that may have accumulated in the crack as these can weaken the repair over time. When your surface is completely free of debris and cleaned out, you are ready to make an effective repair to fix hairline cracks in the foundation wall.
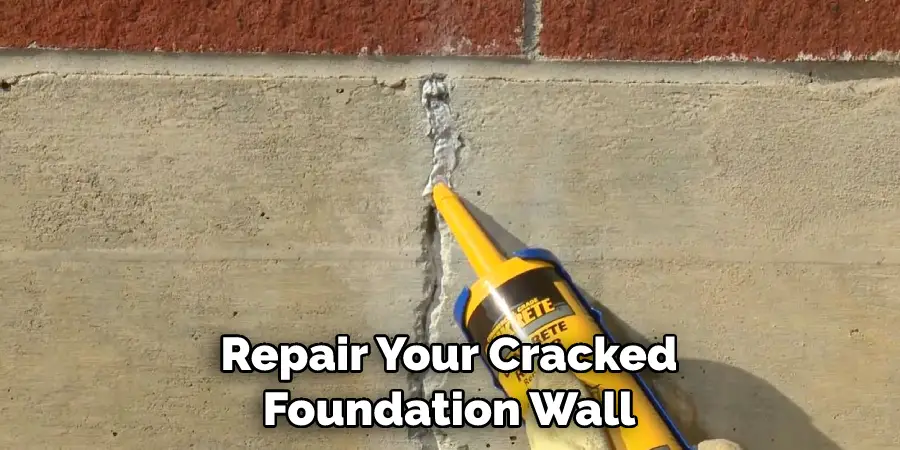
3. Seal the Crack With a Masonry Sealer
Use a masonry sealer to fill in the hairline crack completely. Be sure to use enough sealer so it completely covers all sides of the crack.
Sealing a hairline crack in a foundation wall can be a quick and easy fix if done correctly. Start by cleaning any debris, dirt, or dust from both sides of the crack before applying a masonry sealer. This will allow your sealant to adhere properly and form a better bond. Be sure you’re using an appropriate masonry sealer for the type of surface you’re dealing with.
Once your sealant is ready to use, fill the crack completely and smoothly, pushing some of the product into the side walls of it. Using enough product is key; be sure to overfill slightly so that when the product dries, it forms an even surface with no recessed areas that could later become potential leak points. Allow the sealant to dry completely before reusing or walking on it, and enjoy your newly sealed foundation wall!
4. Allow the Sealer to Dry
Allow at least 24 hours for the masonry sealer to fully cure before proceeding with any additional steps.
When fixing hairline cracks in a foundation wall, waiting for the sealer to dry is essential. It takes at least 24 hours for the masonry sealer to be fully cured. Skipping this step can adversely affect the repair job and may require additional effort to ensure a proper fix.
During this waiting period, it’s important to ensure that no moisture comes into contact with the surface being sealed as any water can interfere with the curing process. Once the sealer has cured, you will be able to move forward with other steps to properly repair your cracked foundation wall.
5. Apply a Second Coat of Sealer
For extra protection and reinforcement of the repair, you can apply a second coat of masonry sealer over the area.
Applying a second coat of masonry sealer over the repair to Fix Hairline Cracks in Foundation Wall is an effective way to provide extra protection and reinforcement. Depending on the size of your crack, the sealant can fill any remaining space and lock it in place. It forms a barrier against water penetration and helps keep painted surfaces looking fresh and bright.
Additionally, it may also contribute to preventing further structural damage if the crack reopens due to changes in ambient temperature or other factors. Applying a second coat of sealer is one more step that homeowners can take toward protecting their foundations from harm.
6. Tape Off the Area
To prevent any further damage or water seeping into the crack, use masking tape to cover it and keep it sealed until you can fix the underlying cause.
To save your home from further damage or water seeping into the cracks in your foundation walls, taping off the affected area is essential. Start by using masking tape to cover it and keep it sealed until you can fix the underlying cause of the crack. Ensure that you firmly press down as much of the tape against the wall as possible so that it is tightly sealed and no gaps are left for water to seep through.
Make sure that you overlap each piece of tape slightly, with no gaps in between, so that an effective seal is created. This will help prevent any further water damage from occurring in those areas before you can repair them properly.
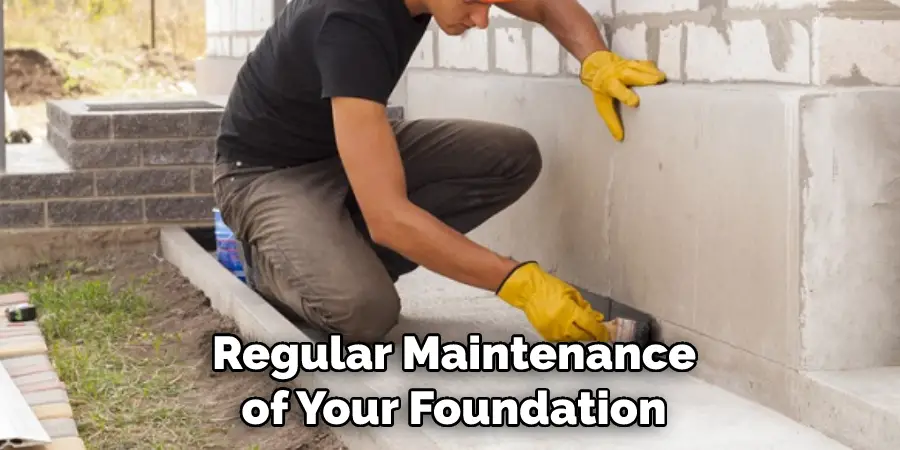
By following these six steps, you should have a good understanding of How to Fix Hairline Cracks in the Foundation Wall. Remember, prevention is the best approach and regular maintenance of your foundation will help keep it from cracking in the future.
Tips to Fix Hairline Cracks in Foundation Wall
- Inspect the cracks carefully to see if they are indeed hairline cracks or something more serious. If the cracks are wider than 1/8 of an inch, they are likely structural and will need to be repaired by a professional.
- Clean the cracks with a vacuum or brush to remove any dirt or debris.
- Fill the cracks with epoxy resin or polyurethane caulk using a caulking gun.
- Smooth the filler material with a putty knife or other tool. Allow the material to dry completely according to the manufacturer’s instructions.
- Prime the area around the repairs with a latex primer and then paint over the area with matching exterior paint.
- Inspect the foundation regularly for new cracks and repair them as soon as possible to prevent further damage.
- Have your foundation inspected by a professional every few years to check for any structural issues that may need to be addressed.
How to Identify, Clean & Repair Hairline Cracks in Foundation Wall?
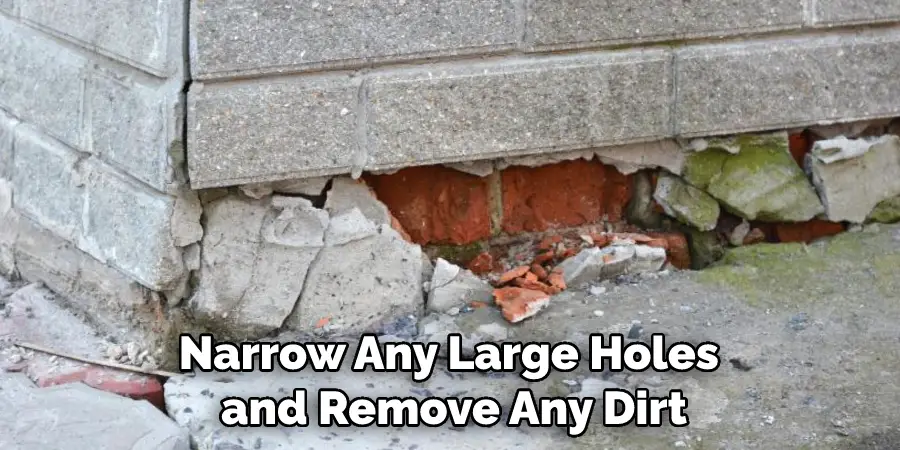
Identifying, cleaning, and repairing hairline cracks in the foundation wall of your home can be a daunting task. However, with the right tools, supplies, and know-how, it is a project that most homeowners can handle on their own. To fix the cracks, you should first assess their size, whether they are below or above grade level, narrow any large holes and remove any dirt or debris from the area.
After allowing the wall to thoroughly dry out, use a sealant designed for exterior surfaces to fill in the cracks. Once it is dry, you may need to paint over the sealant to seal out moisture and add an aesthetic finish. With careful preparation and attention to detail, you can successfully repair hairline cracks in your foundation wall quickly and cost-effectively.
How Painting Can Help Protect Your Home from Hairline Crack Damage?
Protecting your home from hairline crack damage can seem daunting, but paint may offer an easy and effective solution. By covering walls with a few coats of high-quality paint, homeowners can create a physical barrier between the destructive elements of moisture and air. Not only that, but the painting signals to prospective buyers that the home is well cared for and will be an appealing showpiece for years to come.
Besides adding aesthetic value to your space and protecting against unwanted environmental impacts, painting your home yourself also offers several other financial benefits and allows you to customize certain areas to your exact specifications. With all these protection benefits, painting is one of the simplest ways to safeguard your home from hairline crack damage.
Expert Tips for Repairing and Securing Your Foundations with Hairline Cracks?
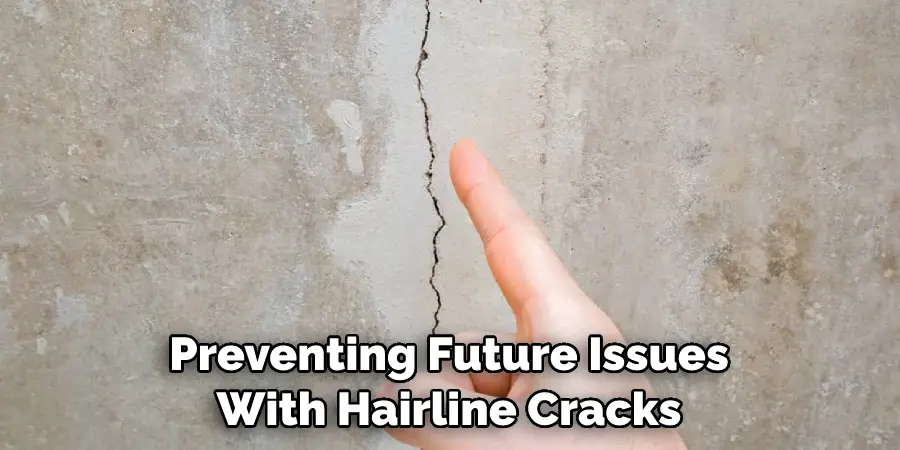
One of the most common foundation repairs due to aging is hairline cracking. While these cracks may not seem like much of an issue, they can be signs of large problems developing underneath your foundation — so it pays to take action! Fortunately, there are a few steps you can take to repair and secure a course to prevent any further damage. Start by applying concrete caulk or patch material over the crack and make sure it seals properly.
You should then fill the inside surface of the crack with trowel-able epoxy, as this product has lasting strength and non-shrink properties. Finally, take preventive measures by having your gutters cleaned regularly. Directing excess water away from your foundation can go a long way in preventing future issues with hairline cracks and other damages caused by moisture.
Conclusion
Although cracks in the foundation may seem daunting, there are ways that you can fix them yourself. By following these simple instructions, you can have your home’s foundation looking as good as new in no time. And, if you ever have any questions or need help with a project, remember that we’re always here to help. If you have any questions about how to fix hairline cracks in foundation wall, please don’t hesitate to reach out for professional assistance. Thanks for reading!
