
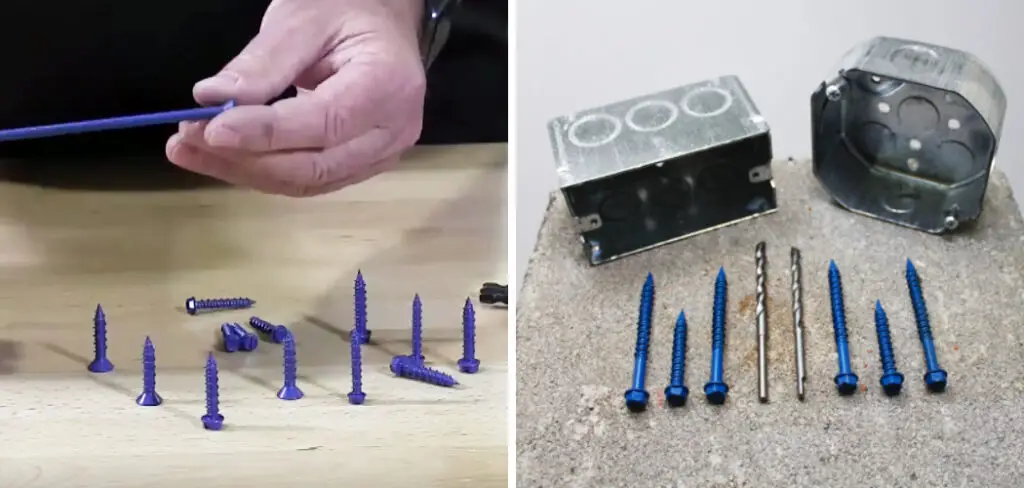
Tapcon screws are one of the most popular and versatile fasteners used in many construction projects. They offer a strong hold and can be used to attach items to concrete, brick, or block walls. While it is usually recommended that you use a hammer drill when installing Tapcon screws, there are ways you can do it without one.
Knowing how to install Tapcon screws without a hammer drill can be invaluable if you don’t have access to this tool or it is unavailable. It also eliminates the need to buy additional tools and equipment. You can find step-by-step instructions on how to install tapcon without hammer drill in this blog article.
Step-by-step Instructions for How to Install Tapcon Without Hammer Drill
Step 1: Inspect the Area
Inspect the area where you want to install the Tapcon screw. Ensure there is a solid substrate without any obstructions that could interfere with installation. Use a masonry bit to drill out a hole in the wall or surface where you want to install the Tapcon screw. The size of the hole should be slightly smaller than the diameter of the screw.
Step 2: Insert Tapcon Screw
Insert the Tapcon screw into the drilled hole. Make sure it is seated firmly and not loose or wobbly. Secure the Tapcon screw in place with a washer and nut. Make sure to tighten them securely, but do not overtighten them, as this could damage the surface you are installing them into.
Step 3: Set the Depth of the Tapcon Screw
Use a depth setting tool to set the screw to your desired depth. Make sure it is not too deep or too shallow. If you do have access to a hammer drill, use this setting to secure the Tapcon screw in place further. This is not necessary if a solid substrate is used in the installation.
Step 4: Test for Firmness
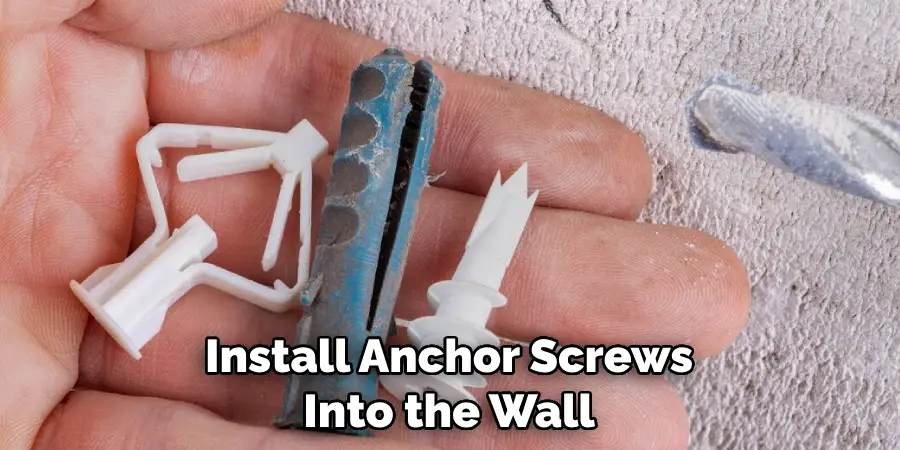
Once the Tapcon screw is installed, test it for firmness by pushing on it with your finger. It should be firmly secured and not move at all. Install anchor screws into the wall or surface around the Tapcon screw for additional security. This will provide extra stability and help prevent it from moving.
Step 5: Finish Installation Process
Once the installation is complete, you can finish up by caulking around the edges of the Tapcon screw to seal out air and water. This will also make the installation look neater and more professional in appearance. Finally, test the Tapcon screw for strength and stability by pulling on it with your hand. It should be firmly secured and not move at all. Once you are satisfied that it is secure, you can move on to the next step.
By following these steps, you can safely and effectively install a Tapcon screw without the need for a hammer drill. Doing so will save time and energy while ensuring that your installation is secure and stable. Be sure to read all instructions before beginning any project.
Safety Tips for How to Install Tapcon Without Hammer Drill
- Wear protective eyewear and gloves when working with Tapcon screws.
- Make sure you are wearing closed-toed shoes that have good traction on the surface of the work area to avoid slips and fall.
- Ensure your drill bit is suitable for Tapcon screws – they require a special masonry bit to ensure a good connection.
- Drill slowly and evenly, using light pressure on the drill. Drilling too quickly can cause the Tapcon screw to break or not anchor properly.
- Clean out any dust or debris from the holes before inserting the screws. This will help reduce friction and make it easier to insert.
- Always use the right size screw for the material you’re working with, and make sure you are using a new screw or one that is in good condition.
- Check the screws periodically while installing them to ensure they are still securely anchored into place. Do not force them in if they feel tight.
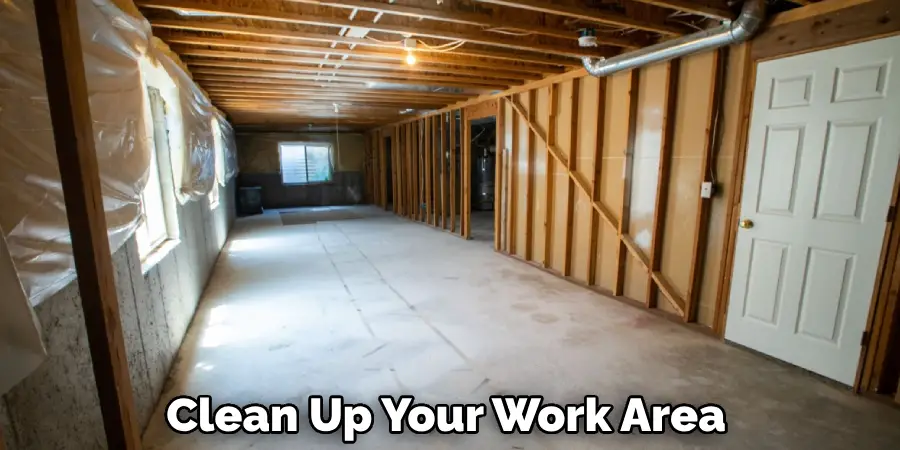
- When you’re done, make sure to clean up your work area and properly dispose of any leftover Tapcon screws or drill bits.
Following these safety tips will ensure that you are able to install Tapcon screws without a hammer drill correctly and safely.
How Long Does It Take to Install Tapcon Without a Hammer Drill?
Installing Tapcon without a hammer drill can take anywhere from 15 minutes to an hour or more, depending on the size of the area you need to cover and any complications that may arise. The first step is to create pilot holes for each Tapcon screw using an appropriately-sized masonry bit.
This requires drilling into brick, concrete, or other masonry material, which can be time-consuming. Once the pilot holes are complete, you can insert each Tapcon screw with a standard drill/driver and secure it in place.
It is important to ensure that each screw is driven all the way into the material so that it will hold securely. Depending on your skill level and the number of Tapcon screws needed, you may be able to complete the entire installation process without a hammer drill in under an hour. However, using a hammer drill whenever possible is recommended, as this will speed up the process significantly and provide more reliable results.
Are There Any Risks Associated With Installing Tapcon Without a Hammer Drill?
Installing Tapcon anchors without a hammer drill carries some risks. Without the proper tools, creating a secure and effective installation can be difficult. It is important to use caution when installing Tapcon anchors without a hammer drill to avoid potential damage to surfaces or personal injury.
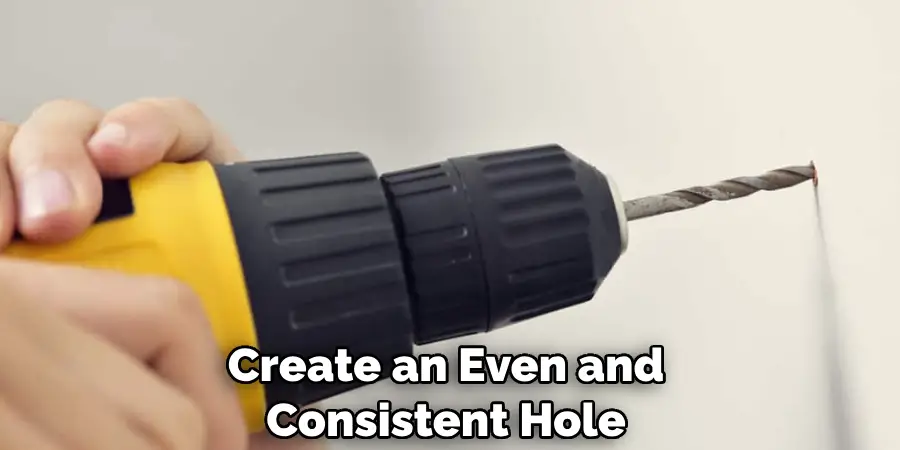
The most significant risk associated with installing Tapcon anchors without a hammer drill is improper installation. Because it is difficult to create an even and consistent hole with regular drills, the anchor may not be secure in the wall.
It is also possible that the drilling bit can slip out of the hole or become stuck inside, which could lead to damage to surfaces. In addition, the vibrations created by a hammer drill help to embed the anchor in the wall. Without these vibrations, it could be difficult to insert the Tapcon into the hole properly. As a result, it is more likely that the anchor will become loose over time and potentially come out completely.
How Do You Properly Secure the Tapcon When You Install It Without a Hammer Drill?
Once you have pre-drilled the holes for your Tapcon screws, it is important that you properly secure them into place. Without a hammer drill, this can be a bit tricky. Here are some tips on how to properly secure your Tapcons when installing them without a hammer drill:
- Start by threading the Tapcon into the hole using your fingers. Make sure that you are going in straight and not at an angle, as this may cause the screw to bind up and not fully go into place.
- Use a ratchet or adjustable wrench to finish tightening the Tapcon, applying more torque than you can with just your fingers. This will ensure a secure and tight fit.
- Once you have finished tightening the Tapcon, use a socket wrench or an adjustable wrench to finish it off by making sure that it is tightened down securely.
Following these steps will help ensure that your Tapcons are properly secured when installing them without a hammer drill. Knowing how to secure the Tapcon properly is important to ensure that your project is both safe and secure.
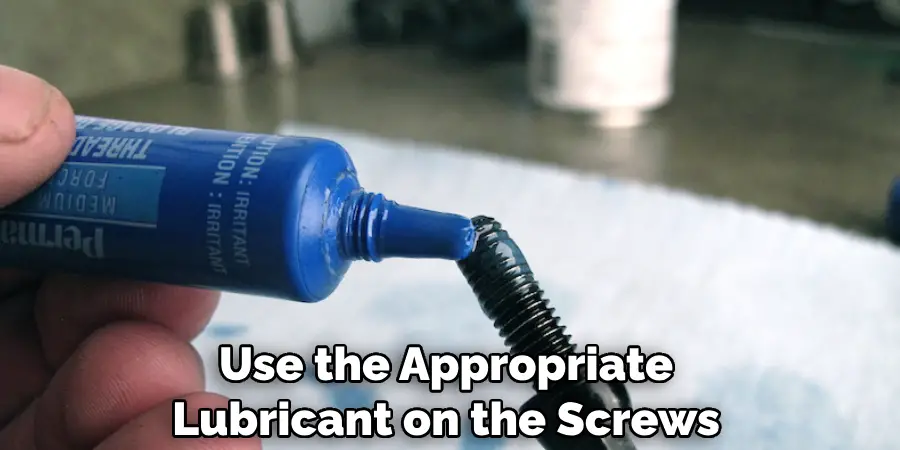
What Type of Maintenance Should Be Performed on Tapcon After It Has Been Installed Without a Hammer Drill?
Once you’ve installed Tapcon without a hammer drill, you should perform regular maintenance to ensure that the screws remain in place and function properly. You can do this by periodically checking each screw for tightness, making sure that there are no loose or missing screws, and ensuring that any signs of corrosion or wear have been taken care of right away. Additionally, be sure to use the appropriate lubricant on the screws so that they remain rust-free and in good condition.
If you notice any issues with your Tapcon installation, it’s important to address them quickly, as this could compromise its structural integrity if left unchecked. Finally, if you have a warranty on your Tapcon installation, be sure to contact the manufacturer with any concerns or questions you may have. By following these simple maintenance steps, your Tapcon installation will remain as strong and secure as it was when you first installed it without a hammer drill.
Conclusion
In conclusion, installing tapcon without a hammer drill is possible and can be done with some patience, careful precision, and the right tools. It may take more time than it would with a hammer drill, but it can still be done successfully.
It is important to use the right type of bit for the material you will be tapping into and take your time in measuring and drilling the hole. Once the tap is in, it should be secure and provide a stronghold for whatever you are installing. I hope this article has been beneficial for learning how to install tapcon without hammer drill. Make Sure the precautionary measures are followed chronologically.
