
Are you looking for a way how to insulate basement ceiling for sound? If so, you’re in luck! With the right materials and a few simple steps, you can soundproof your basement ceiling in no time.
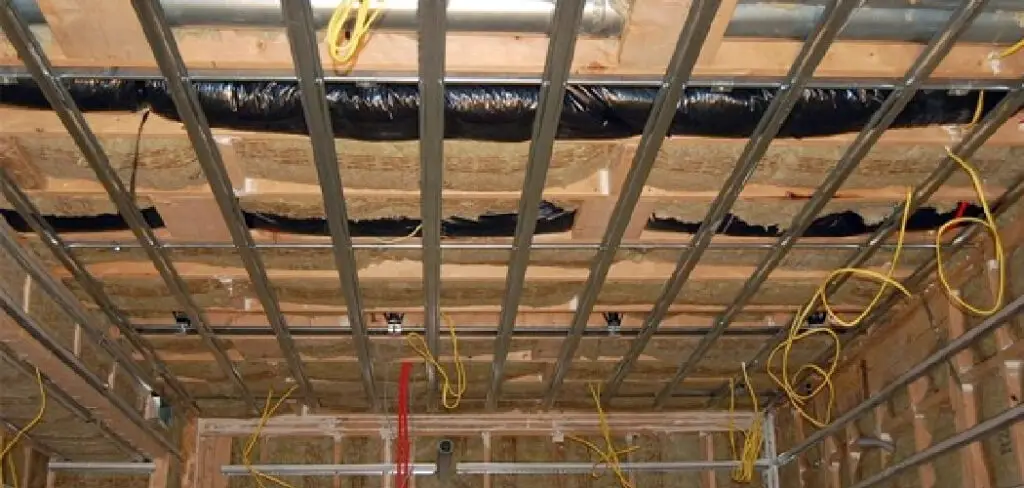
If your basement is a place of refuge for getting away from the hustle and bustle of everyday life, you want to ensure that it has an atmosphere that makes it feel like home. That means making sure sounds don’t penetrate the walls or flooring to create privacy. One way to ensure maximum soundproofing in your basement is by insulating the ceiling using craft items.
Insulating with craft supplies can help dampen outborn noise and be used to decorate if desired!
Keep reading this post and learn how to use craft supplies to insulate your basement’s ceiling for improved soundproofing!
What Will You Need?
1. Craft Foam: Craft foam is one of the best materials to use for soundproofing a basement ceiling. It’s lightweight, flexible, and easy to cut into shapes and sizes that fit in tight spaces.
2. Adhesive: Adhesives are needed to attach the craft foam to the ceiling in order to hold it in place. Make sure to use an adhesive that is designed for foam and other porous materials so that the soundproofing is successful.
3. Tape Measure: A tape measure is needed to measure the surface area of your accurately
basement ceiling in order to get the right amount of craft foam.
Once you’ve gathered all the materials listed above, it’s time to get started on soundproofing your basement ceiling!
10 Easy Steps on How to Insulate Basement Ceiling for Sound
Step 1. Measure the Surface Area:
Use your tape measure to measure the surface area of your basement ceiling accurately. Use a ruler to measure each section if you have an oddly shaped ceiling. It will help you determine how much craft foam you need.
Step 2. Choose Your Craft Foam:
Choose a craft foam type that best suits your specific soundproofing needs. Remember that some types are more effective than others, so research before making a purchase. As a general rule of thumb, thicker craft foam works best for soundproofing.
Step 3. Cut the Foam into Pieces:
Cut each piece of craft foam into pieces that fit the size and shape of your ceiling’s surface area. Make sure they are all equally sized and shaped for maximum effect. Other foam sheets can also be used for thin areas.
Step 4. Apply the Adhesive:
Apply a generous amount of adhesive to each piece of craft foam, making sure to cover the entire surface. There are several adhesives designed specifically for craft foam, so make sure to use one of those. The best results are achieved using a foam roller when the adhesive is applied.
Step 5. Place the Foam on the Ceiling:
Carefully place each piece of craft foam onto the ceiling in their designated spots. Make sure they are firmly pressed against the surface to ensure a successful soundproofing job. It may be helpful to enlist the help of a friend or family member for this step.
Step 6. Secure with Tape:
Secure each piece with tape to prevent them from moving while drying or settling into place over time. Use a strong tape that is designed for use on porous surfaces and won’t leave residue behind when removed. Using longer strips of tape is better, as it creates a stronger bond.

Step 7. Let it Dry:
Let your newly soundproofed basement ceiling dry before continuing with any other projects in your space. This will allow your adhesive time to set and bond with the foam. Letting it cure for 24 hours before putting any pressure on the foam is best.
Step 8. Trim Away Excess:
Once your project is dry, trim away any excess craft foam that may have been left behind during installation. This will help keep the space looking neat and tidy. Be careful not to cut into the adhesive or foam too much.
Step 9. Fill Gaps:
If there are gaps between the pieces of craft foam, use spray foam insulation to fill them in order to improve soundproofing efficiency. This step is optional but recommended for maximum effectiveness. Ensure that you are using a fire-rated foam and follow the manufacturer’s instructions for safe use.
Step 10. Enjoy Your Quiet Space:
You’re done! Now you can enjoy your newly insulated basement ceiling without having to worry about noise leakage from outside or upstairs sources! Congratulations on completing your soundproofing project.

By following these simple steps, you can easily insulate your basement ceiling for sound and start enjoying a more peaceful space in no time!
5 Additional Tips and Tricks
1. Consider adding extra insulation or acoustic foam to your ceiling, as this can help reduce noise levels.
2. Try installing soundproofing drywall over the existing walls and ceiling. This will provide an additional sound barrier and help absorb unwanted noises outside the basement.
3. Adding insulation around pipes and ducts can also effectively limit noise transfer downstairs. Wrapping pipes and ducts with fiberglass-based insulating blankets is a great way to do this.
4. Cut some holes in the drywall for air circulation so that it doesn’t trap moisture, which could lead to mold growth – a great way to make sure you are creating a healthy environment while improving sound quality at the same time.
5. Consider investing in some quality soundproofing curtains, as they can effectively reduce noise levels without adding too much extra material or construction work. This is also a great way to make the basement look more aesthetically pleasing and inviting for guests!
With these tips and tricks, you will be able to ensure that your basement is well-insulated for sound. Remember to take the time to research materials and methods that work best for your basement and budget, as this will help ensure long-term success with sound insulation.
6 Things You Should Avoid
- Avoid using open-cell foam, as this will not provide adequate soundproofing benefits.
- Refrain from using traditional insulation in your basement ceiling, as this may not be the most effective way to reduce noise levels coming into or out of the space.
- Don’t forget about air gaps around windows and doors when insulating – these should also be sealed to ensure complete soundproofing.
- Avoid installing insulation too close to heat sources or electrical wiring – this can create a fire hazard and make it harder for air to circulate correctly in the basement.
- It is best to avoid any materials that absorb moisture, such as carpets or fabric-covered walls, as this can increase the risk of mold and mildew growth.
- Steer clear of adhesive-based insulation, as this can be difficult to remove if you need to make repairs or adjustments in the future.
By following these tips, you can ensure that your basement is effectively insulated for sound without putting yourself or others at risk. Keep in mind that there are many different techniques for soundproofing a basement, so be sure to do some research before beginning any project!
What is the Best Soundproofing Shape?
When it comes to soundproofing, there is no one-size-fits-all answer. The best shape for soundproofing will depend on the purpose of the insulation and the type of material used. Generally speaking, rounded shapes will help disperse sound waves more effectively than straight lines, as sound waves tend to bounce off curved surfaces rather than being absorbed. This is especially true when using fabric-based materials such as acoustic panels or acoustic foam.
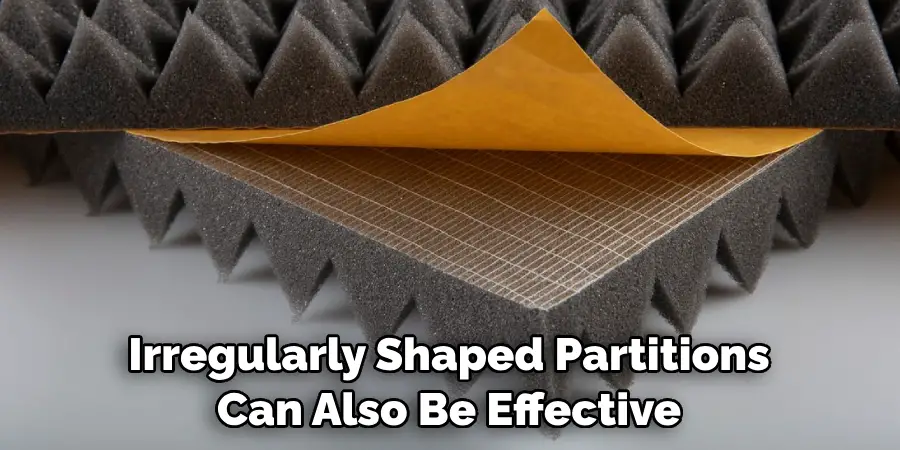
In addition, irregularly shaped partitions can also be effective at creating pockets or sharp angles, which can help absorb noise in certain areas more effectively than others. However, it’s important to remember that while this approach may result in higher sound absorption in some spots, it may also cause sound to be reflected off in other directions.
Ultimately, the best soundproofing shape will depend on your specific needs and the type of material used. By researching and testing different shapes, you can find the perfect one for your soundproofing needs!
Is Thicker Insulation Better for Soundproofing?
The answer to this question largely depends on the type of insulation you’re using. Thicker materials, such as fiberglass and foam boards, can provide excellent soundproofing benefits only if installed correctly. If the insulation is too thin or isn’t applied properly, it may not be effective at reducing noise levels. Additionally, thicker insulation may be necessary for areas where there is a lot of noise pollution or reverberation – these will require more material for effective soundproofing.
In conclusion, when insulating your basement ceiling for soundproofing, always consider the size of the space and the type of material used before deciding on which thickness to go with. With proper research and installation techniques, you can effectively insulate the basement ceiling for soundproofing without breaking the bank.
Conclusion
It is clear that there are many options for insulating a basement ceiling for a sound that can be tailored to your space and needs. Furthermore, mineral wool, fiberglass bats, and sealants can easily create a safe and comfortable environment in their home while dampening reverberations. Taking the time to insulate your basement ceiling is an excellent way to save money on energy costs, increase the value of your home, improve safety standards, and ensure your living space remains as cozy as possible.
By arming yourself with the right knowledge and following through with appropriate action items, you can craft an item out of insulation that reduces noise pollution and benefits your pocketbook.
Hopefully, the article on how to insulate basement ceiling for sound has been helpful in providing some additional tips and tricks to get the job done right the first time. So tackle this project today and reap the rewards you’ve been waiting for! Thank you for reading!