
Painting your concrete walls can be a great way to freshen up the look of any room. But before you begin, it’s important to make sure the surface is smooth and even. Doing so will create the perfect canvas for an even finish with no bumps or ridges interrupting your vision.
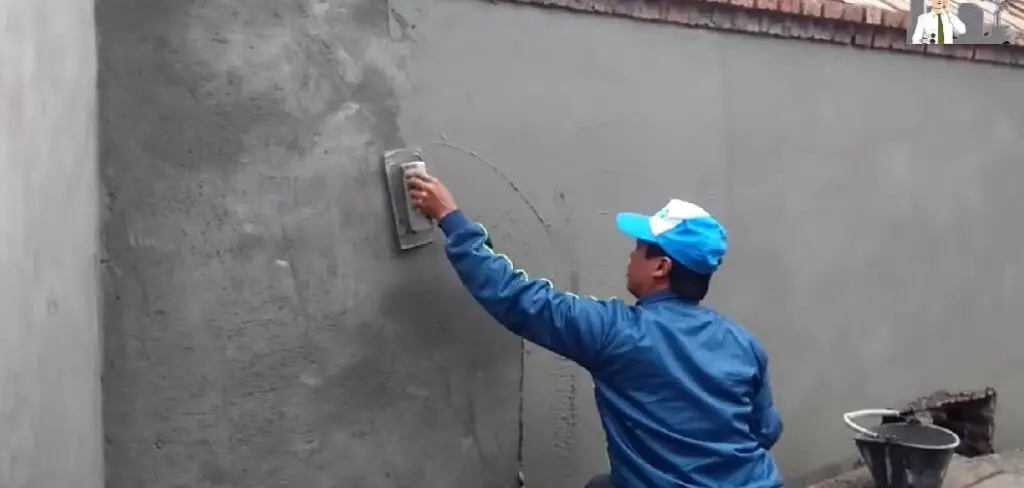
In this blog post on how to smooth concrete walls for painting, we’ll provide step-by-step instructions on how to properly prepare concrete walls for painting — from sanding and sealing large cracks and holes to smoothing out uneven surfaces with compound tools like trowels and brushes. Keep reading to learn more about what you need in order to paint like a pro!
Needed Materials
Given below are some of the materials you will need to prepare your concrete walls for painting:
Sandpaper
This is the best tool for sanding down rough patches and creating a smooth surface. Choose an 80-grit or finer sandpaper to avoid damaging the concrete.
Putty Knife
A putty knife can be used to scrape away any debris or dirt that has accumulated on your walls in order to create a clean slate for painting.
Trowel
A trowel will help you fill in cracks and holes in your walls with mortar, cement, or other compounds. This will also ensure your finished paint job looks as smooth as possible.
Roller Brush
A roller brush is great for smoothing out uneven surfaces, such as ridges created by troweling. It’s important to use a brush with very soft bristles so that it doesn’t scratch the concrete.
Sealer
Sealing your concrete walls is an important step in the process of preparing them for painting. Sealers help to create a barrier between the wall and the paint, making sure that neither one cracks or flakes off over time.
10 Step-by-step Guidelines on How to Smooth Concrete Walls for Painting
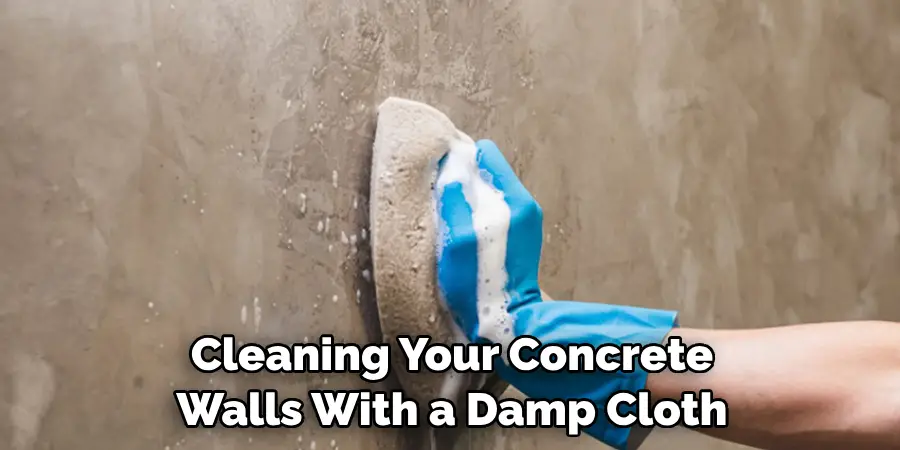
Step 1: Clean the Concrete
Begin by cleaning your concrete walls with a damp cloth or sponge, making sure to remove all dirt and debris from the surface. It’s essential to start with a clean surface in order to create a good base for your paint job. This will also help to ensure that the paint adheres well and doesn’t crack or flake off over time.
Step 2: Sand the Concrete
Use coarse-grit sandpaper to sand down any bumps or ridges. Start from the bottom and work your way up. Make sure you’re using even strokes and going in one direction only. This will ensure an even finish. But be careful not to sand too much, as this could damage the concrete. It’s best to use very fine-grit sandpaper, such as 80-grit.
Step 3: Fill in Holes and Cracks
Using a putty knife or trowel, fill in any holes or cracks with mortar, concrete, or other compounds. Once this is done, smooth out the surface with a roller brush for an even finish. This will also help to create a solid base for the paint. It’s important to use a brush with very soft bristles to avoid scratching the concrete.
Step 4: Test Your Surface
After you’ve filled in all of the holes and cracks, test your walls by running your hand over them. If you still feel any bumps or ridges, sand them down until the surface is extra smooth. It’s important to go over the surface multiple times until it is as even and smooth as possible. But be careful not to sand too much, as this could damage the concrete.
Step 5: Seal the Concrete
Once your walls are sanded and even, it’s time to seal them with a concrete sealer. This will ensure that the paint adheres properly and won’t chip away over time. Make sure to follow the directions on the product for best results. It’s best to use a sealer that is formulated specifically for concrete.
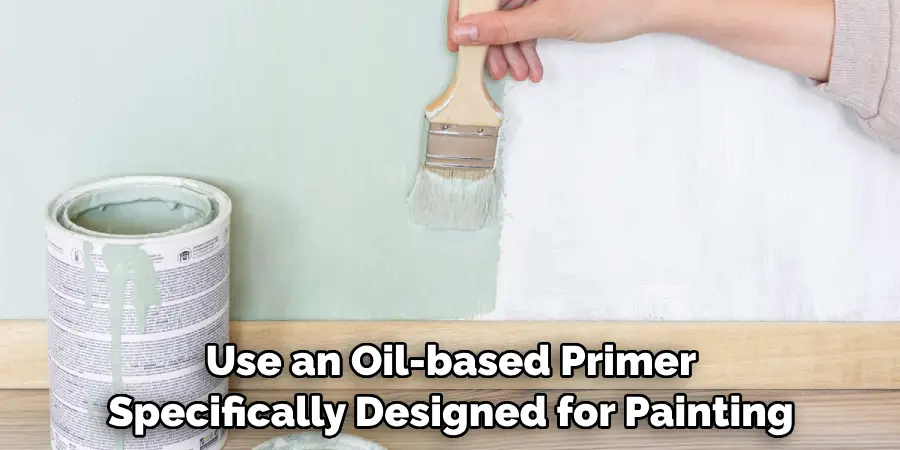
Step 6: Apply Primer
After sealing your walls, it’s time to apply primer so that your paint has something to adhere to. Make sure to use an oil-based primer specifically designed for painting concrete surfaces. Allow this to dry completely before moving on to step 7. It’s important to use a primer that is designed for the type of paint you will be using.
Step 7: Prime Holes and Cracks
If you’ve filled in any holes or cracks with mortar, concrete, or other compounds, you’ll want to prime them separately so that the paint adheres properly. Use a thin brush to apply primer directly to these spots before painting the rest of your walls. If the surface feels bumpy, sand it down again until it’s perfectly smooth.
Step 8: Paint Your Walls
After priming your walls, it’s time to start painting! Start from the top and work your way down in even strokes, going in one direction only. Make sure not to overload your roller brush with too much paint—this will create an uneven finish. But if you find yourself with too much paint on the brush, blot it off with a cloth.
Step 9: Let Dry
Allow your freshly painted walls to dry completely before moving on to the next step. It’s important to allow at least 24 hours for the paint to dry. This will ensure that the paint adheres properly and won’t chip or flake away over time. It’s also a good idea to let the walls dry for at least 48 hours if possible. If you’re in a rush, you can use a fan to speed up the drying process.
Step 10: Seal Again
Once your walls are completely dry, it’s important to seal them again with a concrete sealer. This will help protect the paint and provide an extra layer of protection. Make sure you follow the directions on the product for optimal results. It’s important to use a sealer that is formulated specifically for concrete. You’re now ready to enjoy the results of your hard work! Always keep any leftover paint in case you need to do touch-ups down the line.
And there you have it! By following these 10 steps on how to smooth concrete walls for painting, you can easily smooth out your concrete walls and prepare them for painting.
No more bumps or ridges getting in the way of your masterpiece! Be sure to take all necessary safety precautions when sanding and sealing your walls — protective eyewear and a mask is essential, as is proper ventilation. Good luck in creating your perfect painted canvas!
Do You Need to Hire a Professional?
If you’re not comfortable with the process of smoothing concrete walls for painting or don’t have access to all the necessary tools and materials, it may be worthwhile to hire a professional.
They will be able to handle the entire project for you from start to finish and ensure that your walls look perfect when they’re done. It’s important to do your research and find a reliable contractor who has experience in this type of work.
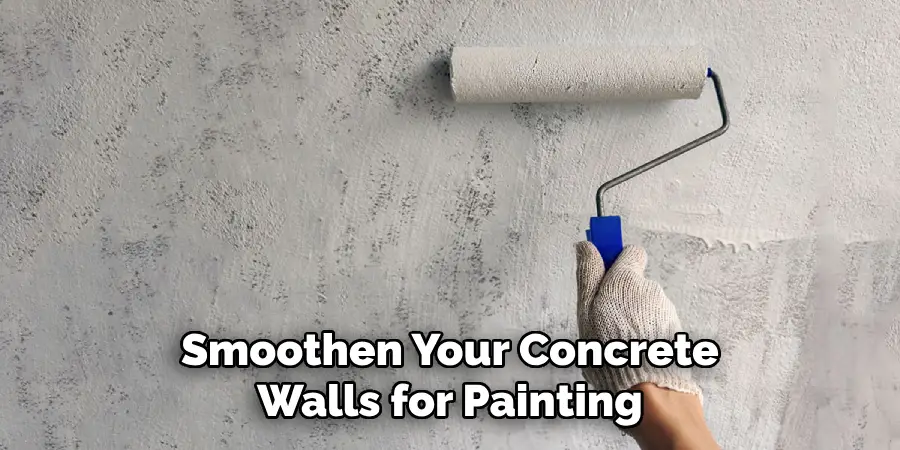
No matter how you choose to smoothen your concrete walls for painting, it’s important that you take the necessary steps before beginning. Doing so will ensure an even finish with no bumps or ridges interrupting your vision.
Frequently Asked Questions
Q: How Do I Know if My Walls Are Ready for Painting?
A: Once you’ve filled in any holes or cracks with mortar, cement, or other compounds, you can test your walls by running your hand over them. If you still feel any bumps or ridges, sand them down until the surface is extra smooth.
Q: How Long Should I Wait Before Painting?
A: Once you’ve applied primer and allowed it to dry completely, your walls should be ready for painting. Depending on the temperature and humidity of the room, this could take anywhere from 30 minutes to a few hours.
Q: What Paint Should I Use for Concrete Walls?
A: It’s best to use an oil-based paint specifically designed for painting concrete surfaces. This type of paint will adhere better than regular latex paints and provide a longer-lasting finish.
Q: How Many Coats of Paint Should I Apply?
A: When painting concrete walls, it’s best to apply at least two coats of paint for optimal coverage. Allow each coat to dry completely before applying the next one.
Conclusion
In conclusion on how to smooth concrete walls for painting, smoothing concrete walls painting does not have to be a difficult or time-consuming task. In fact, using the methods discussed in this blog post, the task can be quite simple and straightforward. As long as you follow the steps outlined above, you will be able to achieve the smooth wall surfaces that you are hoping for in no time at all.
So dust off those old concrete walls and start sprucing up your home today!
Investing some time and effort into preparing a surface for painting now will pay dividends in the future: beautiful, long-lasting colour that won’t flake or chip away easily. Now is the perfect time to get creative – take on this project and see your wonderful transformation come to life!