
Are you looking for a way to level the floor in your home without using leveling compound? If so, you’ve come to the right place!
Flattening a floor can be an intimidating process. Many people believe that you need to use a leveling compound, which is expensive, time-consuming, and difficult to apply. But the good news is that leveling your floor doesn’t involve any special tools or products – it can be done easily with minimal effort!
In this blog post, we’ll share our best tips on how to level a floor without leveling compound so you can get back into your comfortable living space much faster. From finding the right materials for the job to preparing the subfloor and laying down tiles or boards evenly, we will cover everything in detail so you can confidently tackle this home maintenance project yourself.
What Will You Need?
Before you start the job, it’s important to ensure you have all the necessary materials. Here is a list of items that will come in very handy:
- Tape measure
- Chalk line and chalk
- Joists and plywood
- Floorboards or tiles
- Nail gun and screws
- Level
- Sandpaper
Once you have all of these items ready, you can start preparing the subfloor.
10 Easy Steps on How to Level a Floor Without Leveling Compound
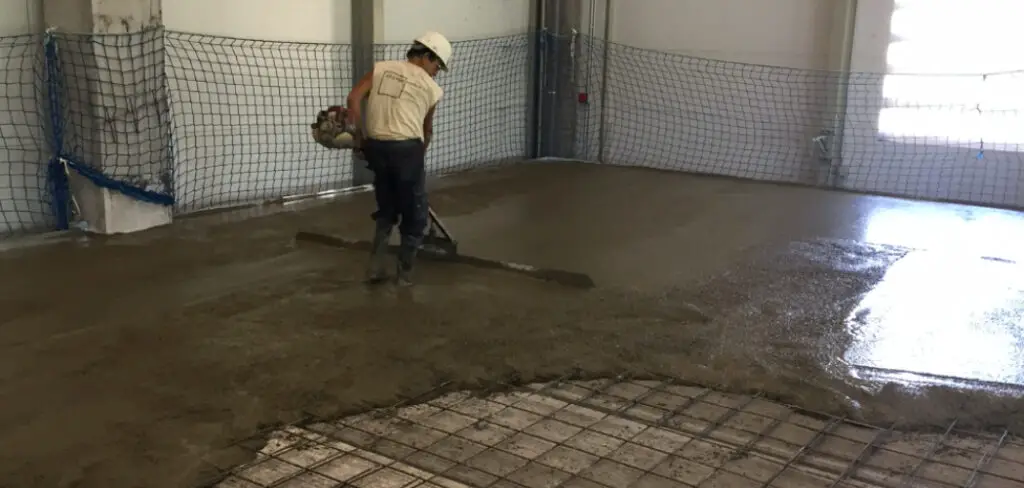
Step 1. Preparing the Subfloor
The first step is to prepare the subfloor. If you have access to the joists underneath your floor, use a chalk line and mark a line across the joists. This will be your reference line when you are laying down boards or tiles. If you don’t have access to the joists, then use a level to ensure that the floor is even.
Step 2. Lay Out Floorboards
Once you know your reference line, start by laying out your floorboards or tiles along this line. Make sure that they are flush against each other and aligned properly with the chalk lines. Be careful not to leave any gaps between the boards.
Step 3. Nail or Screw it Down
Once you have laid out your floorboards or tiles in the correct pattern, use a nail gun or screws to secure them in place (if you’re using floorboards). This step is essential for ensuring an even surface. Additionally, make sure that all of the nails or screws are at least ⅛ inch away from the edges of the boards.

Step 4. Fill Gaps with Wood Filler
If you notice any gaps between the floorboards or tiles, use wood filler to fill them in. This will help prevent any potential squeaking sounds later on. Don’t forget to let the wood filler dry before moving on.
Step 5. Sand Down High Spots
After filling in any gaps, take a look at your floor and identify any high spots that might be sticking up out of the surface. Use sandpaper to gently sand down these spots until they are even with the rest of the flooring material. If you have one, you can also use a belt sander for this step.
Step 6: Measure Diagonals
Once you have finished smoothing out the rough spots, it’s time to test if your floor is level. Use a tape measure and check the diagonals of your floor. If the measurements are the same on either side, you can be sure your floor is level.
Step 7: Check for Sinkage
After measuring the diagonals, check for any sinkage or dips in the floor where it might not be even with the rest of the surface. If you find any areas needing adjustment, use wood shims to prop them up and secure them in place with nails or screws. It will help to use a level when doing this.
Step 8: Apply Adhesive
After all, adjustments have been made, apply an adhesive across the entire subfloor to ensure everything stays in place. This will help keep your tiles or boards from shifting over time. Moreover, make sure to use an adhesive that is specifically designed for the material you are using.
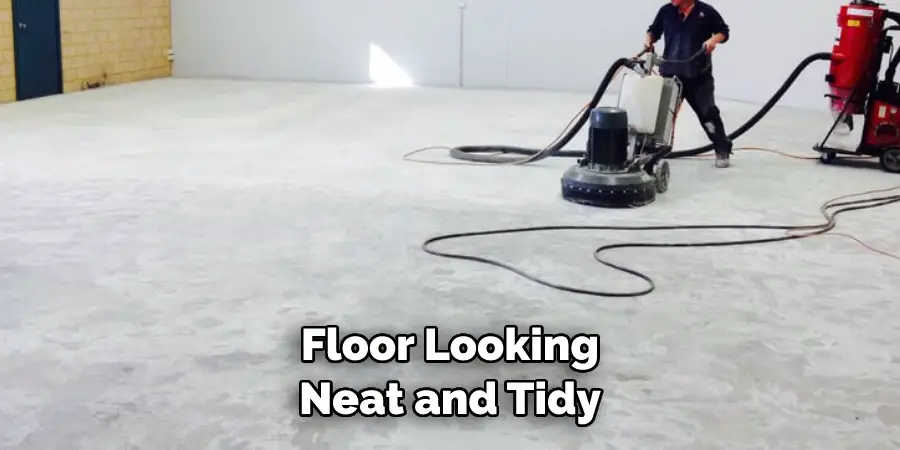
Step 9: Clean Up
Once you have applied the adhesive, clean up any excess material with a damp cloth. This will help keep your floor looking neat and tidy. There may also be a need to touch up any places where the adhesive has dried.
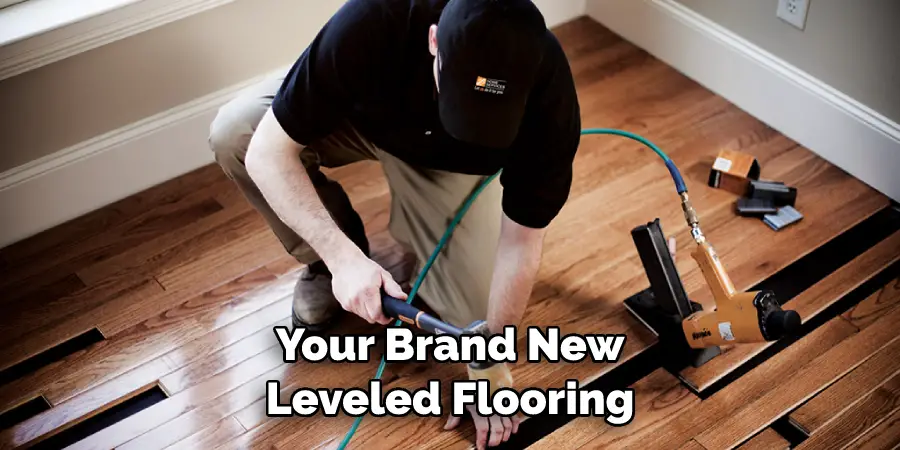
Step 10: Enjoy Your New Floor!
And there you have it—you now know how to level a floor without leveling the compound. All that’s left is to sit back and enjoy your brand new leveled flooring! With these simple steps, you can easily tackle this home maintenance project yourself and save money in the process.
By following the steps above and gathering the right materials, you can level a floor without leveling the compound in no time. With some patience and a bit of effort, you’ll be on your way to having a beautiful, even floor that will last for years.
5 Additional Tips and Tricks
- When laying out your floorboards or tiles, it is important to leave a ⅛ inch gap between each board for proper expansion and contraction.
- Use a high-quality adhesive specifically designed for the type of material you are using when securing it down.
- If you’re not sure if your floor is level, try rolling a ball across the surface—if it rolls evenly without any stops or starts, then your floor is most likely level.
- Wood filler can be used to fill in any gaps between the boards before sanding them down.
- Don’t forget to check for sinkage or low spots on your floor, as these can cause problems later on if they’re left unaddressed.
Following these steps and being mindful of the details can easily level a floor without leveling the compound. Doing so will give your home an instant upgrade that won’t break the bank! With some patience and elbow grease, you’ll be able to achieve a beautiful leveled floor in no time.
5 Things You Should Avoid
- Don’t skimp on materials. Quality supplies will ensure your floor is level and long-lasting.
- Don’t forget the gap between each board or tile when laying them out—this will allow for proper expansion and contraction.
- Don’t rush through the process of filling in gaps with wood filler, as this can cause uneven surfaces if done incorrectly or too quickly.
- Don’t skip checking for sink age or low spots on the floor before securing it down with adhesive—this could cause instability later on.
- Don’t forget to clean up after the job is complete—this will help keep your floor looking neat and tidy.
By avoiding these common mistakes, you can easily level a floor without leveling the compound and have a beautiful finished product that will last for years! It may seem like a daunting task at first, but with some patience and effort, you’ll be able to level a floor without leveling the compound in no time.
What is an Alternative to Self-leveling Compound?
One alternative to self-leveling compounds is using wood shims. This method involves propping up the boards or tiles with wood shims and then nailing them in place. However, you should use a level when implementing this method to ensure it is done correctly. Moreover, an adhesive must be used afterward to keep your floor from shifting over time.
In conclusion, leveling a floor without leveling the compound can be easily achieved with some patience and effort. By following the steps outlined above and gathering the right materials for the job, you’ll be able to enjoy a beautiful leveled floor in no time! Wood shims are an excellent alternative to self-leveling compounds that will help you get the job done quickly and easily.
Is Self-leveling Compound Necessary?
The self-leveling compound is not always necessary when leveling a floor. It can be used to help fill in any depressions and create a uniform surface, but it’s not always necessary. Using wood shims and proper adhesive and gap spacing between each board or tile can provide the same results as a self-leveling compound without the extra cost. Ultimately, it depends on your individual needs and preferences for your project.
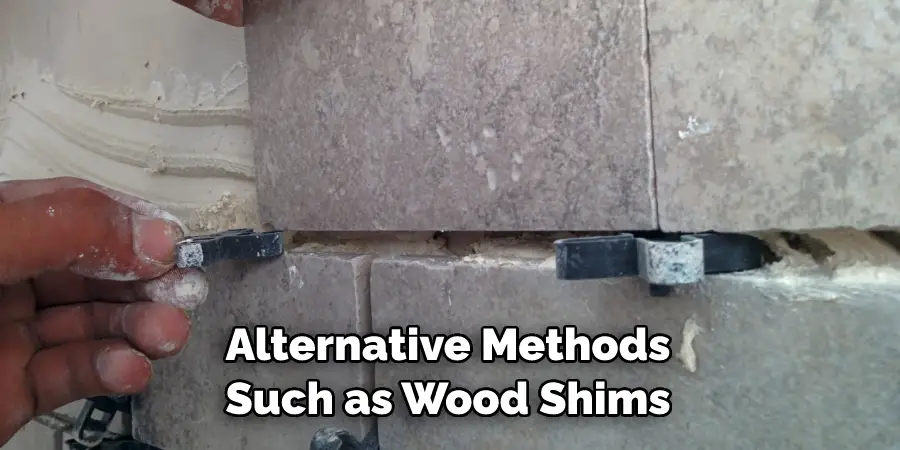
Overall, whether you choose to use a self-leveling compound or alternative methods such as wood shims, you can easily level a floor without leveling the compound by following the steps outlined above.
Conclusion
Leveling a floor without leveling the compound is not an easy task. It requires patience, strength, and skill to create a flat and even base for your floor covering or tile installation. Although challenging, it is certainly possible with the help of the proper techniques described in this blog post. Many times it may be faster and easier to hire out the work to an experienced installer who can level the floor quickly and efficiently.
Once your floor has been leveled, you will have a smooth and level surface ready for your next project. So whatever your situation might be, take solace in knowing that multiple solutions can help you get the job done right!
Hopefully, the article on how to level a floor without leveling compound has given you the confidence to tackle this project on your own. With enough patience and effort, you will be able to enjoy a beautiful level floor in no time. Good luck!