Are you looking for a creative, temporary solution to add a shower to your basement? If so, you’ve come to the right place. Having access to clean water is essential, especially when living temporarily in an unfinished or unrenovated space such as a basement.
Knowing how and where to create that access can be difficult, but with some planning and effort, it can be done cost-effectively, quickly, and safely. In this blog post, we will explore simple step-by-step instructions on how to make a temporary shower in basement with minimal materials needed. So let’s get started!
Tools and Materials You Will Need to Make a Temporary Shower in the Basement
- Plastic tarp
- Bungee cords or heavy-duty zip ties
- Shower curtain
- PVC pipe and fittings
- Utility knife
- Plumber’s putty or silicone caulk (for sealing pipe connections)
- Bathroom sink faucet with shower hose attachment
- Showerhead with adjustable spray setting
- Hose clamp
- Non-slip bath mat
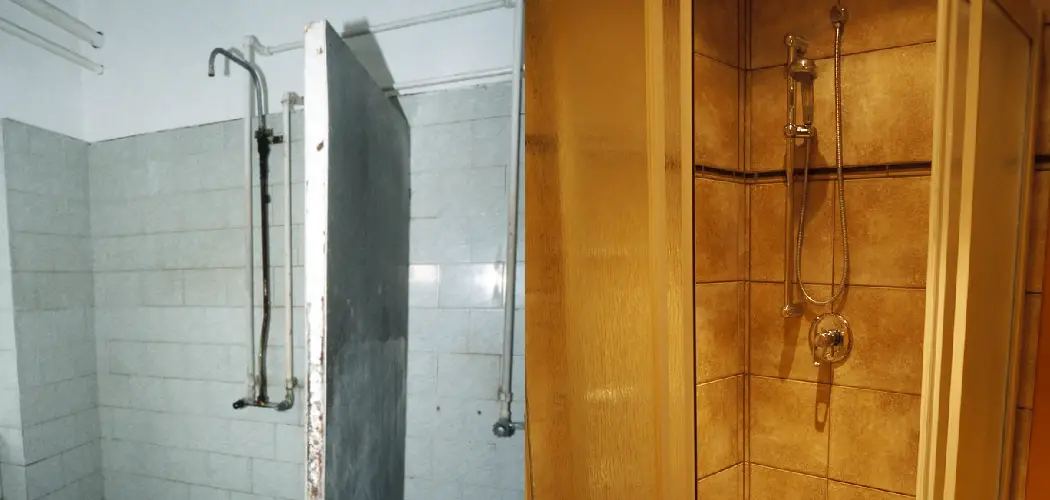
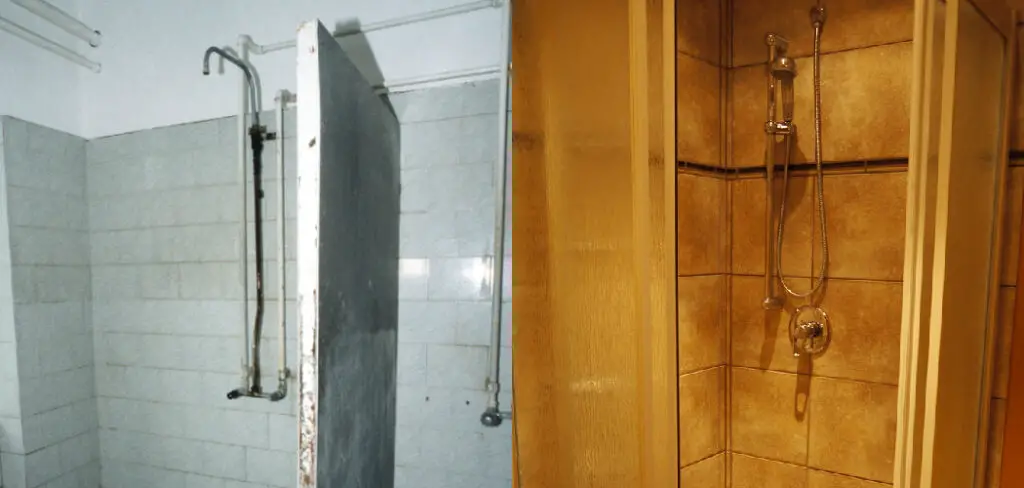
Step by Step Guidelines on How to Make a Temporary Shower in Basement
Step 1: Begin by Measuring the Area
Measure the area where you want to install your temporary shower. This will help you determine how much material and size of PVC pipe you’ll need for the project. The best place to install a temporary shower in the basement is near one of the walls, as you’ll need access to water supply lines. So you should ensure that you have enough space to fit all the necessary components.
Step 2: Prepare the Ground and Install Tarp
Once you’ve determined where to install your temporary shower, use a plastic tarp to lay down over the ground. This will help protect the floor from water damage. Secure it with bungee cords or heavy-duty zip ties.
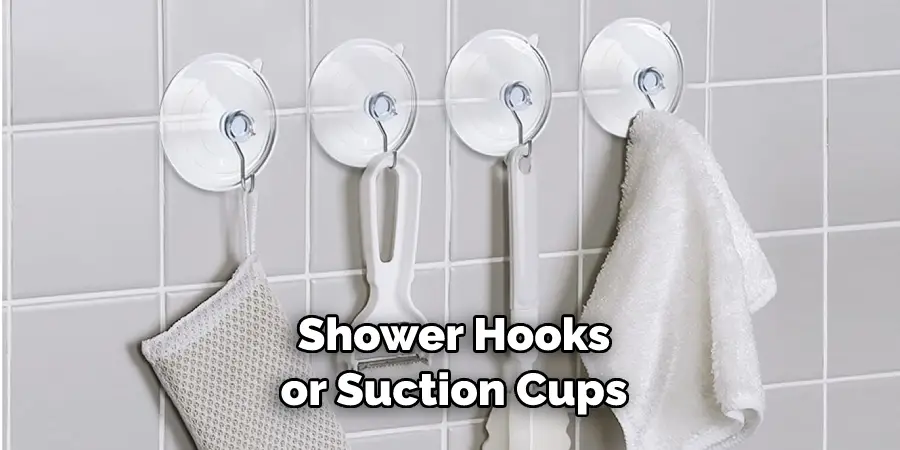
Step 3: Install the Shower Curtain
Use a shower curtain to frame your temporary shower. This will help prevent water from leaking out and make it easier to clean up after each use. Make sure the curtain is long enough to reach from ceiling to floor and wide enough to fit around the entire space. Secure the curtain to the wall with shower hooks or suction cups.
Step 4: Install PVC Pipe and Fittings
Using a utility knife, cut two pieces of PVC pipe to fit in between your shower curtain and the water supply lines. Make sure that they’re long enough to reach from the ceiling down to the floor. Connect the two pieces of PVC pipe with fittings such as elbows, tees or couplings. Seal all connections with the plumber’s putty or silicone caulk.
Step 5: Connect Faucet and Showerhead
Attach your bathroom sink faucet with a shower hose attachment (or a garden hose) to one end of the PVC pipe and your showerhead with an adjustable spray setting to the other. Secure both connections with a hose clamp.
Step 6: Install Non-Slip Bath Mat
Install a non-slip bath mat inside your makeshift shower to prevent slips or falls. This will provide extra traction for anyone using the shower. Installing a non-slip bath mat will help ensure safety. So be sure to include this step in your project.
Step 7: Test the System
Once your makeshift shower is complete, it’s time to test it out. Make sure that all of the fittings are secure and that there are no leaks. Adjust the water pressure as needed until you find a comfortable setting for your needs.
Congratulations! You have successfully created a temporary shower in your basement. With these simple steps, you can quickly and easily add a refreshing shower experience without spending too much money or time on the project. So enjoy a nice hot shower and relax!
Additional Tips and Tricks to Make a Temporary Shower in Basement
1. Make sure that the space used for a temporary shower can hold up to 15 gallons of water if it cannot, consider using a different area or finding another way to create your shower.
2. Position the shower head so it is at least 5 feet off the ground and angled down towards the floor drain. This will help ensure that the water flows properly.

3. If you are using a portable shower, try to use the highest quality one available so it is more likely to be leak-free and last longer.
4. If possible, choose a corner or basement wall with access to plumbing for easier installation. This will make it much simpler and less expensive to install your shower.
5. Make sure the area you use for a makeshift shower is well-ventilated so that any moisture can disperse and not build up in the basement.
6. If a water heater is necessary, make sure to check the voltage of any electrical system before connecting it to ensure safety when using your temporary shower.
7. Consider tiling the area around your makeshift shower to create a more permanent and attractive look. This will also help prevent water from seeping into other areas of the basement.
8. To keep your temporary shower in the best condition, make sure to clean it regularly with mild soap or even bleach if necessary. This can help prevent the buildup of mildew or other contaminants.
9. If your temporary shower is used for an extended period, consider investing in a better-quality showerhead and faucet that are more durable and stylish. This will provide you with a more comfortable experience as well as make your temporary shower look much better.
10. Never leave your temporary shower unattended when it is in use, and always be vigilant about any water leaks or other issues that may arise due to improper installation or maintenance. If this occurs, make sure to address the issue quickly and properly before it grows into a bigger problem.
By following these tips and tricks, you will be able to create a safe and functional makeshift shower in your basement. This can provide a great solution for those looking for an easy way to add a shower to their home without needing remodeling or installing permanent fixtures. With careful planning, attention to safety, and proper maintenance, you can create a makeshift shower that looks and functions just like any other shower.
Precautions Need to Follow for Making a Temporary Shower in the Basement
1. Make sure to check with local codes and regulations before starting the process. It is important to make sure that you follow all safety precautions and guidelines when installing a temporary shower in your basement.
2. The area where the shower will be installed should be well-ventilated, as using an unvented space could result in excessive moisture buildup.
3. If you are using a portable shower, make sure that it is properly secured and stable so that it does not become a hazard or trip hazard for anyone who uses the space.
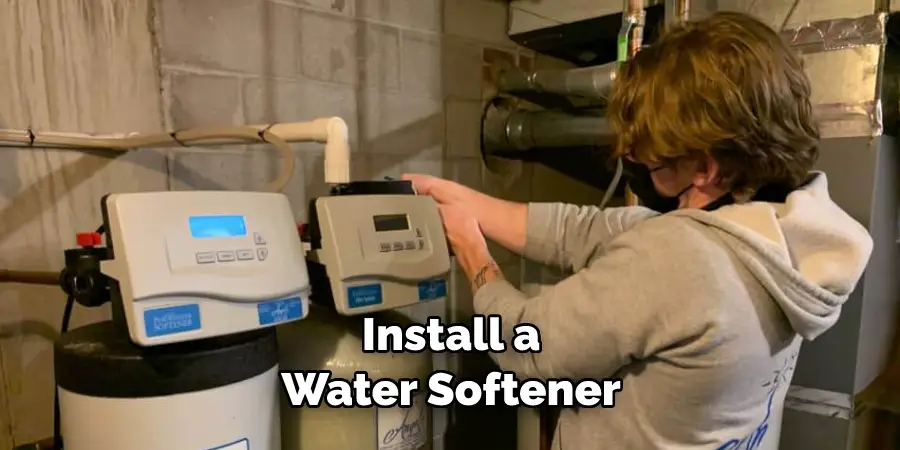
4. Install a water softener to help prevent mineral buildup in your pipes and fixtures.
5. It is important to use a waterproofing membrane on the walls and floors of the area where the temporary shower is being installed. This will help to keep water from seeping into other areas of your basement.
6. Ensure all plumbing connections are professionally and properly sealed to prevent leaks and water damage.
7. Test the shower before using it to ensure it works properly and safely.
8. Regularly check the connections, fixtures, and fittings for any signs of damage or wear and tear over time.
9. Keep the area clean and free of debris, dirt, and other materials that could cause clogs in the pipes or fixtures.
10. When finished using the shower, be sure to turn off the water supply before leaving the space. This will help prevent any unnecessary water loss from occurring.
Making a temporary shower in your basement can be an easy and relatively inexpensive way to add extra convenience and functionality to the space. However, taking all necessary precautions before beginning the process is important. Following these tips ensures that your temporary shower is safe, secure, and properly installed.
How Do I Keep My Basement Dry When Making a Temporary Shower?
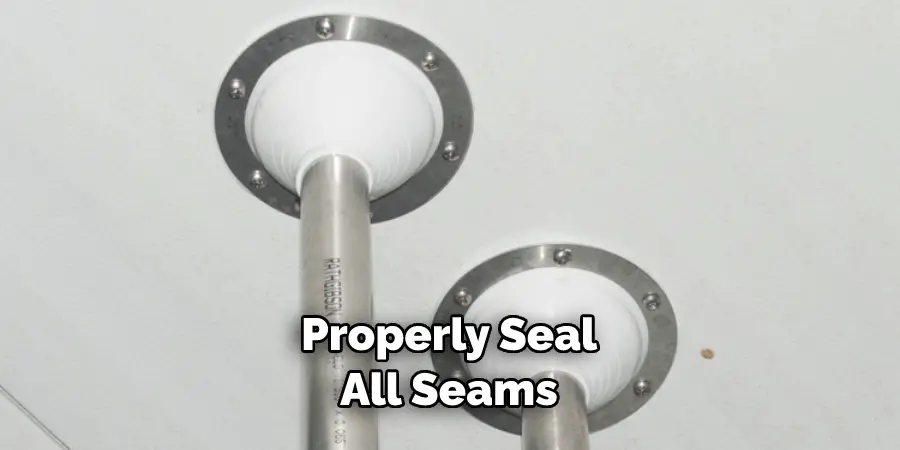
One of the most important steps for keeping your basement dry is to make sure that you use waterproofing materials for your walls and floors. Make sure that you properly seal all seams and use an appropriate grade of paint and caulk to prevent dampness.
To further ensure your basement stays dry, make sure that the shower drain is connected to an appropriate drainage system. Additionally, check for any breaks in plumbing or seals around pipes to prevent water from entering the space.
What Type of Piping Is Needed for a Temporary Shower?
When installing a temporary shower in your basement, you’ll need to use PVC piping for all connections. Make sure that all pipes are properly sealed and waterproofed with an appropriate grade of caulking. Additionally, use vent piping to ensure proper airflow in your basement and pipe insulation to reduce energy loss.
Conclusion
Knowing how to make a temporary shower in basement is an important skill for anyone who wants to add a convenient and functional space to their home. Following the necessary precautions and steps ensures that your temporary shower is safe, secure, and properly installed.
Taking extra measures, such as waterproofing materials and vent piping, will help keep the basement dry while reducing energy loss. It is also important to use PVC piping and make sure that all connections are properly sealed. With the right knowledge, you can easily create a convenient and functional temporary shower in your basement.