
If you ever find yourself in a situation where you need to know how to run electrical wire in unfinished basement, then this post is for you! Unfinished basements often have little to no insulation, which can make running wires a difficult task, but with the right preparation and proper attention to safety, it can be done successfully.

In this post, we’ll provide detailed instructions on how to safely run electrical wires throughout your home, from planning and organizing all the materials you’ll need, choosing appropriate protective coverings or insulation products used to decorate other items, understanding the process of connecting everything together correctly along with some helpful tips.
So if you’re ready, get prepared and tackle that wiring project head-on – Let’s dive into it!
What Will You Need?
Before getting started, there are a few things you will need to have before starting your electrical wiring project. These items include:
1. Electrical Wire: This type of wire is used for all the connections from the main power panel throughout your home.
2. MC Cable or BX Cable: Used in walls and ceilings, it is flexible enough to conform to uneven surfaces. It also provides better protection against moisture than standard electrical wires.
3. Wire Nuts: Used to connect two or more wires together and secure bare ends of cables or devices like switches or lights.
4. NM Cable Clamps/ staples: To secure NM cables onto studs, joists, walls, and ceilings where they’re exposed.
5. Electrical Boxes: It is used to connect wires and provide support for the devices like switches, receptacles, or light fixtures.
6. Fittings/ Connectors: Used to bridge connections between two types of wiring systems, such as Romex cable and MC cable.
7. Pvc Electrical Conduits: To help protect the wire from physical damage when running through walls or ceilings and also helps keep moisture out.
8. Gloves, Eye Protection & Respirator Mask: Safety should always be your first priority when working with electricity! Make sure you wear protective gloves (for insulation), eye protection & respirator mask (to avoid breathing in any hazardous particles).

Now that you’ve got all the materials you need let’s move on to how to run electrical wire in an unfinished basement.
10 Easy Steps on How to Run Electrical Wire in Unfinished Basement
Step 1. Decide the Position:
Take a look around your basement and decide where you will be running the wires. You can run them through the ceiling, walls, or along the joists. Another thing to consider is the number of outlets you will need.
Step 2. Make a Plan:
Once you’ve decided where you’ll be running the wires, it’s time to make a plan. Draw out the route of how you want to run the wires and decide which type of cable you will use for each area. If you are running the wires through gaps in walls or along joists, make sure there is enough space for the cables.
Step 3. Cut Openings:
Once your plan is in place, cut open any necessary openings using an appropriate saw or drill bit. Make sure that these openings are large enough to fit your electrical box, fitting or connectors. Try and make the openings as neat and tidy as possible.
Step 4. Run Wires Through Walls/Ceiling :
Once you have cut all your holes, it’s time to start running wire through walls and ceilings. Start by feeding one end of the cable through the hole and securing it with some electrical staples or a clamp. If you’re running the wire through a gap in the walls, make sure to use some PVC conduits for additional protection.

Step 5. Connect Wires to Electrical Boxes:
Once the wires have been fed through, it’s time to start connecting them to electrical boxes and fittings. Ensure you leave enough slack in each wire so you can easily make all your connections without too much tension on them. This is also a great time to start labeling each wire so that you know what it connects to.
Step 6. Install Switches & Receptacles :
Now that the wiring is connected, it’s time to install any switches and receptacles your project may require. Make sure the switch and receptacle are the same sizes as the box they are being installed into, otherwise, they won’t fit properly and will be unstable! Additionally, make sure you use the appropriate tools to install them and double check all connections are secure and protected.
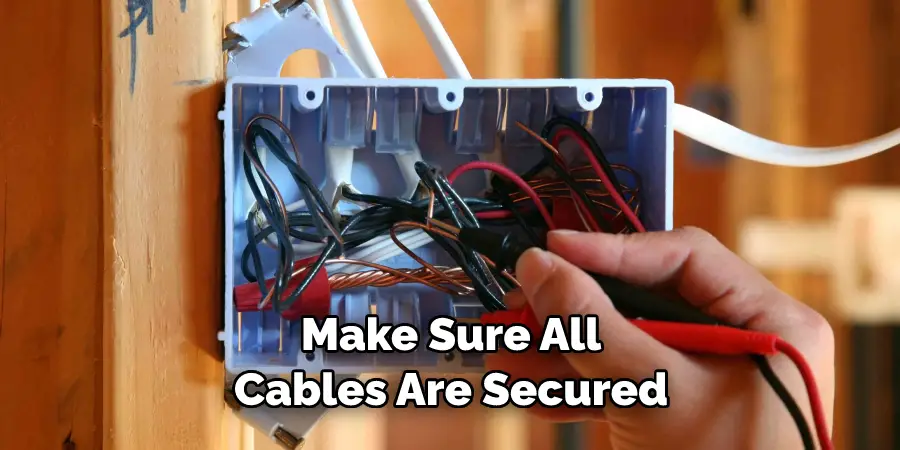
Step 7. Secure Cables With Staples or Clamps:
Make sure to use the appropriate staples or clamps when securing your cables. This will help ensure that they stay in place and don’t come loose over time. You can also use special adhesive tape to secure the cables in place if you don’t have any staples or clamps.
Step 8. Test Your Wiring :
Once you have completed all of the wirings, it’s time to test it out and make sure everything is working correctly. Remember to always turn off the power before doing any kind of electrical work! It is important to check all connections and make sure everything is secure and properly grounded.
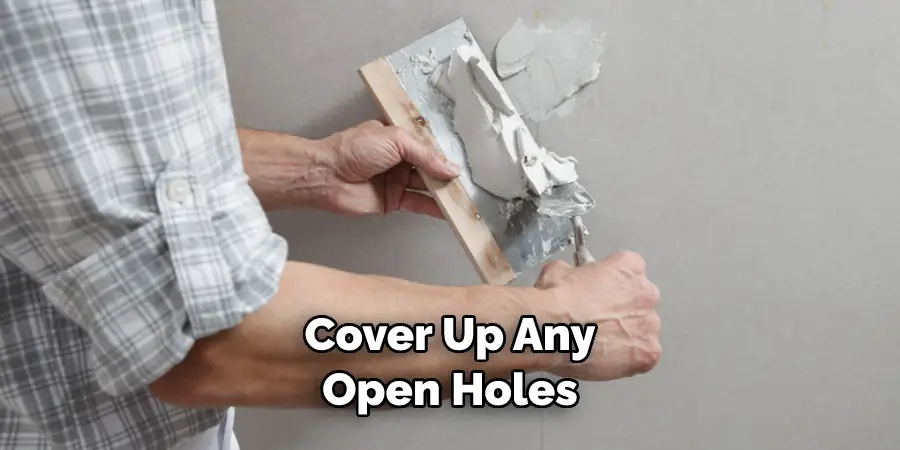
Step 9. Cover Openings with Drywall:
Once you are sure everything is working properly, it’s time to cover up any open holes with drywall or plasterboard so no one can see them. Make sure the walls and ceiling are smooth and sanded down for a professional finish. Be careful not to cover any cables or switches when covering up the openings.
Step 10. Enjoy Your New Electrical Wiring Setup:
Once you have gone through and completed all the steps, now it’s time to enjoy your new electrical wiring setup! Make sure to give yourself a pat on the back for completing this project safely and properly. Remember to check your wiring from time to time and make sure all connections are still secure.
By following these steps, running electrical wire in an unfinished basement can be done quickly and efficiently. Just make sure always to follow safety precautions when dealing with electricity and hire a professional if necessary!
5 Additional Tips and Tricks
1. Label Each Wire and Connection: Labeling your wires and connections will help you remember what goes where and make any future troubleshooting easier.
2. Make Sure Cables Are Protected: Make sure all cables are secured with clamps or staples and protected with PVC conduits when running through walls/ceilings.
3. Follow Electrical Codes: Always research local electrical codes to ensure your wiring is up-to-date and compliant with the law.
4. Use the Right Tools: To ensure a neat, professional finish, use the right tools for each job, such as drill bits, saws, and specialized wrenches for electrical boxes.
5. Test Everything: Before you start using electricity in your new setup, always test it out to make sure everything is working properly.
By following these steps and tips, you can ensure that your wiring project is done safely and correctly.
5 Things You Should Avoid
1. Overloading Circuits: Never plug too many devices into the same circuit, as it can cause an overload and start a fire. As a rule of thumb, each circuit should have no more than two devices plugged in at any given time.
2. Skipping Grounding: Grounding is an important safety feature that helps protect you and your wiring from electric shock. Make sure to ground all outlets and switches correctly, or have a professional do it for you
3. Overheating Wires: Check the amp rating on your cables when running them through walls and ceilings, as they can overheat if not sized properly.
4. Working Without Electricity Turned Off: Always turn off the electricity before doing any kind
of wiring work, even minor adjustments!
5. Using Cheaper Materials: Cheap materials are not always reliable and can cause more problems in the long run, so try to invest in high quality materials for better results.
By avoiding these common mistakes, you can ensure that your electrical wiring setup is safe and reliable.
Conclusion
After reviewing all the tips and tricks for running electrical wire in your unfinished basement, it is important to remember that safety should always come first. Ensure you follow all the correct safety procedures when running wires, such as checking for gas and water lines, making sure the power is off before getting started, and having an electrical plan before beginning.
Following these steps will make sure that you install wiring correctly and save time down the road when trying to troubleshoot any electrical problems. Lastly, if you do not feel comfortable doing this job on your own, be sure to find a professional electrician who can guide you through the process! Running electrical wire in an unfinished basement may seem daunting at first, but with a little bit of patience and understanding, it can be achieved with great success.
Hopefully, the article on how to run electrical wire in unfinished basement was helpful. Good luck with your wiring project! Thanks for reading!
