
When it comes to tackling home improvement projects, one of the essential tasks you’ll need to do is parging your basement walls. Parging may sound a bit intimidating at first, but don’t worry! With some well-researched instructions and careful attention, parging can be quick and hassle-free.
In this post, we’ll walk you through step by step how to parge basement walls – from understanding what “paring” entails and the tools needed down to actually applying the mixture onto your basement walls. So if you’re ready for a great weekend project that will add extra protection against moisture damage in your home’s basement, let’s jump right in!
Why Do You Need to Parge Basement Wall?
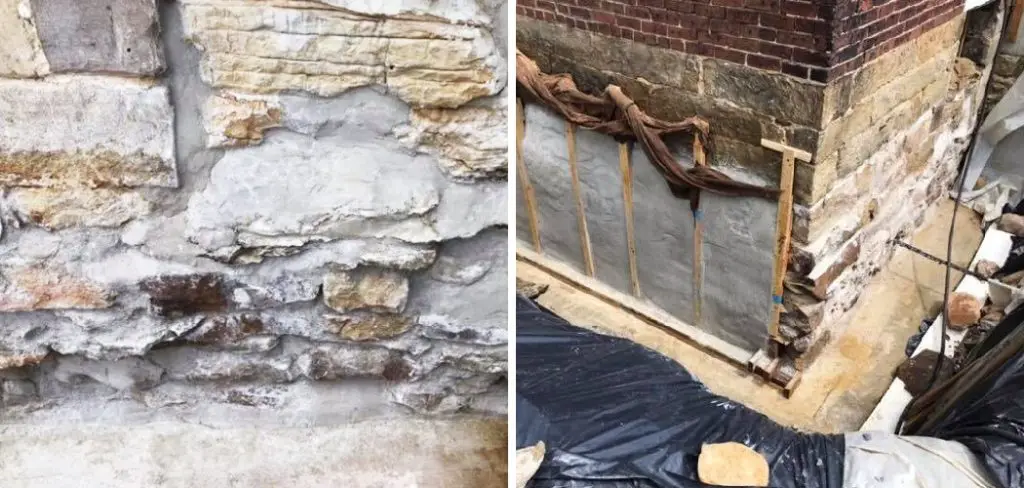
Parging is an important step in waterproofing your basement walls. This process seals the surface of concrete and masonry, creating a protective layer that helps keep excess moisture from entering the wall. This extra protection can help prevent water damage to the structure and further down into your home, making it a crucial part of any good waterproofing plan for basements.
What You’ll Need to Parge Basement Walls
To parge your basement walls, you’ll need the following tools and materials:
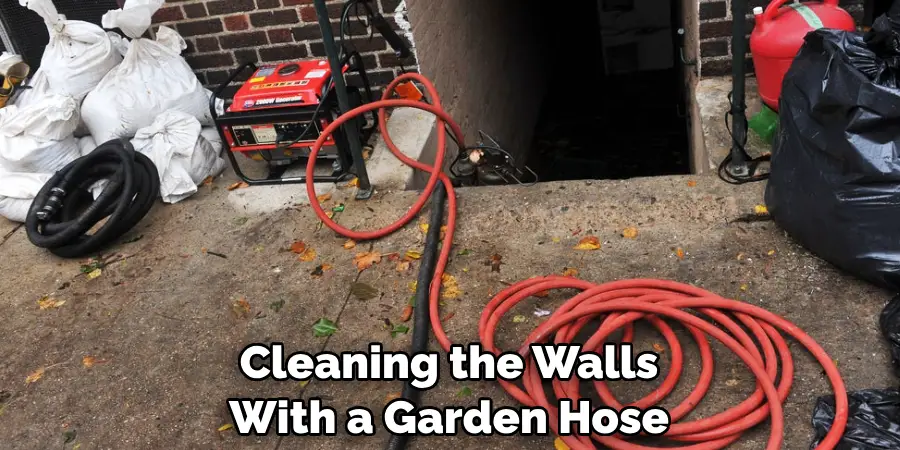
- A Garden Hose and Nozzle for Cleaning Walls Before Applying the Mixture
- Angled Brush or Broom Handle With a Stiff Bristle Brush at the End for Scrubbing Off Dirt and Loose Debris
- A Bucket for Mixing the Parging Mixture
- A Trowel or Putty Knife to Apply the Mixture and Spread It Evenly Over the Walls
- Parging Mix, Which Gene
Once you’ve gathered the materials needed, you can begin the parging process.
11 Step-by-step Guidelines on How to Parge Basement Walls
Step 1: Get Your Basement Walls Ready
Start by cleaning the walls with a garden hose and scrubbing them with a stiff-bristled brush. This will help remove dirt, dust, and any loose debris that may have accumulated on the surface over the years. But be sure to avoid using any harsh, abrasive cleaners as this can damage the surface of your walls.
Step 2: Prepare the Parging Mixture
Mix up your parging mixture according to the instructions on the package. This usually involves combining a pre-mix material (parging mix) with water until it becomes a consistency similar to peanut butter. This mixture is what you’ll be using to parge the walls. It’s important to get the right consistency, so be sure to read the instructions carefully.
Step 3: Apply the Parging Mixture
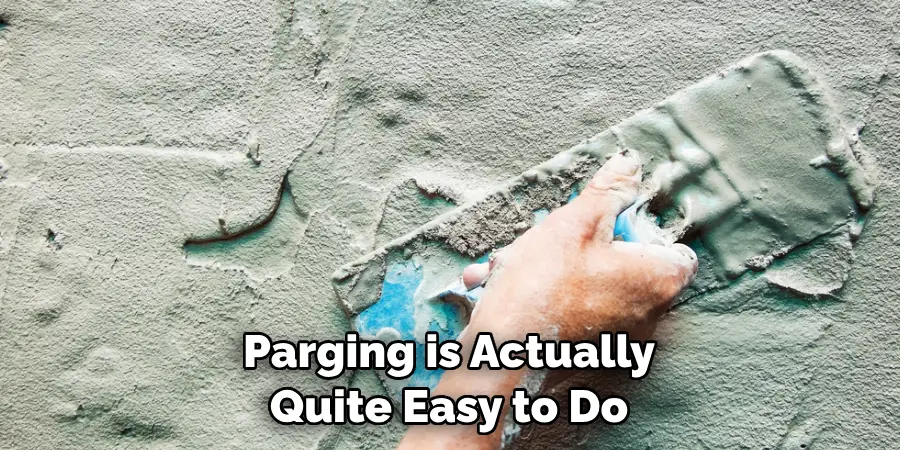
Using either a trowel or putty knife, apply your parging mixture onto the wall in an even layer. Make sure to fill any cracks or holes that may be in the wall for added protection. But be sure to keep the layer thin – no more than 1/4 of an inch thick.
Step 4: Smooth Out the Parging Mixture
Using your trowel or putty knife, smooth out the parging mixture so that it’s even across the wall surface and any holes or cracks are filled in. This will help create a waterproof seal and ensure water won’t leak through. But be sure to work quickly – as the mixture dries, it can become harder and more difficult to spread.
Step 4: Smooth Out Surface
Once all of the walls have been covered in the parging mixture, use your trowel or putty knife to create a flat and even surface on the walls. This will help ensure that the coverage is consistent and will allow the mixture to dry properly. If you find any ridges or bumps, use your trowel to smooth them out.
Step 5: Allow the Parging Mixture to Dry
Allow the parging mixture to dry completely before moving on to the next step. Depending on the temperature and humidity, this can take anywhere from 24-48 hours. If necessary, you can use a fan to speed up the drying process. This will help ensure that the mixture is completely dry before you proceed.
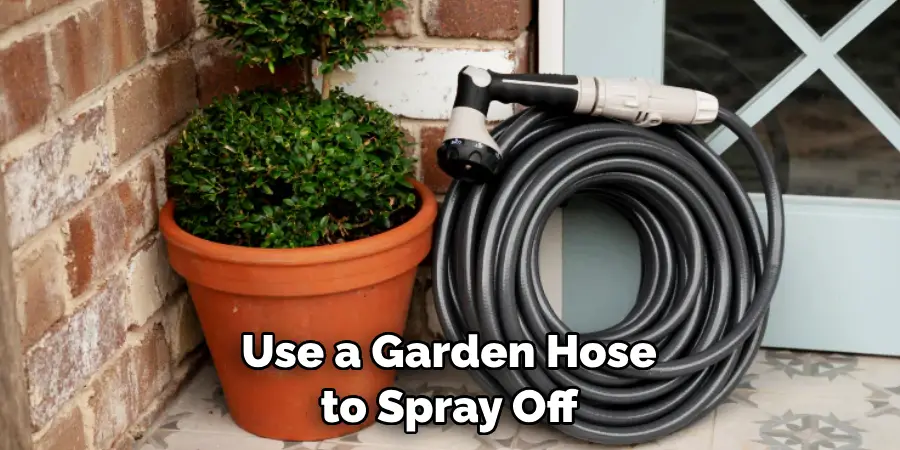
Step 6: Clean up Excess Material
Once the mixture has dried, use a stiff-bristled brush to remove any excess material that may have been left behind. You may also need to use a garden hose to spray off any stubborn bits of the parging mixture. It’s important to make sure that all of the excess material is removed before moving on.
Step 7: Apply Sealant (Optional)
If desired, you can apply a sealer to the walls after the parging is finished. This helps provide an extra layer of protection against moisture and will help keep the basement dry for years to come. Butt make sure to read the instructions on the sealant before applying it. This is usually a simple step that involves simply spraying the sealant onto the walls.
Step 8: Inspect For Cracks or Holes
Once everything has been cleaned up, inspect the walls closely for any cracks or holes that may have been missed during the cleaning process. If you find any, make sure to fill them with the parging mixture and allow it to dry before proceeding. It’s important to make sure that all cracks and holes are filled in order to create a waterproof seal.
Step 9: Paint or Stain (Optional)
Once the parging is complete, you can opt to paint or stain your basement walls for a more aesthetically pleasing look. This step is entirely optional but can really help bring your basement to life. But make sure to read the instructions on your paint or stain before applying it. This will help ensure that you get the best results possible.
Step 10: Let It Cure
Allow the parging mixture to cure completely before using your basement as normal. This can take up to several weeks, so make sure you have plenty of time before starting this project! It’s important to make sure that the parging has cured completely before moving on. You don’t want to risk any water damage caused by incomplete drying.
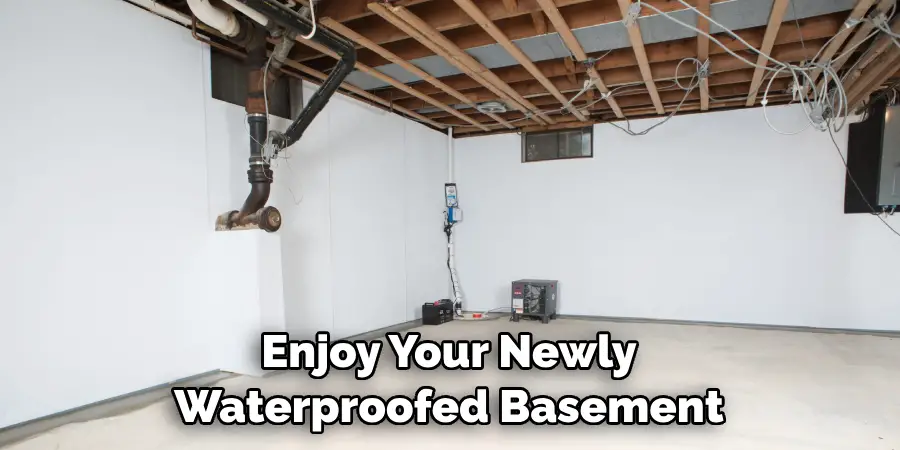
Step 11: Enjoy Your Waterproofed Basement Walls!
And that’s it! After following these 11 easy steps, you should have a fully-parged basement with an extra layer of protection against moisture damage. Enjoy your newly waterproofed basement and start tackling all those other projects on your list knowing that the first step was taken care of!
Now that you know how to parge basement walls, why not take a look at some other basement waterproofing projects? Check out our blog for more tips and tricks to make your home safe, secure, and dry!
Do You Need to Use Professionals?
If you are confident in your ability to follow the instructions and have all the necessary tools, then you should be able to do parging yourself without any issues. However, if you’re not sure about tackling this project on your own, it may be worth considering hiring a professional. A qualified contractor will have years of experience in waterproofing basements and can help guarantee the best results.
No matter who you decide to use, make sure to do your research and check references before making any decisions. This will ensure that you end up with a quality job that will provide years of protection from moisture damage in your basement!
Frequently Asked Questions
Q: How Long Does Parging Last?
A: The lifespan of your parging will depend on the quality of materials used and how well it was applied. Generally speaking, you should expect anywhere from 5-10 years of protection before needing to reapply the parging mixture.
Q: Is Parging Necessary?
A: If you’re looking for an extra layer of protection against moisture damage, then yes, parging is an important step in any good waterproofing plan. Not only will it help protect the structure of your basement walls, but it can also help keep moisture from seeping inside and causing mold growth.
Q: Is Parging Difficult to Do?
A: With the right tools and materials, parging is actually quite easy to do. You just have to follow the instructions closely and take your time when applying the mixture. If you’re still feeling unsure about tackling this project on your own, it may be worth looking into hiring a professional.
Q: Can I Paint Over Parged Walls?
A: Yes, absolutely! Once the parging has fully cured, you can opt to paint or stain the walls for a more aesthetically pleasing look. Just make sure that you use a water-based paint as oil-based paints may cause the parging mixture to break down over time.
Conclusion
As amazing as it may feel to have a newly parged basement, it can still be incredibly overwhelming trying to understand how to do it successfully. But with the help of this blog post, you now know how to effectively parge your basement walls and gain an extra layer of insulation and protection against water damage in the process. Take the time to carefully select the right material for your project, prepare your workspace appropriately, and apply your parge coat in thin layers.
No matter what challenges or problems you encounter along the way, your hard work will be worth it when your job is done and you’re left with strong, durable walls that look great! Just remember one last thing: safety first; make sure to read all instructions on how to parge basement walls thoroughly before starting any project like this one. Now get out there and get parging!
