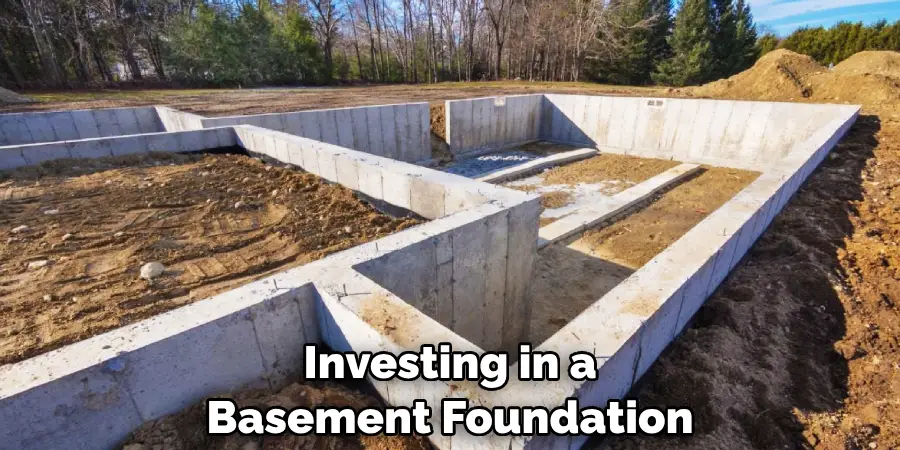
Are you in the market for a basement foundation? Whether it’s because of space limitations, future renovation plans, or just wanting to add value to your property, investing in a basement foundation is an exciting yet daunting undertaking. But don’t worry: with our guide on how to pour a basement foundation, you can take on this project with confidence and end up with durable results that will last for years.

We’ll cover all the basics from preparations and materials needed to install it correctly and tips for properly caring for your new basement foundation once complete. So read on – we have everything you need to know about pouring a concrete basement right here!
Needed Materials
Given below is a list of all the materials you will need to get started on your project:
- Concrete Mix
- Gravel and Sand
- Rebar and Form Ties
- Plywood Panels for Foundation Forms
- Nails, Screws, and Other Fasteners
- Shovels, Picks, Rakes, and Wheelbarrows
- Level
- Tape Measure
- Safety Gear (Gloves, Glasses, Etc.)
11 Step-by-step Guidelines on How to Pour a Basement Foundation
Step 1: Preparing the Site
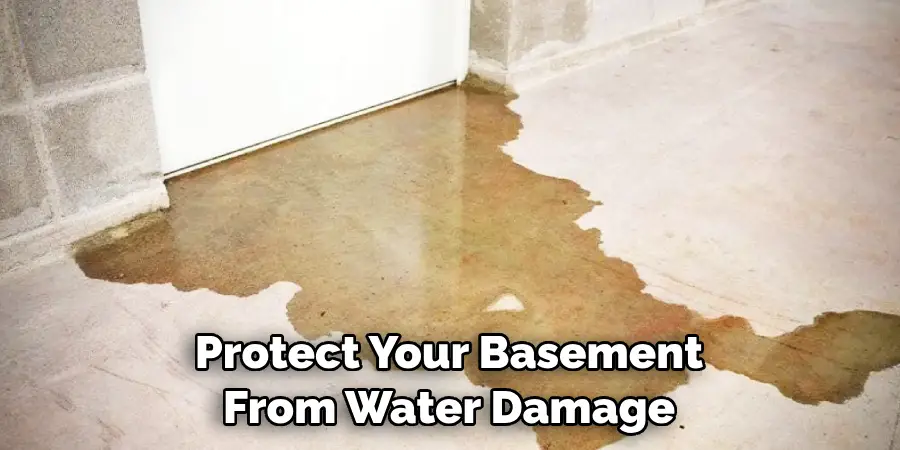
Before you can begin pouring your concrete, you’ll need to make sure that the area is properly prepared. Remove any vegetation and level out the ground, ensuring there are no stones or other debris remaining in the area. But don’t forget to put down a waterproofing membrane first – this is an important step that will protect your basement from water damage.
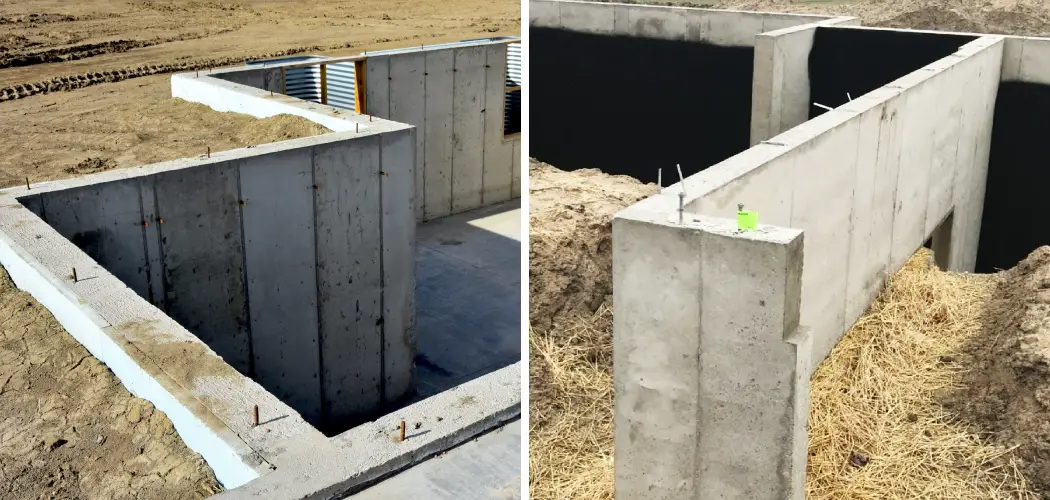
Step 2: Setting up the Forms
Using your plywood panels, construct a form to contain the concrete. Make sure it is level and secure with nails or screws. A good tip is to use two-by-fours on either side of the form for additional support and strength. If you’re pouring a large basement, consider using steel forms for even more stability.
Step 3: Installing the Rebar
Measure and cut rebar pieces that will be used to reinforce your concrete. Place the pieces in the form and secure them with wire ties. This will help ensure structural integrity when the concrete is poured and will also reduce potential cracking. It’s a good idea to add extra pieces of rebar in problem areas that may require additional reinforcement.
Step 4: Adding Gravel
Spread gravel in the foundation area to provide a stable surface for the concrete. Make sure it is spread evenly over the entire space and compacted firmly into place. But remember – the gravel should not exceed four inches in depth. If it does, you may require additional materials.
Step 5: Adding Sand
Add sand on top of the gravel. This will help create a smooth surface for the concrete to be poured onto and will also reduce the potential cracking or shifting of the concrete once it is dry. This layer should be spread out evenly and tamped down to ensure a level surface. You may need to add additional sand in areas where the gravel is not level.
Step 6: Installing Drainage
If you are pouring your foundation in an area that is prone to flooding, make sure to install adequate drainage systems before proceeding with pouring the concrete. Perforated pipes and gravel-filled trenches are two popular options for this type of installation. This will help keep your basement dry and prevent water from entering. It will also help to reduce the risk of foundation failure.
Step 7: Mixing the Concrete
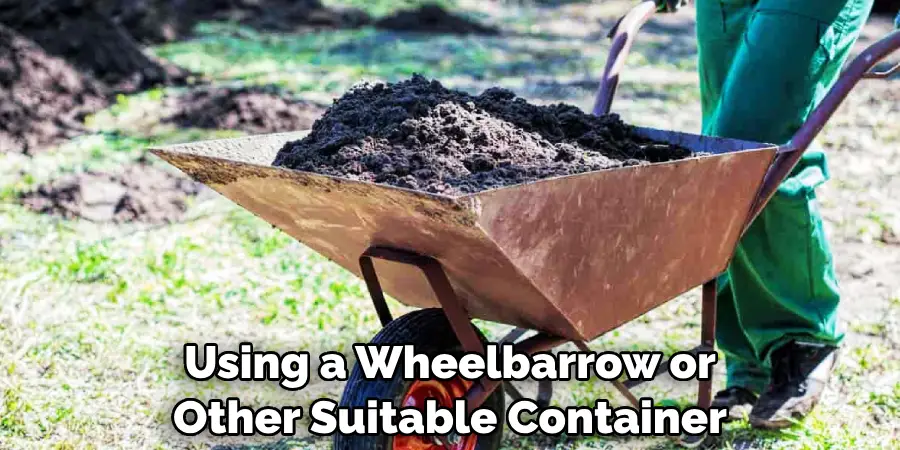
Mix your concrete according to the directions on the bag, using a wheelbarrow or other suitable container. The consistency should be thick but easily spreadable. It’s important to mix enough concrete for the entire project; however, be aware that it will continue to harden over time and should not be reused. It is also important to note that if the concrete mix is too wet, it can lead to shrinkage and cracking when it dries.
Step 8: Pouring the Concrete
Using a shovel or other tool, begin pouring the concrete into the form. Make sure to spread it evenly and smooth out any bumps or ridges as you go along. Otherwise, the concrete could settle unevenly and cause potential structural issues. It’s also a good idea to use a level after each pour to ensure the concrete is even. You’ll need to repeat this process until the form is filled and the desired level of concrete has been achieved.
Step 9: Finishing the Surface
After all of the concrete has been poured, use a trowel to finish off the surface. This will help create a smooth, even finish and make the foundation look professional. But take your time – if you rush this step it could result in an uneven or bumpy surface. It’s also important to avoid walking on the concrete until it has completely dried and hardened. You may want to use a concrete sealer to protect the surface from water damage and staining.
Step 10: Curing the Concrete
Allow the concrete to cure according to the manufacturer’s instructions. This could take several days or weeks depending on the type of concrete used. Make sure to keep it wet during this time in order to ensure proper curing. This can be done by misting the concrete with a hose or covering it with plastic sheeting. Although not necessary, some may choose to also use a curing compound that serves to seal the concrete and protect it from damage.
Step 11: Caring for Your Basement Foundation
Once the concrete has fully cured, it is important to properly care for your new basement foundation. This includes regularly checking for cracks or signs of shifting and resealing any areas that may be vulnerable to water damage. Always use quality sealants and waterproofing materials for this step. It’s also a good idea to regularly clean the foundation with an appropriate cleaner to prevent dirt or debris buildup.
Following these steps on how to pour a basement foundation should give you a sturdy and reliable foundation ready for whatever project you have in mind. Investing in a basement foundation may seem intimidating at first, but with a bit of know-how and the right materials, this can be an incredibly rewarding undertaking that will add significant value to your property. Good luck!
Frequently Asked Questions
Q1: How Long Does It Take to Pour a Basement Foundation?
A1: The amount of time it takes to pour a basement foundation will depend on the size and complexity of the project. Generally speaking, expect it to take between 1-2 days to complete.
Q2: Do I Need to Use Rebar When Pouring a Basement Foundation?
A2: Yes, using rebar is an important part of pouring a basement foundation. It helps to reinforce the structure and reduce potential cracking in the concrete.
Q3: What Is The Best Way To Curing A Basement Foundation?
A3: The best way to cure a basement foundation is by keeping it wet during the curing process. This can be done by using water-soaked blankets, spraying it with a hose, or covering it with plastic. Make sure to follow the manufacturer’s instructions for proper curing time.
Q4: What Types of Materials Should I Use When Pouring a Basement Foundation?
A4: You will need a concrete mix, gravel and sand, rebar and form ties, plywood panels for the foundation forms, nails, screws and other fasteners, shovels, picks, rakes and wheelbarrows, level and tape measure. Additionally, you should have safety gear such as gloves and glasses.

Pouring a basement foundation can be a big undertaking, but with the right preparation and materials, you can take on this project with confidence and end up with durable results that will last for years. Following these steps should give you a sturdy and reliable foundation ready for whatever project you have in mind. So don’t delay – get started on your basement foundation today!
Conclusion
Working on a basement foundation is no small task. It can take several days or even weeks depending on the size of your space, however, the results are more than worth the effort you put in. The process may be difficult for those without prior experience, but many hands make light work after all! After pouring the concrete, it’s important to cover the basement slab with a plastic sheeting or other moisture barrier to help prevent mold and mildew from forming.
Make sure that you take your time when leveling off the top so that it will be structurally sound and safely support any weight placed upon it. If necessary, also consider reinforcing slabs of concrete together with steel rods or other elements for added stability. Once everything’s ready to go, it’s finally time to finish up the last few steps before you begin enjoying your new space.
With some patience and passion, you can create an amazing area in your home that will become your favorite spot in no time! Thanks for reading this article on how to pour a basement foundation.
