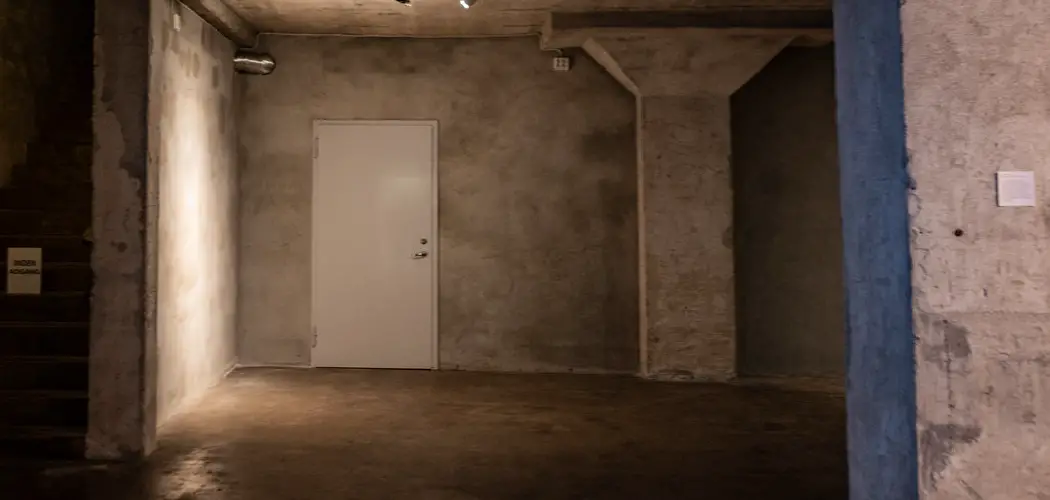
If you have a concrete basement, you may wonder how to install drywall on those walls. Concrete walls can be intimidating to work with, but with the right tools and a bit of know-how, you can put up drywall in your basement and make it look great.

We’ve compiled a step-by-step guide to help you through the process. So keep reading to learn more about how to put up drywall in concrete basement!
Can You Put up a Drywall in the Concrete Basement?
If you’re wondering whether you can put up drywall in your concrete basement, the answer is yes! Installing drywall over a concrete wall in your basement is possible with the right materials and techniques.
Of course, there are some specific steps you’ll need to take to ensure the drywall stays secure and level, including preparing the surface, installing furring strips, and choosing the right type of drywall. But with some patience and practice, you can transform your dingy basement walls into a beautiful, finished space you’ll love to spend time in.
Why Should You Put Up Drywall in Concrete Basement?
When it comes to finishing and renovating your basement, drywall is often the go-to material for creating walls and ceilings that look great and provide insulation. But what if you have a concrete basement? While it might seem daunting, some good reasons exist to put up drywall in a concrete basement.
It can help create a more finished and polished look and help insulate the space, keeping it warmer in the winter and cooler in the summer. Additionally, installing drywall can be a great way to conceal unsightly pipes and wiring, making your basement space look more clean and streamlined. Overall, drywall is definitely worth considering if you want to create a comfortable and attractive living space in your basement.
How to Put up Drywall in Concrete Basement – in 7 Easy Steps
Step 1. Measure and Prepare
The first step in putting up drywall is to measure the walls and decide how much drywall you’ll need. You can do this by measuring the length and height of each wall and then calculating the square footage. Once you have your measurements, you’ll need to purchase the drywall sheets and all the necessary materials like screws, joint tape, and joint compound.

Before you start to put up the drywall, make sure to prepare the walls. This means cleaning off any dirt or debris and filling any cracks or holes with a concrete patching compound. This will ensure that the drywall adheres properly to the wall.
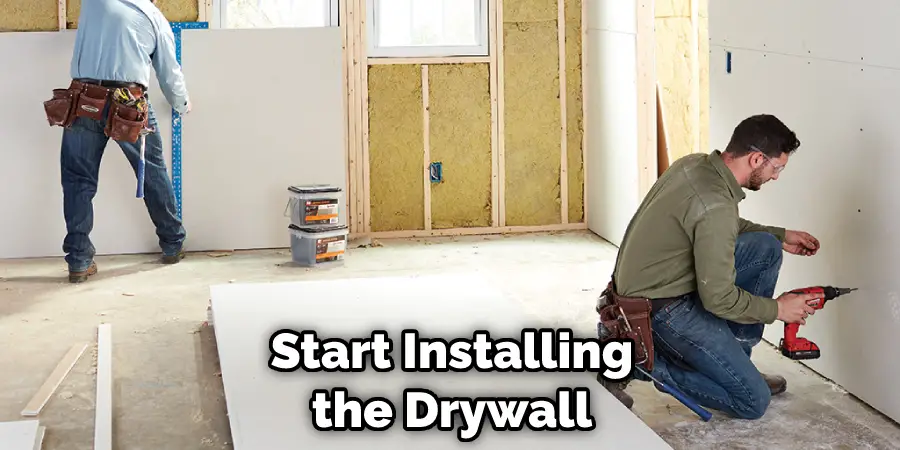
Step 2. Cut and install the drywall
Once the walls are prepped, you can start to cut and install the drywall. You’ll need to use a circular saw to cut the drywall to the proper size and shape. Make sure to measure twice and cut once to avoid any mistakes.
After cutting the drywall, you can install it on the walls. Hold the drywall in place and secure it with screws to do this. Make sure to leave a small gap between each sheet to apply the joint tape.
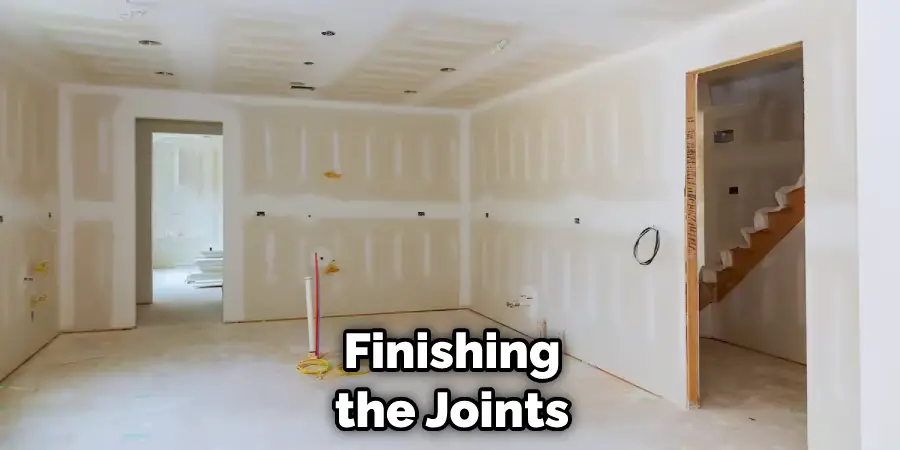
Step 3. Tape and Mud the Joints
After the drywall is installed, it’s time to tape and mud the joints. Joint tape is used to cover the gaps between the drywall sheets, and the joint compound is used to fill in the gaps and create a smooth surface.
To tape the joints, apply the tape to the gap and smooth it out with a putty knife. Once the tape is in place, apply a thin layer of joint compound over the tape with a taping knife. Let the compound dry, and then sand it smooth with sandpaper.
Step 4. Finish and Texture the Walls
The next step in putting up drywall is to finish and texture the walls. You can do this by applying a skim coat of joint compound over the entire surface of the drywall and then using a texture brush to create the desired texture.
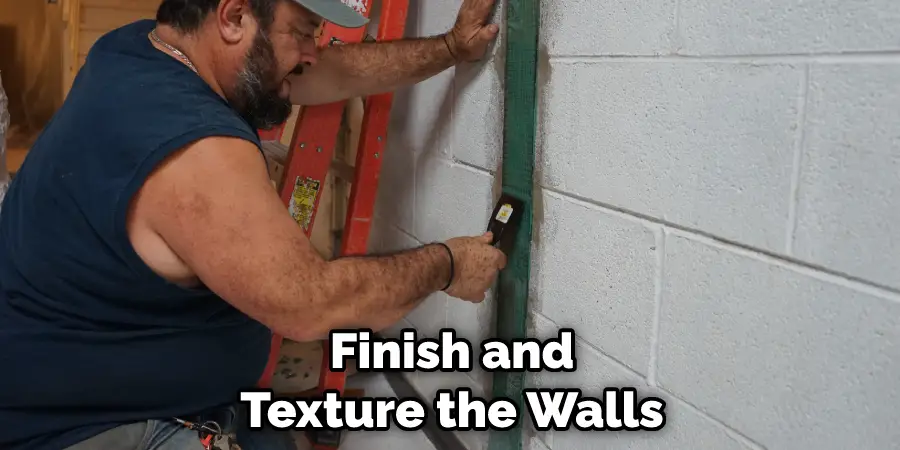
After the texture dries, you can paint the walls with your desired color. It’s important to use paint that is specifically designed for concrete walls to ensure a long-lasting finish.
5. Install Trim and Corner Beads
After the walls are painted, it’s time to install trim and corner beads around the edges of the drywall. This will help create a finished look as well as protect the drywall from damage.
To install the trim and corner beads, use a hammer and nails to secure them in place. Then use a joint compound to fill any gaps or imperfections and sand it smoothly.
Step 6. Install Insulation
Insulating the walls is an important step in putting up drywall in a concrete basement, as it helps keep the temperature stable throughout the year and reduces energy costs. To insulate, you’ll need to purchase rolls of fiberglass batt insulation and cut it to fit the walls.
Once you have the insulation in place, secure it with staples or nails. Then cover the insulation with drywall and use joint tape and compound to finish off any joints.
7. Clean Up
The final step in putting up drywall is to clean up any messes that you made along the way. This means sweeping and vacuuming any drywall dust or debris, disposing of scraps, and wiping down surfaces with a damp cloth.
Putting up drywall in a concrete basement can be tricky, but following these steps is doable. Just make sure to take your time, measure twice and cut once, and clean up after yourself. With a bit of patience and hard work, you can have walls that look great in no time!
5 Considerations Things When You Need to Put Up Drywall in Concrete Basement
- The first thing you need to do is determine how much drywall you will need. To do this, measure the length and width of the room and then multiply those numbers by the height of the room. This will give you the square footage of the room. Then, add 10% to that number to allow for waste.
- The next thing you need to do is gather your materials. You will need drywall, screws, washers, a drill, a screw gun, joint compound, and tape.
- The third thing you need to do is prepare the room for drywall installation. This means clearing out any furniture or other items from the room and covering any windows or doors with plastic sheeting to protect them from dust.
- Once the room is prepared, you can start installing the drywall. Begin by attaching the drywall to the ceiling using screws and washers. Then, move on to the walls, again attaching the drywall with screws and washers. Finally, attach the drywall to the floor using screws and washers.
- The final step is to finish the drywall by taping and mudding the seams and joints using a joint compound. Once you’ve done this, you can sand it smooth and then paint or texture it as desired.
4 Common Mistakes People Make When Trying to Put up Drywall in Concrete Basement
1. Not Treating the Concrete First
One of the most common mistakes people make when trying to put up drywall in a concrete basement is not treating the concrete first. If you don’t treat the concrete, it will absorb moisture from the drywall, which can cause the drywall to rot. To avoid this, you should seal the concrete with a waterproofing sealer before you start putting up the drywall.
2. Not Using Greenboard
Another common mistake people make when putting up drywall in a concrete basement is not using green boards. Greenboard is a type of drywall that is specifically designed for use in damp areas. It is made with a water-resistant core, which helps to prevent moisture from seeping through and damaging the drywall.
3. Not Using Adhesive
Another mistake people make when putting up drywall in a concrete basement is not using an adhesive. Adhesive helps to hold the drywall in place and prevents it from falling off the walls if there is any movement or vibration. Without adhesive, the drywall is more likely to fall off, damaging it and making it difficult to repair.
4. Not Finishing the Joints
One final mistake people make when putting up drywall in a concrete basement is not finishing the joints. The joints are the spaces between each sheet of drywall, and they need to be filled with joint compounds in order to create a smooth, seamless finish. If you don’t finish the joints, they will be visible and will create an unfinished look.
Conclusion
Putting up drywall in a concrete basement may seem daunting, but it can be done easily and efficiently with the right tools and techniques. By measuring and preparing properly, accurately cutting and installing the drywall, taping and mudding the joints, and finishing and texturing the walls, you can create a beautiful and functional living space in your basement.
Just remember to take your time, work carefully, and don’t hesitate to ask for help if you need it. Good luck with your project! Thanks for reading our post about how to put up drywall in concrete basement.