
Are you looking for a way to spruce up or better insulate your basement ceiling? Covering insulation with a creative material can be an attractive and cost-effective way to do both!
Covering insulation in a basement ceiling can be daunting, but it doesn’t have to be! With the right supplies and some determination, this job can go from daunting to done in no time. Plus, why not incorporate some decor while you’re at it?
There’s so much that can be done to cover up those pesky blobs of insulating material – faux wood panels, acoustic tiles, even fabric panels – allowing you to add beauty or noise-reducing features to your space as well.
In this blog post, we will discuss how to cover insulation in basement ceiling with good materials while providing the air-sealed protection desired by any homeowner. So let’s get started!
What Will You Need?
Before you begin, make sure you have the following supplies on hand:
- Drywall
- Adhesive sealant
- Tape measure
- Utility knife
- Drill and screws
- Drop cloths or plastic sheeting to protect flooring
- Your chosen materials for covering insulation (wood paneling, acoustic tiles, fabric panels, etc.)
Once you’ve gathered all your supplies, here are the steps to cover insulation in basement ceilings.
10 Easy Steps on How to Cover Insulation in Basement Ceiling
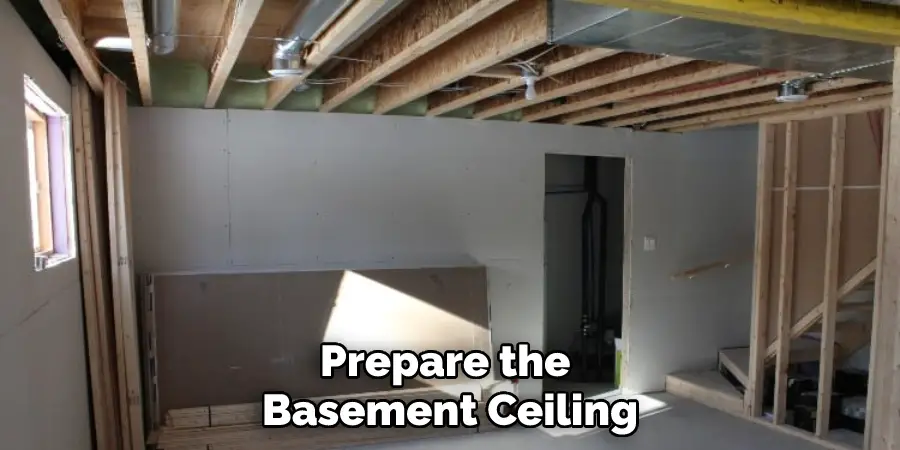
Step 1: Prepare the Ceiling
The first step is to prepare the basement ceiling, where you will cover the insulation. Start by removing any existing drywall and tape measure how large a surface area of exposed insulation you have. Next, use your utility knife to remove any excess insulation sticking out and ensure the surface is completely flat.
Step 2: Apply Adhesive Sealant
Once you have a flat, even insulation surface, it’s time to apply adhesive sealant. This will protect against moisture and air infiltration, keeping your basement warm in the winter and cool in the summer while also providing additional support for your chosen material.
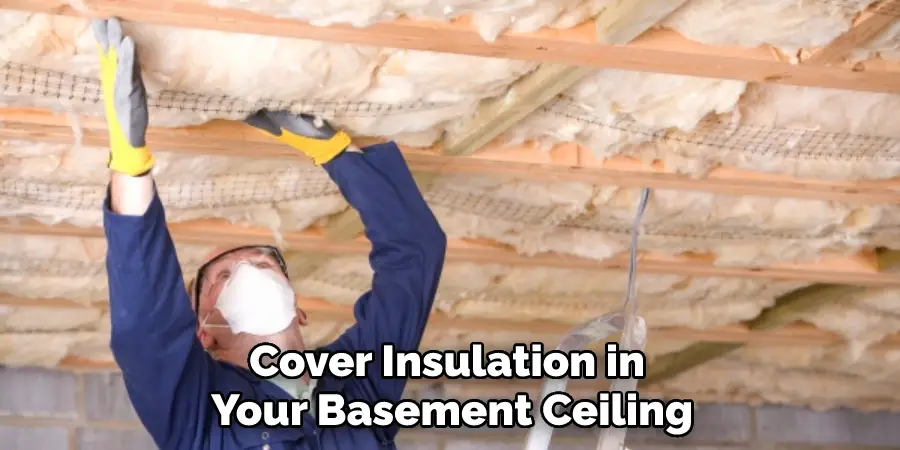
Step 3: Install The Material
Now that you have a clean and sealed insulation surface, you can install your chosen material. Whether this is wood paneling or acoustic tiles, measure how much is needed to cover the entire exposed area of insulation. Cut each piece as needed with a utility knife and then attach them to the ceiling using screws and a drill.
Step 4: Check For Leaks
Once the material is installed, take a few extra steps to make sure it is secure and won’t come loose. Do a final check for any leaks or gaps between the material and insulation by using a flashlight or adding some light from outside the basement window. If you find any openings, use caulk to seal them up before continuing on. It will also be a good idea to apply more adhesive sealant around the material’s edges to ensure it is airtight.
Step 5: Finish Up
Finally, you can finish up how to cover insulation in your basement ceiling by sweeping away any excess drywall dust and debris and placing drop cloths or plastic sheeting to protect your flooring from damage. Once that’s done, stand back and admire your work – your basement ceiling is now ready for aesthetic touches! Remember, you can always add paint, wallpaper, or fabric accents to your new basement ceiling for an even more personalized look.
Step 6: Add Aesthetic Touches
Now that your basement ceiling is sealed and secure, it’s time to get creative! Consider adding some decorative lighting fixtures to bring a bit of warmth into the space, or hang an art canvas for a splash of color. You can even paint the material used to cover insulation to match the rest of your home’s decor. Be careful not to overdo it, though – you don’t want your basement ceiling looking overcrowded!
Step 7: Try Soundproofing
Consider soundproofing your space if you’re looking for an extra noise reduction layer. This can be done by adding acoustic tiles or fabric panels to the ceiling to absorb sound waves and reduce echoing within the basement. You can also use rubber weather stripping around the edges of your windows and door frames to reduce noise further.
Step 8: Enjoy Your Basement!
Once all of these steps are completed, you can enjoy how much more pleasant your basement is now that it’s insulated and aesthetically pleasing. From here, you can start creating a home office, craft area, or game room – whatever suits your needs best! If you ever need to access the insulation again, simply remove the material you used to cover it and follow these eight simple steps.
Step 9: Avoid Creating Fire Hazards
Finally, always ensure you’re following safety protocols when covering insulation in basement ceilings. Avoid using flammable materials like vinyl or foam, and make sure to keep the insulation away from any heat sources to prevent a fire hazard. It’s also important to double-check the insulation type and thickness you’re using so there are no gaps or exposed areas.
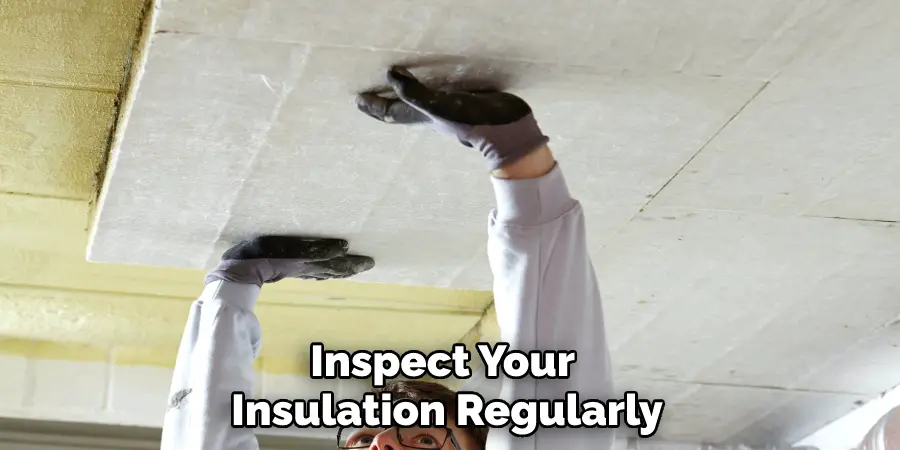
Step 10: Inspect Regularly
Lastly, remember to inspect your insulation regularly for moisture buildup and signs of air infiltration. Catching these problems early can help you avoid further damage and expense down the line. Ensure that all seals and fittings are tight and that any gaps or cracks around windows and doors are properly filled.
By following these ten simple steps, you can easily cover insulation in basement ceilings and create a comfortable and safe space in your home. With the right materials and technique, you’ll have the perfect place to relax and enjoy. Good luck!
5 Additional Tips and Tricks
1. Measure Your Insulation Carefully. It is important to ensure that the insulation fits snugly and evenly within the space of your basement’s ceiling. Take into consideration how much material you will need to cover all of the areas, and make sure not to leave any gaps or overlaps.
2. Choose a Lightweight Covering Option. Heavy materials such as drywall can be difficult to install in a basement setting, so look for more suitable options for the job. Lightweight sheets of plastic or foam board work great for this purpose and can help keep moisture out while keeping your insulation in place simultaneously.
3. Install Some Form of Air Ventilation. Even if you choose an air-tight approach regarding how to cover insulation in your basement ceiling, adding some form of ventilation can help keep air circulating and reduce the risk of moisture buildup.
4. Seal Any Seams. Once all of your insulation has been covered, seal any seams that could let in moisture or air. Caulk should do the trick to make sure that everything is airtight.
5. Wear Protective Gear. Installing insulation in a basement can be a dusty job, so make sure to protect yourself by wearing a mask and goggles when covering your insulation. It’s also important to wear gloves to protect your hands from splinters or sharp edges.

Following these tips and tricks will help you have an easier time as you tackle how to cover insulation in the basement ceiling. You can complete this project easily with the right tools, materials, and knowledge!
5 Things You Should Avoid
- Don’t try to skimp on insulation. Poor quality insulation is a waste of money, and it won’t do its job properly, leaving your basement too hot in summer and too cold in winter.
- Don’t forget to use fire-resistant materials like drywall or metal decking around combustible items like furnaces and water heaters.
- Avoid attaching the ceiling directly to the joists. This can cause moisture problems, so hang the insulation instead with a minimum of 6 inches between them and the floor joists
- Don’t stretch the material too tightly when installing it – this can reduce how well it insulates and may even cause damage over time due to sagging.
- Avoid using staples or nails to fix the insulation in place; instead, use adhesive tape designed for this purpose, as it’s much more secure and will hold better over time.
Following these simple steps will ensure your basement ceiling is insulated properly, keeping you comfortable all year round. Good luck!
Conclusion
Covering insulation in the basement ceiling of your home can be a great way to improve thermal performance and energy efficiency while reducing energy related costs. The steps above provide guidance on how to do so safely and effectively, but it is important to remember that every situation is unique. While following the guidelines will help, they should not be taken as absolute instructions that must be followed exactly.
Ultimately, you may need to adjust them based on your project’s specific needs and regulations in your area. That said, properly covering insulation in your basement ceiling can be immensely beneficial if done correctly. It may take some time and effort initially to complete this task, but the result can be well worth it in increased savings for years to come.
Hopefully, these tips have been helpful in how to cover insulation in basement ceiling. Have fun and be safe!