
Are you looking to rebuild a staircase to your basement? Whether you’re planning on taking on this project as a DIY weekend job or hiring professionals, it’s important to know what is involved in the process. So you can know what to expect, here is an overview of how to rebuild stairs to your basement.
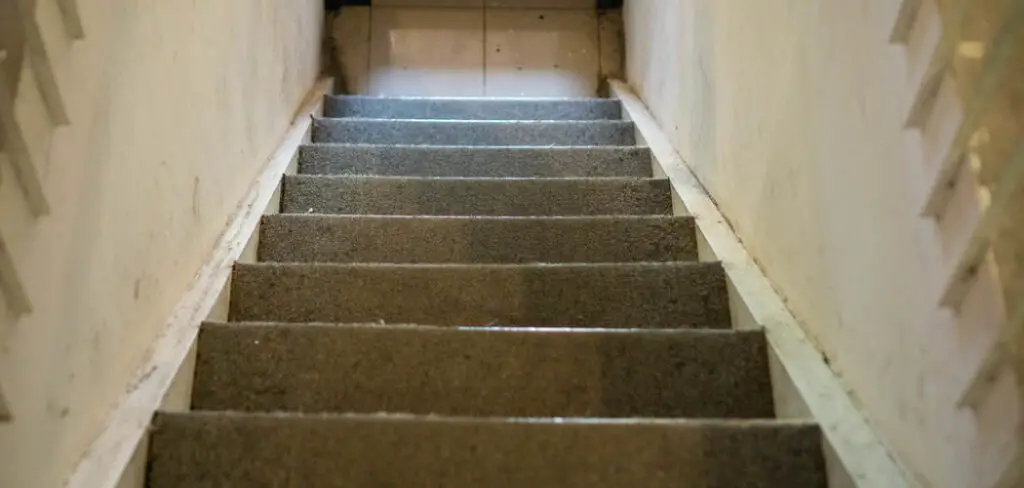
From the demolition of existing stairs and selecting the right materials to construct balusters and handrails, this blog post will walk you through every step in detail on how to rebuild stairs to basement so that you can successfully complete your basement stair rebuild project. Keep reading for an expert guide!
Can You Complete the Task?
The first step in any project is to determine if the task can be completed by an individual or if a professional should be consulted. Rebuilding stairs requires precise measurements, so it’s best to get help from a specialist for larger projects.
You should also keep in mind that depending on the materials you select, building permits may be required. Ensure that you understand all of the local laws and regulations governing your project before you start. However, smaller projects, such as replacing a few steps, may be within reach of someone with basic carpentry skills and a few tools.
Needed Tools and Materials
To rebuild the stairs to the basement, you will need:
- a circular saw
- jigsaw
- hammer
- power drill
- level
- screws
- nails
- wood glue
- saw horses
- stair treads
- balusters
- handrails.
Depending on the type of stairs you are building and your preference in design, you may also need additional materials such as:
- balusters
- handrails.
Now that you have everything ready, let’s move on to how to rebuild the stairs to the basement.
10 Steps on How to Rebuild Stairs to Basement
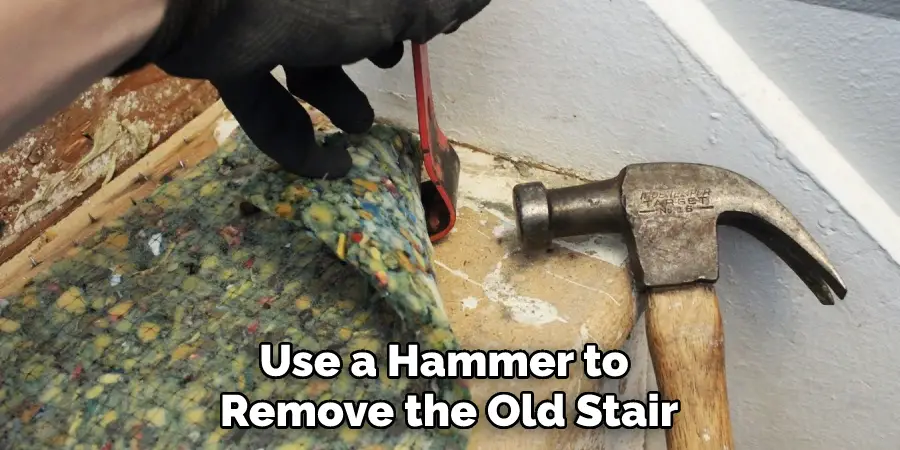
Step 1: Demolish Existing Stairs
Use a hammer to remove the old stair treads and risers. Removing it from the existing structure will make the rebuilding process easier. While removing the stairs, be sure to take note of the measurements of the existing structure so that all new parts can fit properly. It’s a messy task, but it’s a necessary step for you to successfully rebuild the stairs.
Step 2: Select the Right Materials
The quality and durability of your stair parts are essential to ensure safety when using them. It is important to select materials suitable for outdoor use, as well as taking into consideration any fire ratings or other building codes that must be met.
Step 3: Pre-Cut Your Materials
Using the measurements taken in step one, pre-cut your treads and risers to fit the existing structure. Take care when measuring and cutting to ensure that all parts are precise and identical. This will help make the installation easier. Measuring is essential – don’t skimp on it!
Step 4: Assemble the Stringers
Using a power drill and screws, assemble the stringers by attaching them to the existing structure and risers. Make sure that all components are secured tightly and placed correctly. This is a crucial step in ensuring your stairs are safe for use. While using a drill is ideal, a hammer and nails can also be used for this step.

Step 5: Install the Stair Treads
Using wood glue, attach the stair treads to the stringers. Make sure that they are securely attached so there is no risk of them becoming loose over time. To ensure even spacing between each step, use a level to make sure that each tread is exactly the same height and depth.
Step 6: Install the Balusters
Using a jigsaw, cut the balusters to fit around the handrails. Make sure that they are even in spacing and securely attached with screws. If you prefer, pre-made iron or wooden balusters can be purchased instead of making your own.
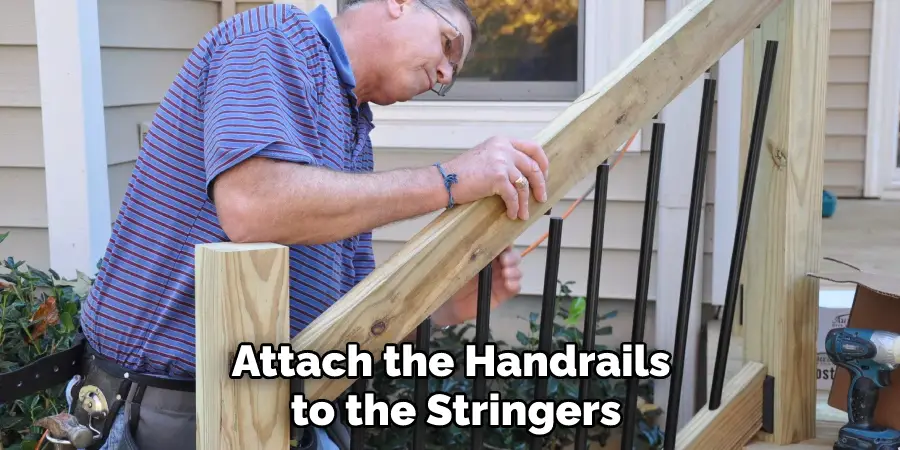
Step 7: Install the Handrails
Attach the handrails to the stringers and balusters using wood glue and nails. Make sure that all pieces are secure and there is no risk of them coming loose over time. While attaching the handrails, take care to ensure that the height and angle of each piece are consistent.
Step 8: Finishing Touches
Fill any holes or gaps with wood filler, sand down all surfaces, and use a sealant to protect the wood and make it look more aesthetically pleasing. Look closely at all the components of the stairs and make any necessary adjustments. Once complete, your stairs should be strong and safe for use.
Step 9: Final Inspection
Conduct a final inspection of all components before using the stairs to ensure that everything is secure and in place. This is a critical step – don’t skip it! Because even small mistakes can be dangerous, it’s essential to take the time and check for any potential problems.
Step 10: Enjoy Your New Stairs!
Once everything is complete and inspected, you can enjoy your new stairs. With a bit of patience and hard work, you have rebuilt your basement stairs successfully! Now all that’s left to do is enjoy them.
Additional Tips to Make the Stair Look Great
- Paint or stain the stairs to make them look more appealing
- Add a creative touch by adding decorative touches like molding or balusters
- Add lighting around the stairs for a nice finishing touch and improved safety.
- Be sure to regularly inspect your stairs for any loose parts or other damage.
- Consider adding a carpet runner or other textured material to the stairs for added comfort.
- Install handrails on both sides of the staircase if you plan on having a lot of visitors.
With careful planning and attention to detail, the end result will be a beautiful, functional.
10 Safety Precautions to Take
- Make sure that any stairs you build meet all local building codes and fire ratings. It will help to consult with a professional to ensure that your stairs meet all safety requirements.
- Always wear safety glasses and gloves when working on the stairs. Otherwise, you risk getting injured by sharp tools or pieces of wood.
- Use only the strongest, most durable materials available when constructing the stairs. Don’t skimp on quality in order to reduce costs – it could result in a dangerous staircase.
- Make sure that all components of the stairs are securely attached and that there is no risk of them coming loose over time.
- Install a handrail on both sides of the staircase for added safety and stability.
- Test each step by standing on it before finalizing the stairs – this will help to detect any weak spots or unstable areas that need to be reinforced.
- Make sure that the treads and risers of the stairs are consistent in size. This will help to ensure that each step is even and there won’t be any tripping hazards.
- Check for squeaks or other signs of instability when testing the stairs. This could indicate that the staircase isn’t securely attached or that some parts need to be adjusted.
- Use non-slip materials like carpet or textured paint on the stairs to improve traction and reduce the risk of slipping. Non-slip materials will also help to make the stairs more comfortable to walk on.
- Install lighting around the staircase for improved visibility and safety at night. This will also add an aesthetic touch to the stairs and help to make them look more inviting.

Costing of Rebuilding Stairs to Basement
Rebuilding stairs to a basement can be an expensive project. The exact cost will depend on the size of the staircase, the type of materials used, and the complexity of the design. Generally speaking, you should expect to spend anywhere from $2000-$5000 for a simple set of stairs. You’ll have to factor in additional costs for railings, lighting, and other accessories. The additional costs will vary depending on the materials used and how intricate the design is.
Don’t forget to factor in additional costs for railings, lighting, and other accessories, as these can add up quickly. Then the cost might increase or decrease.
With careful planning and attention to detail, you can rebuild your basement stairs successfully and get a beautiful, functional set of stairs that will last for many years. By taking the time to do it right, you’ll be ensuring that your family stays safe when using the stairs. That’s why costing is a crucial part of the rebuilding process.
Don’t compromise on quality and safety to save money, as it could lead to a dangerous staircase. So, always remember to budget correctly for the project you are about to undertake.
Conclusion
Rebuilding stairs to the basement can not only be a fun, cost-effective home improvement project but provide additional safety and accessibility to your lower level. With the right plans, materials, and tools at your disposal, you’re prepared to tackle this project yourself.
Even if you’ve never done any woodworking or basic construction before, don’t be intimidated; with a bit of time and patience and the how to rebuild stairs to basement guide, you too can restore your stairs and make it an enjoyable experience for all. After completing the job successfully, there will be a profound sense of accomplishment that comes with a DIY task completed! Once it’s finished, send us photos – we’d love to see the finished product!