Are you dealing with a shower drain that just won’t stop leaking? If so, you’re not alone. Leaking showers are a common problem in many households and can be both annoying and costly if left unchecked.
When your shower drain starts to leak, it can be a real hassle. Not only does this unpleasant experience make it hard to enjoy your routine shower, but the unsightly spots of moisture on the floor and ceiling don’t do much for a bathroom’s aesthetic. Fortunately, fixing up a leaking shower drain isn’t as complicated (or expensive) as you may think—all it takes is some basic know-how and the right DIY tools!
In this blog post, we’ll cover everything about how to repair a leaking shower drain. So if you’re ready to learn more about repairing your leaking drains with ease, let’s get started!
What Causes a Shower Drain to Leak?
Before you start any repair work, it’s important first to identify the cause of your shower drain’s leak. This will help you determine how to best go about fixing it up properly. Common causes for a leaking shower drain include:
1. Worn Out Caulk or Grout: Caulk and grout are the sealants used to hold the drain in place and stop water from passing through. If these sealants become worn over time due to wear and tear, they can no longer be effective at keeping water out.
2. Poorly Installed Pipes: If your pipes were not correctly installed, this could lead to water slowly seeping through them and causing a leak.
3. Clogged Pipes: Clogged pipes can cause water to back up and leak out of the drain.
These are just a few of the most common causes for shower drain leaks. Once you’ve identified the source of your particular leak, you can move on to repairing it!
What Will You Need?
The items you’ll need to repair a leaking shower drain will depend on how much damage has been done. To be safe, we recommend having the following items handy:
- Plumber’s putty
- A plunger
- Silicone caulk
- Wrench set (for unscrewing nuts and bolts)
- A screwdriver (to remove old screws and hardware)
- Pliers
- A bucket
- Protective eyewear and gloves
Once you have all the necessary items, it’s time to get started.
10 Easy Steps on How to Repair a Leaking Shower Drain
1. Preparation:
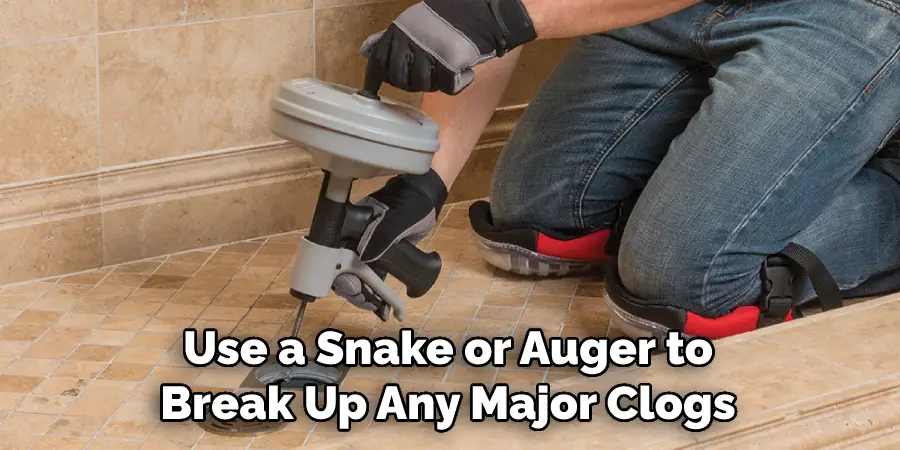
First, you’ll need to make sure that your shower is properly drained. To do this, use a plunger to unclog any partial obstructions and remove any debris that might be causing the blockage. If the water is still draining slowly or not at all, you may need to use a snake or auger to break up any major clogs.
2. Disassemble:
Once you’ve cleared out any initial blockages, use your wrench set to unscrew and remove any hardware from around the drain, such as nuts and bolts. Be careful not to damage the pipes, as this could lead to further leaks. Take the screws and hardware off, then set them aside.
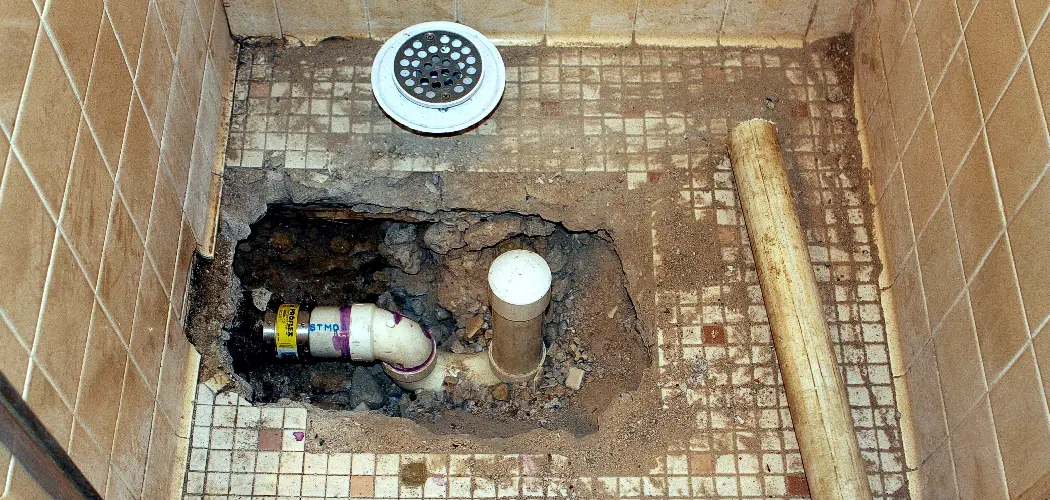
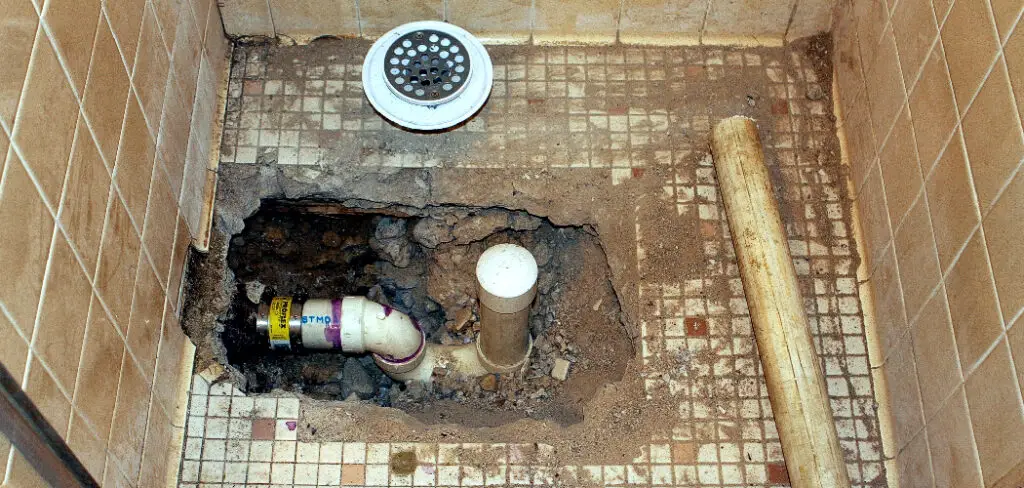
3. Inspect for Damage:
After removing the hardware, inspect the area for signs of damage or wear and tear. Pay close attention to all areas where water could potentially escape—such as cracks in the old pipe or fittings. Replace anything that looks worn or damaged before proceeding to step four.
4. Clean Out the Drainpipe:
Next, you’ll need to remove any remaining debris from the drainpipe. Use a bucket to catch all the wastewater and use pliers to remove any stubborn obstructions. Remember to wear protective eyewear and gloves before starting this step.
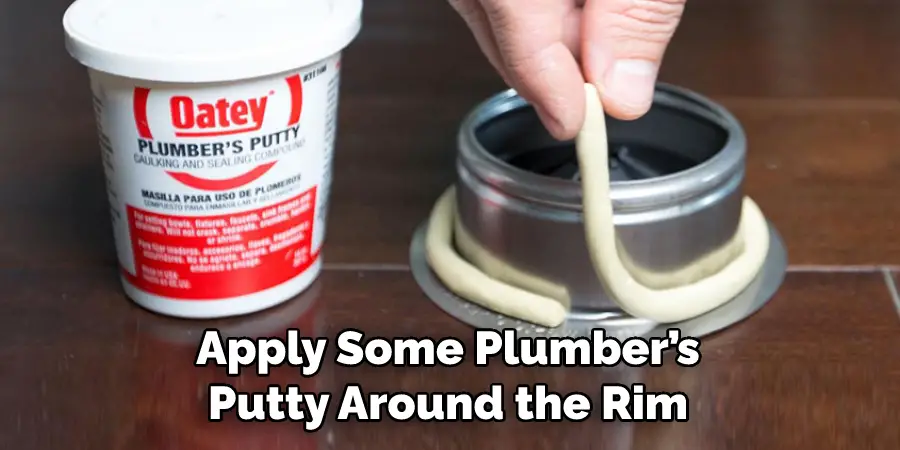
5. Install New Fittings:
Once everything is properly cleaned out and inspected, installing new fittings is time. If you’re replacing anything that needs to be screwed into place, make sure to apply some plumber’s putty around the rim before screwing in the hardware. This will help to prevent any future leaks.
6. Reassemble Drainpipe:
After installing all new fittings and hardware, reassemble the drainpipe using your wrench set again—making sure everything is tightened securely without over-tightening. Otherwise, you could damage the pipes or cause them to leak. Instead, just tighten the nuts and bolts until it feels snug.
7. Seal Around Drainpipe:
Once the drainpipe is securely reassembled, you’ll need to seal it with silicone caulk. This will help keep water in and out of the drainpipe while also preventing any further leakage. This will also help keep the drainpipe in place and prevent it from loosening over time.
8. Let Caulk Dry:
Let the caulk completely dry before proceeding to step nine. You can use a fan to help speed up the drying process. Don’t skip this step; the caulk must be completely dry before testing the repair.
9. Check for Leaks:
Now that everything is properly sealed, it’s time to check for leaks one last time. Fill your shower with a few inches of water and let it sit for about 10 minutes; this should give plenty of time for any possible leaks to appear (if there are any). If no leaks appear after ten minutes, your shower is good to go!
10. Enjoy Your Fixed Shower:
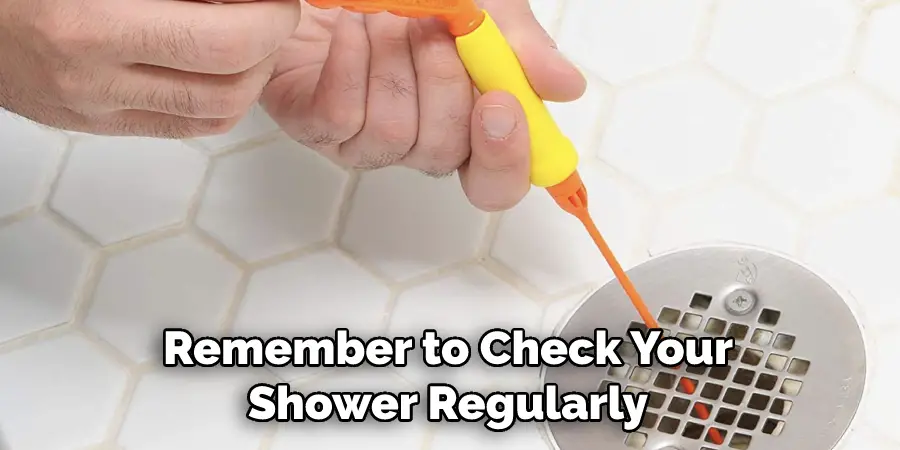
Finally, you can now enjoy your fixed shower without any worries of leaks or water damage! Remember to check your shower regularly for any signs of leakage and to give it a good clean every few months. This will help keep it in great condition for years to come.
Following these ten steps, you can quickly and easily fix a leaking shower drain quickly and easily. With the right tools, supplies, and guidance, you’ll be able to get your bathroom back in working condition in no time!
5 Additional Tips and Tricks
1. If you have a plastic shower drain, make sure to use a sealant or putty specifically designed for plastic drains.
2. Check the how-to instructions provided with your drain cover before attempting to remove it.
3. Make sure that any new parts are compatible with the existing components of your shower drain; this means that they should be made of the same material and feature the same dimensions as their corresponding parts.
4. After replacing or repairing the faulty part(s) in your shower drain, replace the drain cover and secure it properly using screws (if applicable).
5. Test your repair by running water through the drain and ensuring no leaks occur! If there are any issues, double check all connections and parts to ensure that everything is properly sealed.
Remember, the right tools and knowledge can easily and quickly fix a leaking shower drain. With these tips and tricks, you’ll have your shower drain repaired in no time!
5 Things You Should Avoid
1. Do Not Ignore Any Water Leakage: If you notice water leaking from your shower drain, it is important to address the issue right away. Ignoring the issue can lead to further damage and escalate costs.
2. Don’t Use Abrasive Products: Cleaning a dirty or clogged drain with harsh chemicals or abrasive tools can be tempting. This should be avoided as it can actually cause more damage than repairing the drain properly.
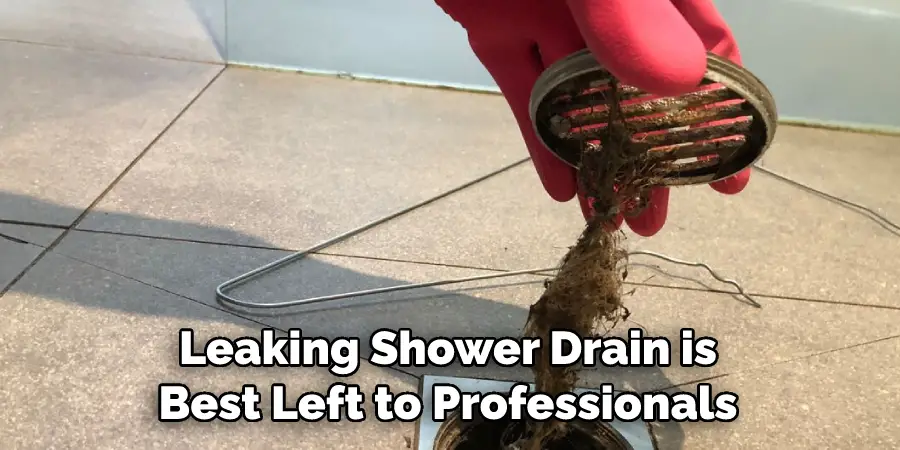
3. Don’t Attempt Complex Repairs Yourself: Unless you are an experienced DIYer, repairing a leaking shower drain is best left to professionals, as there may be more serious issues at play that require specialist knowledge.
4. Do Not Try and Patch the Hole: This will not solve the problem and will only cause more damage in the long run.
5. Don’t Attempt to Fix a Drain That is Already Broken: If your shower drain is already broken, it is best advised not to try and repair it yourself, as this could lead to further damage or injury. Always seek professional help if there are any signs of severe wear and tear on the drain.
Following these tips can help you avoid costly repairs and ensure your shower drainage system stays in top condition for years to come! By keeping up with regular maintenance checks on your plumbing systems, you can prevent small problems from becoming big ones. Don’t forget, if all else fails, call a professional plumber!
Conclusion
All in all, repairing a leaking shower drain is a surprisingly straightforward process. You can either opt for the DIY route and save yourself some money or go for a trusted professional to help you out with the job. Whichever your choice, follow this guide, and your broken shower drain will be good as new in no time!
Before you start tinkering around, remember to always switch the main power off in the circuit breaker if you’re dealing with any electrical systems in your bathroom.
Lastly, since water damage can quickly spiral out of control, ensure to waterproof any surrounding walls or tiles with quality sealers before everything is back together. A little bit of precautionary effort will pay off big time down the road in preventing further damages.
Hopefully, the article on how to repair a leaking shower drain has been helpful. You should now feel confident enough to tackle the issue yourself or contact a professional if needed. Good luck with your repair!
