
Are you unsure if your sump pump is working correctly? Having a functioning sump pump in your home can be essential to protecting it from flooding during heavy rains or plumbing issues.
Unfortunately, if the sump pump isn’t working properly, it won’t be able to do its job. Testing whether or not a sealed sump pump is functioning correctly can sometimes seem like a daunting task, yet with the right knowledge and understanding of how these pumps work, you’ll soon have no need for concern!
In this blog post, we cover all aspects of how to check if a sealed sump pump is working. By the time you finish reading this article, you will have all of the tools necessary to make sure that your pumping system is running smoothly!
What Will You Need?
Before you begin testing your sump pump, make sure that you have the following items:
- A flashlight
- Screwdriver
- Test kit
- Wrench (only if necessary)
Once you have collected the items necessary to complete the task, you are ready to move on to the next step.
10 Easy Steps on How to Check if a Sealed Sump Pump is Working
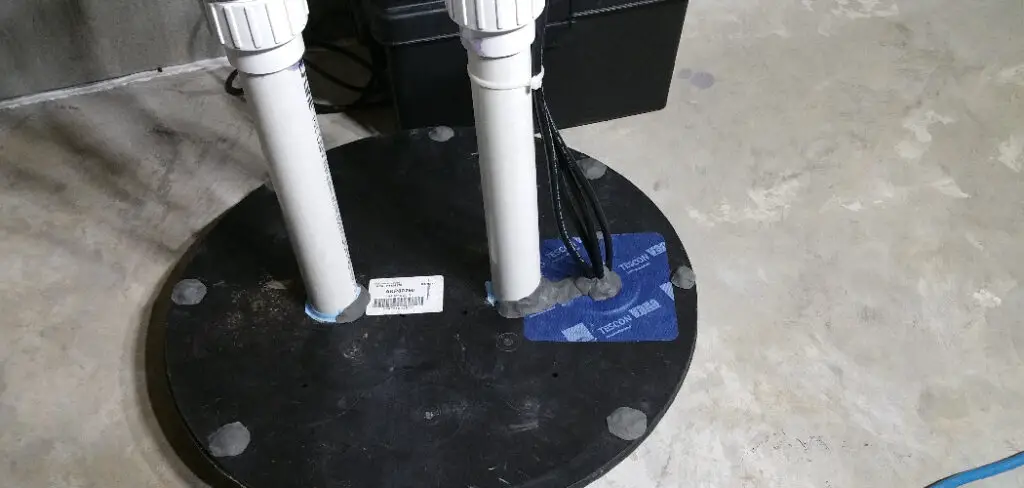
Step 1: Check the Outlet
The first thing that you will need to do is check the outlet for any blockages or clogs that may be preventing water from flowing freely. This can often be done by simply shining a flashlight into the outlet to look for any signs of debris. Be careful when doing this, as some debris may be sharp and can cause injury.
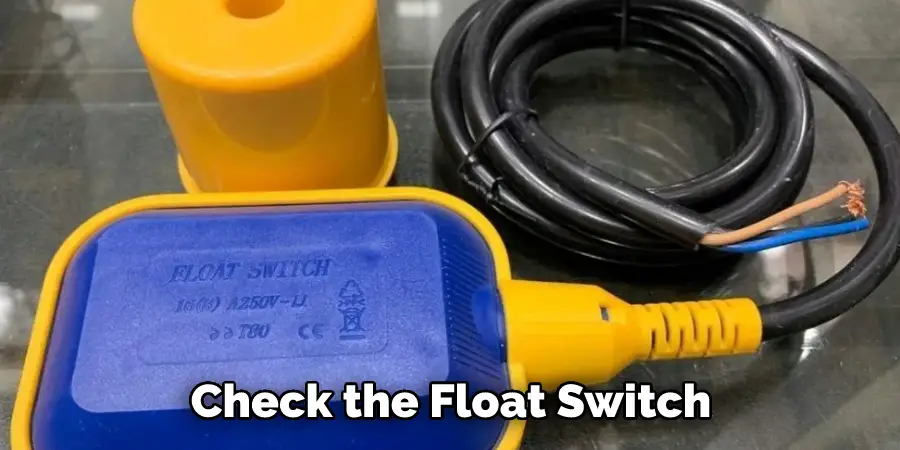
Step 2: Check the Float Switch
The next step is to check the float switch. This component ensures that the pump will start and stop automatically, depending on how much water is in the sump pit. To do this, use a screwdriver or wrench (if necessary) to open up the unit and inspect it for any signs of wear or tear. If everything looks good, move on to Step 3!
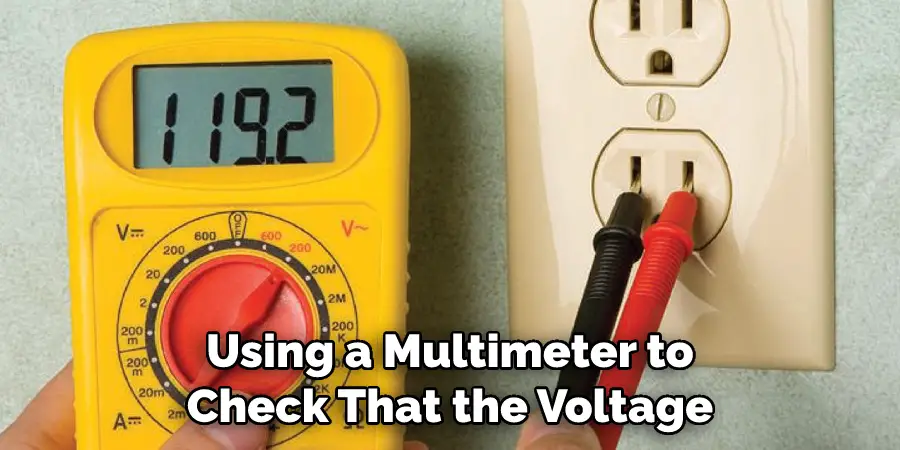
Step 3: Test The Pump’s Voltage
Now that you have inspected both the outlet and float switch, it’s time to test the pump’s voltage. To do this, use a multimeter or test kit to make sure that the voltage is within the manufacturer’s recommended range. If anything is off, you may need to replace the pump.
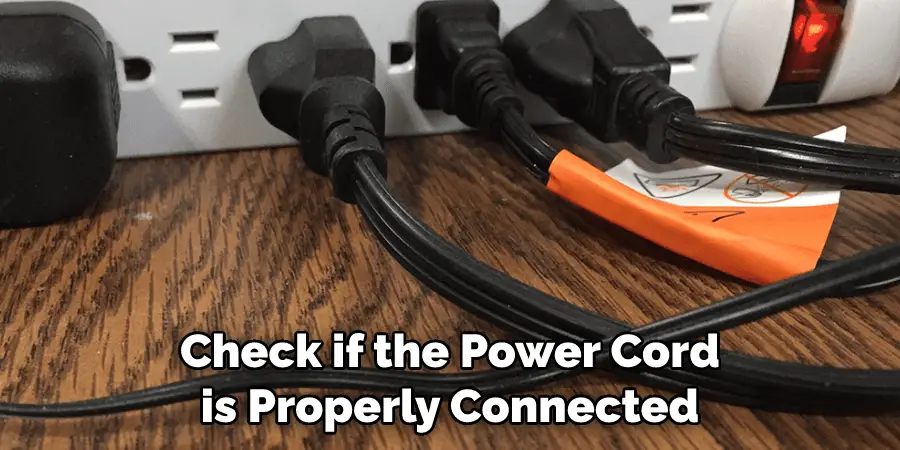
Step 4: Check the Power Cord
The power cord is an essential component of a sump pump and must be checked to ensure proper functionality. Inspect the cord for any signs of wear or tear before proceeding to Step 5. If the cord is damaged, it may need to be replaced.
Step 5: Check the Pressure Switch
Now it’s time to check the pressure switch, which is responsible for turning on and off when water levels reach a certain point. To do this, use a screwdriver or wrench (if necessary) to open up the unit and inspect it for any signs of damage or corrosion. Don’t forget to test the switch for proper operation before moving on!
Step 6: Check the Gaskets
The gaskets are a crucial part of how the pump functions and should be checked to make sure that they are all in good condition. To do this, use a flashlight to look for any holes or cracks in the gaskets. If you find any, replace them immediately!
Step 7: Test the Motor
Once you have thoroughly inspected all components of your sump pump, it’s time to test the motor. This can be done by using a multimeter to check that the voltage is within an acceptable range and that there are no signs of overheating or damage. You can also use a test kit or screwdriver to ensure the motor is properly connected and working as it should.
Step 8: Test The Pump’s Performance
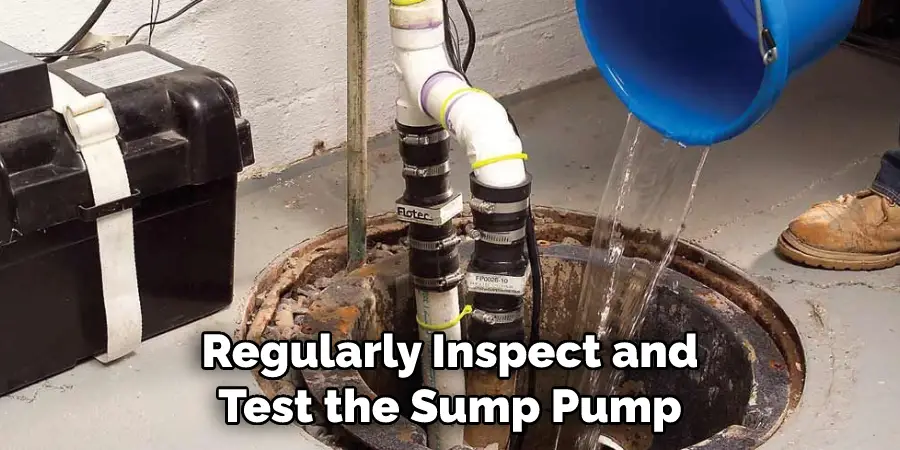
Now it’s time to see how well your sump pump performs. To do this, fill the sump pit with water and turn on the switch to see how quickly it pumps out the water. If it takes more than a few seconds for all of the water to be pumped out of the pit, then you may need to replace or repair parts of your sump pump.
Step 9: Check The Discharge Line
The last step is to check the discharge line, which is responsible for taking any excess water away from your home’s foundation. Inspecting this line can help identify any blockages or clogs that could prevent proper drainage. Don’t forget to also check for any signs of corrosion or leaks in the pipe.
Step 10: Clean Out The Sump Pit
Finally, make sure that you clean out any debris or sediment that may have built up in the sump pit over time, as this can impede your pump’s performance. Don’t forget to refill the pit with clean water to ensure your pump is ready. It will also help to check the system once a month to ensure it is in good working condition.
Following these ten simple steps, you can ensure that your sealed sump pump works properly and protects your home from water damage. If you find any signs of issues with any components, contact a professional for help immediately.
5 Additional Tips and Tricks
1. Make sure you have the right type of sump pump. Determine how much water your home needs to be safely drained and choose a sump pump that is appropriate for that volume.
2. Check for proper installation. The sump pump should be installed correctly in order to ensure it can adequately handle drainage needs without any issues.
3. Test the functionality of the float switch by manually triggering it and ensuring that the pump turns on when it’s activated. Also, check if the power cord is properly connected and not damaged, as this could create an electrical hazard.
4. Listen closely while the sump pump is operating; if there are any strange noises or vibrations, these should be addressed immediately, as they may indicate a problem with the pump.
5. Consider using a water alarm, which can alert you when the sump pump is not working properly or if there is an issue with the power supply. This could save you from a major flood in your home!
With these tips in mind, you can be confident that your sump pump will protect your home from flooding and other disasters.
5 Things You Should Avoid
1. Don’t Use a Non-sealed Sump Pump: Non-sealed sump pumps are not designed to be watertight, so using one could lead to leakage and problems with your system.
2. Don’t Try to Open the Seal: If you try to open the seal of a sealed sump pump, you risk damaging it and rendering it useless.
3. Don’t Forget About Maintenance: Even if your sump pump is sealed, occasional maintenance, such as cleaning debris from the inlet or outlet pipes, should still be done in order for it to work optimally.
4. Don’t Ignore Warning Signs: If you notice any signs of leakage around the pump, it may indicate that the seal has been compromised. If this is the case, you should contact a professional to assess and repair the sump pump.
5. Don’t Assume It’s Working: Even if the sump pump appears in good condition, it is important to check its operation periodically to ensure it is working effectively. This can be done by running water into an empty bucket and making sure that it pumps out correctly.
By taking these steps, you can ensure your sealed sump pump continues to work properly for years.
Will a Sump Pump Work Without a Check Valve?
While a sump pump is designed to be self-priming, meaning it will turn on and pump water out as soon as it’s filled with water, this does not guarantee that the process will work properly. A check valve helps keep the pressure level in the sump pit consistent, so the pump can effectively remove any water from your basement or crawlspace. Without a check valve installed, your sump pump may not be able to do its job correctly.
In conclusion, if you want to make sure that your sealed sump pump is working effectively and protecting your home from flooding and other disasters, it’s important to follow these tips for how to check if a sealed sump pump is working properly.
Regularly inspect and test the sump pump and avoid potential pitfalls like not having a check valve installed.
Conclusion
Checking if your sealed sump pump is regularly working should be at the top of your maintenance list. Remember that with just a few simple steps, you can easily determine if the sump pump is operational and running efficiently. You’ll want to inspect it for any leaks or signs of corrosion or damage.
However, It’s best to bring in a certified professional with experience dealing with sump pumps if there are any major issues or you’re unsure when performing these necessary checks. Taking action towards potential problems can save you from having to replace a faulty unit completely, so make sure to do regular inspections and never leave anything unmonitored for too long!
Hopefully, the article on how to check if a sealed sump pump is working has been helpful in understanding how to ensure that your sump pump is performing optimally.
You Can Also Check This Out to Reset a Sump Pump