Replacing a basement light fixture is essential for creating a safe and comfortable space. It ensures that the proper illumination is provided and that it is free of any hazards, such as dim illuminations or flickering lights. Additionally, replacing the fixture can be a great way to update the look of your basement or improve its energy efficiency. Old, outdated light fixtures can consume more energy than necessary, resulting in higher electricity bills.

One of the main advantages of knowing how to replace a basement light fixture is that you can save money by not having to hire a professional to do the job. When replacing a light fixture, you will need some basic tools and materials like gloves, screwdrivers, pliers, electric tape, wire stripper/cutter, and light bulbs. With the right tools, you can replace a light fixture yourself and save time and money. In this blog post, You will learn in detail how to replace basement light fixture.
Step by Step Processes for How to Replace Basement Light Fixture
Step 1: Inspect the Light Fixture
Before attempting to replace the basement light fixture, inspect all its components and note how the wires are connected. If you’re not comfortable with wiring electronics, it’s best to hire an electrician for this part.
Step 2: Choose a New Light Fixture
The next step is selecting a new light fixture that will fit in the same space as the old one. Make sure that it has compatible wattage, voltage, and size to fit within the existing wiring setup. Before doing any work with electricity, make sure to turn off the power from the circuit breaker box. This will help prevent electric shock when working on the light fixture.
Step 3: Remove the Old Fixture
Carefully remove the old light fixture from its mounting and disconnect any wiring. If there are wires that you don’t know how to handle, contact an electrician for assistance. Follow the instructions that come with your new light fixture in order to assemble it correctly. This includes connecting the wires and mounting the fixture to the wall or ceiling.
Step 4: Connect Wiring
Carefully connect the wiring for the new light fixture, matching each wire with its corresponding one on the other side. If you’re unfamiliar with how electricity works, don’t attempt this part without an expert’s help. Once the wiring is connected, test the new fixture by turning on the power from the circuit breaker box. If it works correctly, you can mount the new light fixture in its place.
Step 5: Mounting New Light Fixture
Securely mount the new light fixture to the wall or ceiling, making sure it’s firmly attached and level. Carefully connect the light bulb to the new fixture, following any instructions that came with the product. Make sure not to overtighten, as this can cause damage to the bulb. Once the light bulb is connected, switch on the power from the circuit breaker.

By following these steps, you can easily replace your basement light fixture and enjoy the new look of your space. If you ever experience any issues during the process, contacting a professional electrician is best to ensure safety and quality.
Tips for How to Replace Basement Light Fixture
- Make sure to turn off the breaker or power switch that controls the light fixture before attempting to replace it.
- Have a flashlight handy, and wear gloves to protect your hands during the replacement process.
- If you’re working with old wiring, ensure all connections are tight and secure to avoid sparking or arcing.
- When replacing wiring, make sure to use the same type of wiring that is currently in place.
- Avoid using any metal tools while working with electrical components, as it can cause a spark and ignite a fire or shock you.
- Ensure to correctly connect the ground wire when the new light fixture is installed – this is an important safety feature.
- Contact a professional electrician for assistance if you feel uncomfortable or uncertain about any part of the replacement process. This will ensure that your basement light fixture is installed safely and correctly.
Following these tips when replacing your basement light fixture will help keep you safe and ensure that the job is done properly. With the right tools and knowledge, you can confidently tackle this task on your own.
Is It Necessary to Hire an Electrician, or Can You Attempt the Replacement Yourself?
If you have some electrical experience, replacing a basement light fixture yourself is possible. However, if you’re not familiar with basic wiring principles or don’t feel comfortable working with electricity, then you should consider hiring a professional electrician for the job.
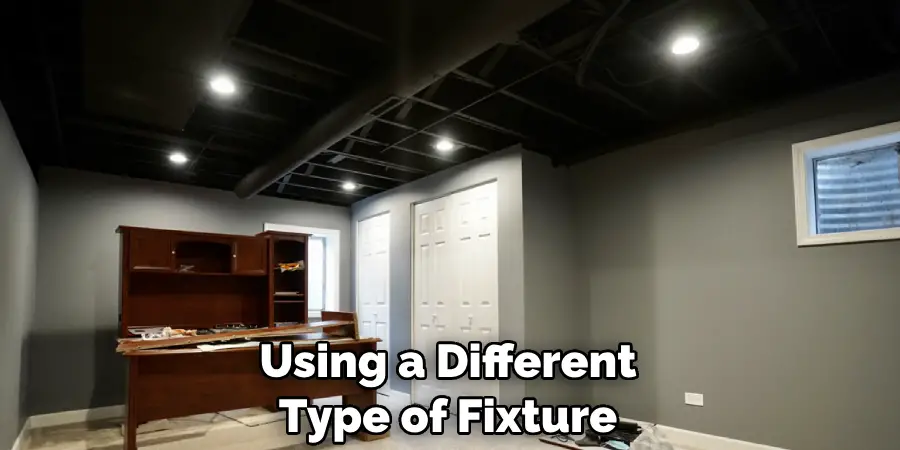
When replacing an existing light fixture, there are several things to consider. You will need to ensure that the voltage of your new light fixture is compatible with existing wiring and ensure that you’re not overloading any circuits. Additionally, suppose you are using a different type of fixture than what was previously installed. In that case, you may need to upgrade the existing wiring or junction boxes in order for the new fixture to be safely installed.
How Do You Avoid Damaging Drywall the Surfaces When Removing and Installing a Basement Light Fixture?
When replacing a basement light fixture, avoiding damaging drywall or other surrounding surfaces is important. To do this, always shut off the power source connected to the light before undertaking any kind of work on the light. Furthermore, use extreme caution when removing the old fixture from its existing mount. If possible, unscrew and remove the mounting screws instead of prying them out with a tool, as this could cause damage to the drywall.
When installing the new light fixture, choose mounting screws that are appropriately sized for your light and mount them into sturdy studs or joists in the wall. Consider using toggle bolts or molly anchors if these aren’t available. These will provide a secure mount for the light without damaging any surrounding surfaces.
Finally, when wiring the new light fixture, make sure to connect the wires correctly and properly ground them before turning on the power source again. When in doubt, consult with an experienced electrician for help.
What is the Best Way to Clean the Area Around and Near a Newly Installed Basement Light?
When replacing a basement light fixture, it is essential to clean the surrounding area. This ensures that no dust or debris is left behind and the new fixture is securely in place. Cleaning the area around and near a newly installed basement light fixture should be done carefully to prevent damaging the wiring or fixtures.

First, use a broom or vacuum cleaner to remove any cobwebs or dust from the walls and ceiling. Make sure to lower the power before cleaning by turning off the circuit breakers for that area.
Next, use a damp cloth to gently wipe down the walls and ceiling around and near the newly installed light fixture. You can use an all-purpose cleaner on the wall and ceiling to remove any dirt or grime. After cleaning the walls and ceiling, use a rag or brush to clean the light fixture itself. Be sure to turn off the power before doing this. Use gentle pressure when wiping down the glass of the light fixture, as too much force may damage it.
What Kind of Maintenance is Required to Keep a Basement Lighting System Working Properly and Safely?
Maintaining the proper working condition of a basement lighting system is essential for safety and energy efficiency. Here are some tips to help keep your basement light fixture running smoothly:
- Clean the fixture regularly. Dust, dirt, and debris can accumulate on the surface of any fixture over time, especially in basements where dust and humidity levels can be higher. When cleaning a basement light fixture, use a soft cloth or feather duster to remove any dirt and debris. Avoid using abrasive cleaners or chemicals, as they could damage the fixture’s finish.
- Make sure that all connections are securely fastened and in good repair. Loose wires can cause a short circuit and can be dangerous. Inspect all wiring to ensure it is securely fastened, and replace any components showing signs of wear or damage.
- Check the fixture for any visible signs of overheating. An overheated light fixture can be a fire hazard and should be repaired immediately. Be sure to inspect the bulb for signs of burning or discoloration, as these are indicators that the fixture has been over-used.
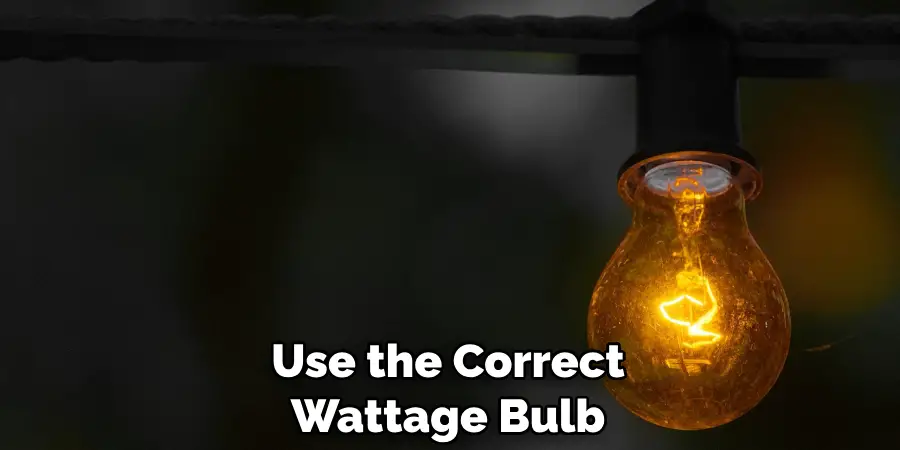
- Make sure to use the correct wattage bulb for your basement light fixture. Using a bulb that is too powerful could cause an electrical fire, and using a bulb with too little wattage could mean you don’t get the illumination you need.
By following these tips, you can help ensure your basement light fixture works properly and safely. Regular maintenance of your lighting system will also help extend its lifespan and keep it running smoothly for many years.
Conclusion
One of the main disadvantages of replacing a basement light fixture is that it can be dangerous to work with electricity. If you don’t know what you are doing or don’t have experience working with electrical wires, it is important to hire a professional electrician for the job. Additionally, since basements tend to be damp and dark places, they are prone to flooding, which can damage the light fixture and wiring if they are not properly sealed.
In conclusion, replacing your basement light fixture is a relatively straightforward process that can be completed in just a few steps. First, identify the kind of light fixture you need to replace and gather the necessary replacement parts. Next, turn off the power to the area and remove the old light fixture.
Finally, install new light fixtures according to manufacturer directions, connect wires as needed, and restore power. I hope this article has been beneficial for learning how to replace basement light fixture. Make Sure the precautionary measures are followed chronologically.
