
Staining your door is a great way to give it a fresh look. It can also help protect the wood from damage and wear and tear over time. Plus, staining your door yourself will save you money compared to having someone else do it. Staining an unfinished interior door isn’t difficult without the right tools and supplies. Here’s how to do it.
When it comes to giving an interior door a fresh, new look, staining an unfinished door is often the best option. Staining a door provides a solid color instead of paint or varnish and gives it a unique touch. It’s also easier than painting as there are fewer steps involved. In this blog post, You will learn in detail how to stain an unfinished interior door.
Step-by-Step Processes for How to Stain an Unfinished Interior Door
Step 1: Inspect and Repair Any Damages
Before you can start staining your unfinished interior door, it is important to inspect the door and repair any damages. Check for signs of cracks, warping, or splitting. If any repairs are needed, such as sanding down any splinters or filling in gaps with wood filler, do so now.
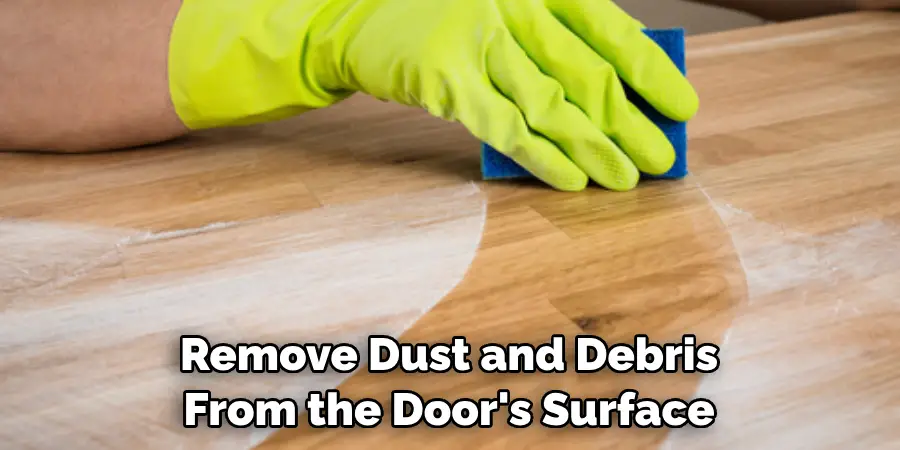
Step 2: Clean the Door
Once you’ve inspected and repaired any damages, the next step in staining an unfinished interior door is to clean it. Use a damp cloth or paper towel to remove dust and debris from the door’s surface.
If your unfinished interior door has been previously stained or coated with an existing finish, you will need to strip it off before staining. Applying a chemical stripper using a foam brush and following the instructions on the product’s label can help remove any tough finishes.
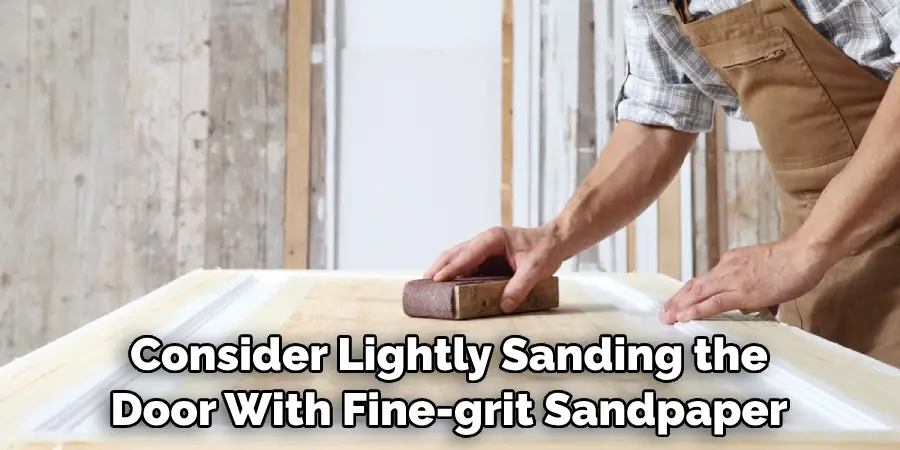
Step 3: Sand the Door
The next step in staining an unfinished interior door is to sand down the surface. Using fine-grit sandpaper, sand the door toward the wood grain. This will help create a smooth, even surface ready for staining.
After you have finished sanding the door, removing any dust or debris from the surface is important. Use a tack cloth or vacuum to remove any leftover particles.
Step 4: Apply Wood Conditioner (Optional)
You may want to consider applying wood conditioner before staining your unfinished interior door, especially if you use a light-colored stain. Applying a wood conditioner will help the stain absorb evenly into the wood.
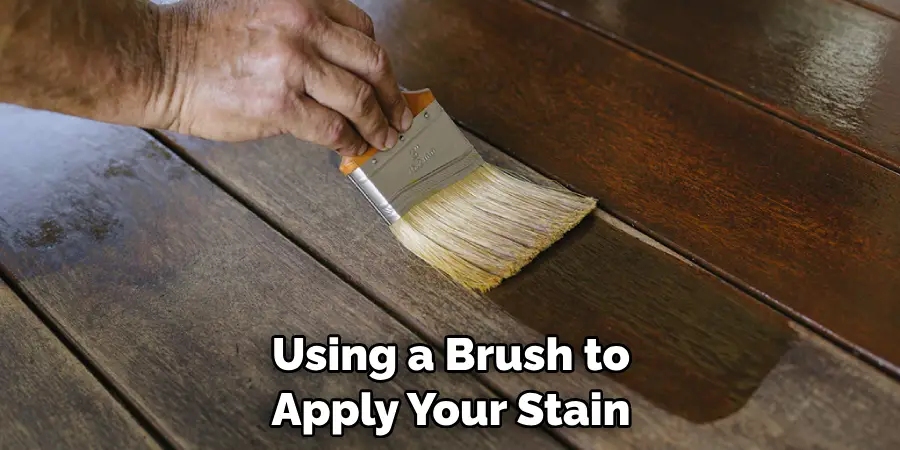
Once you have prepared the door, it’s time to start staining. You can apply the stain using either a brush or rag, whichever is more comfortable for you—applying a thin coat of stain to the door using long strokes and working in the direction of the wood grain.
Step 5: Let the Stain Dry
After you have applied the stain, let it dry for at least 48 hours before applying any additional coats. If you want to create a smoother finish, you may want to consider lightly sanding the door with fine-grit sandpaper after each coat of stain has dried. You can then wipe away any dust or debris using a damp cloth.
Step 6: Apply the Final Coat of Stain and Let Dry
After completing all the prior steps, it’s time for the final coat of stain. Working in the direction of the wood grain, apply an even coat of stain and let dry for at least 48 hours before using the door.
With these easy steps, you can transform your plain old door into a beautiful stained masterpiece.
Safety Tips for How to Stain an Unfinished Interior Door
- Wear protective eyewear and gloves when staining an interior door to avoid contact with wood dust, chemicals, or other irritants.
- Ensure the work area is well-ventilated with windows or a fan to help disperse fumes away from your face and body.
- Keep children and pets away from the work area and from any chemicals or tools used.
- Test your stain on a scrap piece of wood before applying it to the interior door to ensure you get desired results.
- Check for all nails or screws in the door before staining; they will be visible after staining is complete.
- Ensure the door is completely dry before staining; moisture can cause uneven stains and finishes.
- After staining, use a tack cloth to remove any dust or dirt particles that may have accumulated during the process.
Following these safety tips and precautions will help ensure a successful stain job on your unfinished interior door. Be sure to take your time and enjoy the process.
How Long Should the Stain Be Left on the Door?
Once you have applied the stain to the unfinished interior door, leaving it on for the right amount of time is important. Depending on the type of wood and finish you are using, this could take anywhere from 10 minutes to 24 hours.
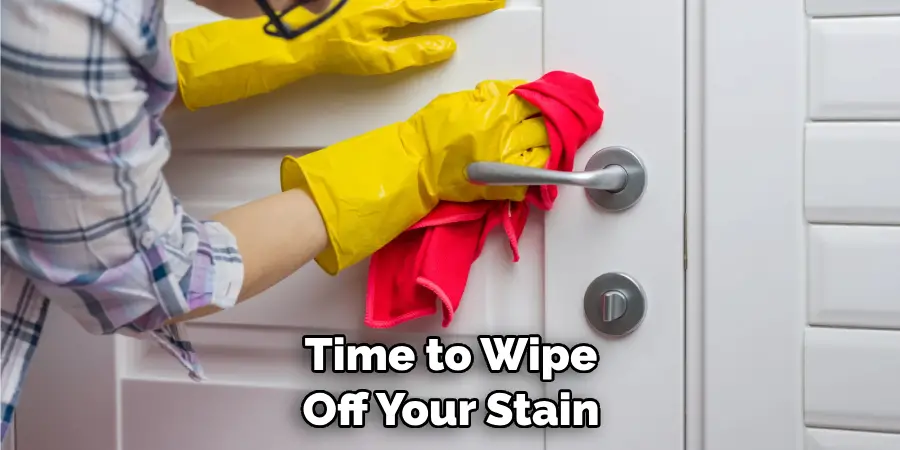
Most water-based stains should be left on for about an hour or two and then wiped off. Oil-based stains should be left on for about 8 to 10 hours, but this can vary depending on the type of wood being stained. If you are using a gel stain, leaving it on for 24 hours before wiping off the excess is best.
When it comes time to wipe off your stain, use a clean cloth and rub in circles until all of the excess material is removed. You may need to apply several coats of stain to get an even finish. Make sure to let each coat dry in between applications before adding more. Once you are done, give your door a few days to dry completely before applying any sealant or varnish.
How Can Any Mistakes in Staining an Unfinished Interior Door Be Corrected?
If you make a mistake while staining your unfinished interior door, don’t worry. There are some simple methods to correct it. First of all, if you didn’t apply enough stain or the stain is too light for your liking, you can simply reapply more coats until you achieve the desired color. You can also use a product called wood dye to add an additional layer of color. If you accidentally applied too much stain, sanding the area can help remove some of the excesses.
This is most effective if done within 12 hours of applying the stain. You can also apply mineral spirits to lighten the affected area as well. Once you’ve corrected the issue, it is important to reapply a protective finish such as polyurethane or varnish to seal and protect the wood. This will ensure that your door looks great for years to come. These tips allow you to correct any mistakes when staining an unfinished interior door easily.
Is There Anything Specifically That Needs to Be Avoided When It Comes to Staining an Unfinished Interior Door?
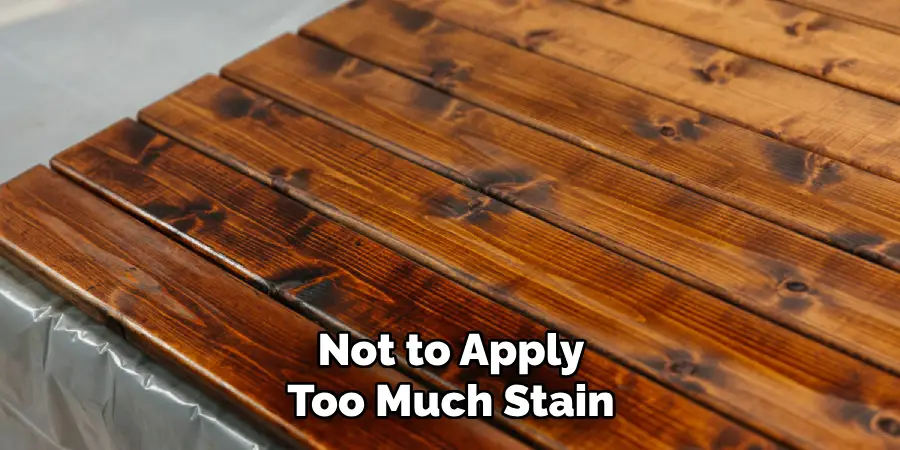
When it comes to staining an unfinished interior door, you should avoid a few things to ensure the best possible result. Firstly, you should avoid using paint or lacquer on the door because these can cause the wood grain of your door to be less visible after staining. Secondly, you should also avoid over-saturating the wood with a stain, as this can make it difficult for you to achieve an even finish.
Finally, avoid using a brush to apply your stain, which could lead to undesirable streaks in the finished product. Instead, use a lint-free cloth or sponge for best results. With these tips in mind, you’ll surely achieve the perfect finish on your unfinished interior door.
How Can the Finish of the Stained Interior Door Be Maintained Over Time?
To ensure that your stained interior door looks great for years to come, you must take a few steps to maintain its appearance. Firstly, be sure to regularly wipe the door’s surface with a damp cloth to remove any dust or dirt that could accumulate and potentially damage the finish.
You can also protect the wood by applying an additional layer of finish to it. This will help keep the door looking fresh and clean and prevent damage from dust and dirt.
It is also important to note that you should not expose your stained interior door to extreme temperatures or moisture, as this can cause the wood to warp and crack over time. If you live in a humid climate, you may want to consider using an air conditioning unit or a dehumidifier to help reduce the moisture in your home. Finally, if there are any signs of wear and tear on your stained interior door, you must repair them promptly. Small scratches can easily be filled with wood putty, while larger cracks or dents will require more extensive repairs.
How Long Should the Door Be Allowed to Dry After Staining?
Once the staining process is complete, it is important that the door be allowed to dry completely before adding a finish. This could take anywhere from 24 to 48 hours. To get an even coat, ensure not to apply too much stain and wipe off any excess before allowing it to dry. If there are any drips or streaks, it is best to sand them off before allowing the door to dry for a uniform finish.
It is also important to ensure that the door is out of direct sunlight and has sufficient ventilation during this drying time. Once the door has been allowed to dry fully, it is ready for an appropriate sealant or varnish. You can successfully stain an unfinished interior door with time and effort. With the right materials and technique, you can transform your plain door into a beautiful work of art that will last for years to come. Finally, follow all safety precautions when staining to ensure your safety throughout the process.
Conclusion
In conclusion, staining an unfinished interior door is an incredibly simple process that does not require much time or effort. Make sure to appropriately prepare and clean the surface before staining, as this will ensure your results are beautiful and professional looking. Once you’ve prepped the surface, apply a single coat of stain using a foam brush and allow it to dry. If you’d like a darker finish, add additional coats of stain until the desired color is achieved.
Once the staining has been completed, lightly sand between each coat with fine-grit sandpaper and apply a protective sealer. I hope this article has been beneficial for learning how to stain an unfinished interior door. Make Sure the precautionary measures are followed chronologically.
