Cinder block foundations are common worldwide, from commercial properties to backyard sheds. Unfortunately, if your cinder block foundation has been damaged and needs replacing, you may feel overwhelmed by the project’s scope. Fortunately, replacing a cinder block foundation isn’t stressful and can even be therapeutic with the right steps!
In this blog post, we’ll share everything you need to know about how to replace cinder block foundations so that you can ensure your building is safe, secure, and structurally sound for years to come! Keep reading on for more information.
10 Steps Guide on How to Replace Cinder Block Foundation
Step 1: Excavating Around the Perimeter
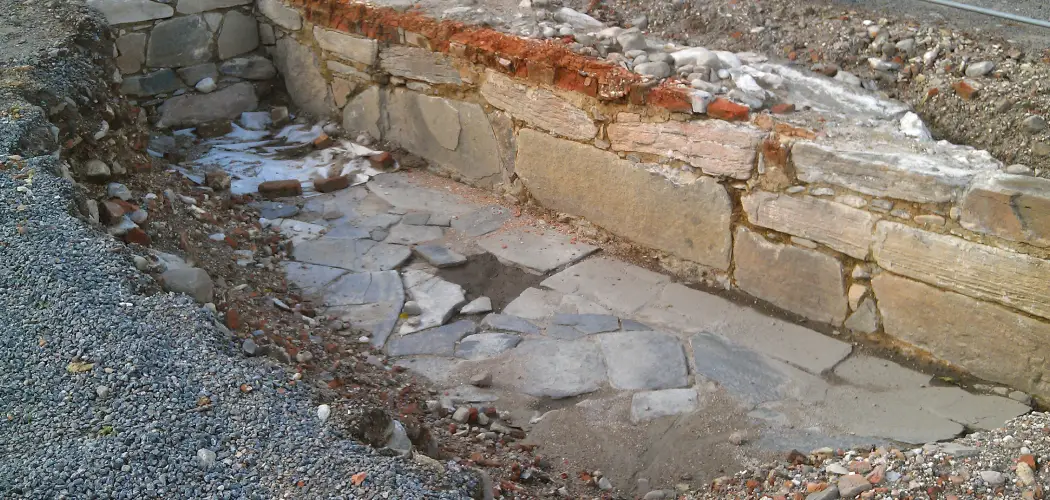
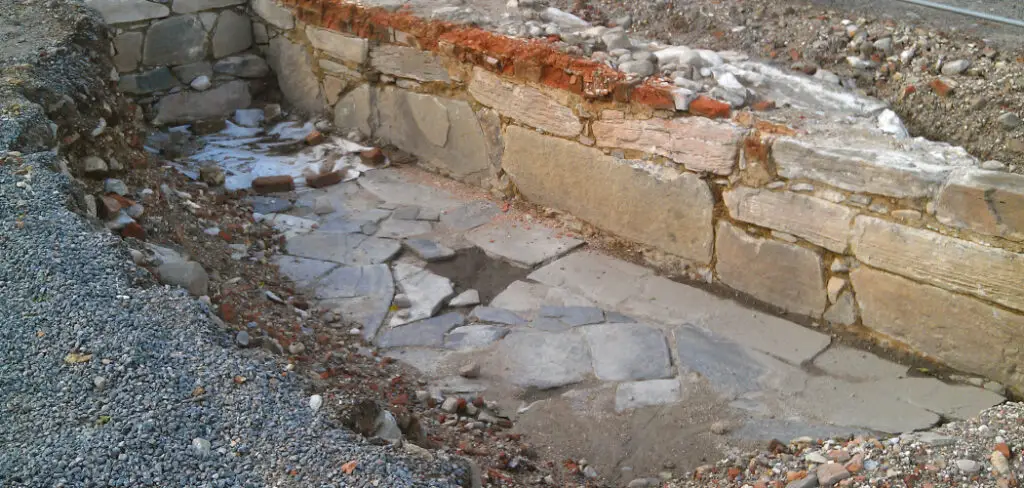
The first step is to excavate around the perimeter of the foundation. Next, you will need to dig down to the bottom of the footing and remove any soil or debris in the way. If the soil is too hard to move, you may need to use a jackhammer or other heavy-duty equipment.
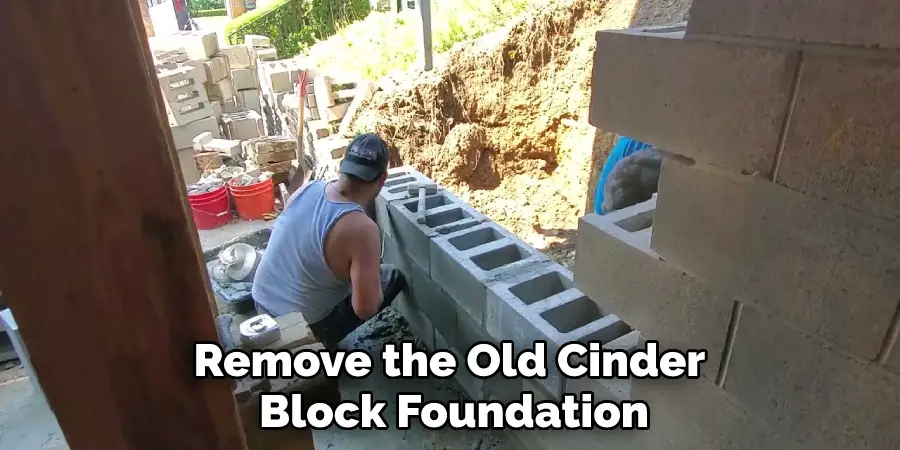
Step 2: Removing the Old Foundation Blocks
Once you have finished excavating, the next step is to remove the old cinder block foundation. This can be done by hand or with an electric demolition hammer. If you are unfamiliar with how to use an electric demolition hammer, it is best to hire a professional who is experienced in this type of work.
Step 3: Reinforcing the Area
Once you have removed all the old foundation blocks, it is important to reinforce the area. This can be done by putting in steel reinforcing rods and pouring concrete around them. When reinforcing the area, it is important to ensure that the concrete is evenly distributed.
Step 4: Laying the New Cinder Blocks
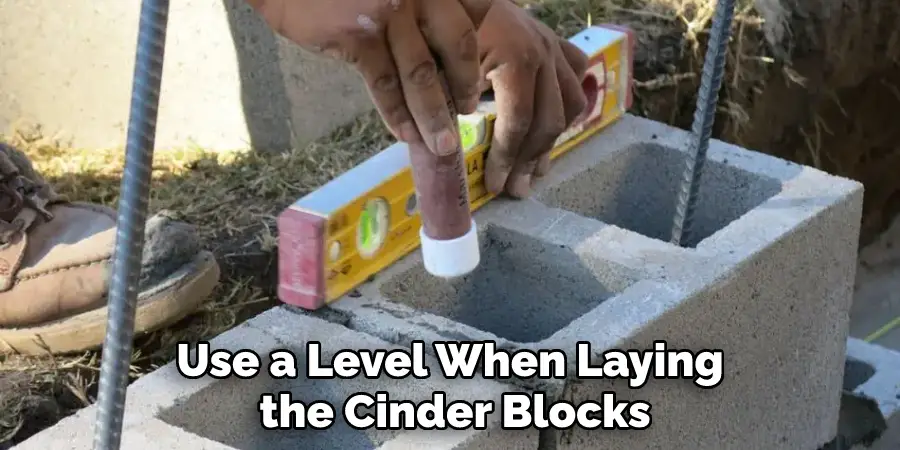
Once you have reinforced the area, you can start laying down the new cinder block foundation. Start from one corner, using a level to ensure everything is even, and all the blocks are set in place correctly. If the blocks are not even or laid correctly, it can lead to potential issues in the future.
Step 5: Filling In the Spaces
Once all the blocks have been laid, fill the spaces with concrete and let them dry overnight. This will help ensure that everything is secure and level. Make sure that the more concrete you use, your foundation will improve.
Step 6: Setting Rebar
Once the concrete is dry, it’s time to set the rebar into place. This should go in between each block and tie them together for extra strength. Make sure that all of the rebars is also level so that everything stays straight. You can use a level to ensure the rebar is in place correctly. Lastly, be sure to secure the rebar with concrete anchors, so it doesn’t move around later.
Step 7: Pouring Concrete
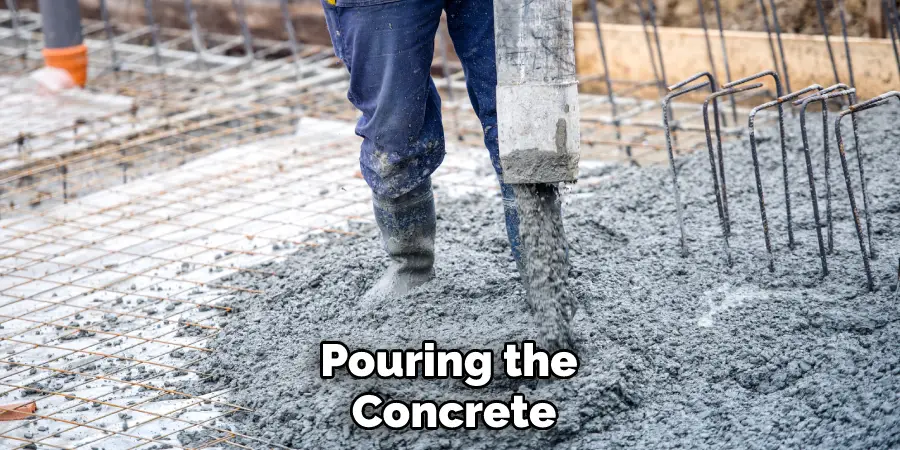
Once the rebar is set, it’s time to pour your new concrete foundation. When pouring the concrete, use the proper amount and mix it correctly to ensure a strong foundation. Ensure that the concrete is also level so that everything stays in place.
Step 8: Curing the Concrete
After pouring the concrete, you must cure it for at least seven days before using it. This will give your new found time to set correctly and ensure it does not crack later on. To ensure a stronger foundation, you can also use a water-resistant sealant on the surface of the concrete.
Step 9: Finishing Touches
Once your new cinder block foundation is cured, it’s time to make any finishing touches. This includes adding insulation around the perimeter and waterproofing the foundation. Also, be sure to fill in any cracks, gaps, or voids that may have been created when laying the blocks.
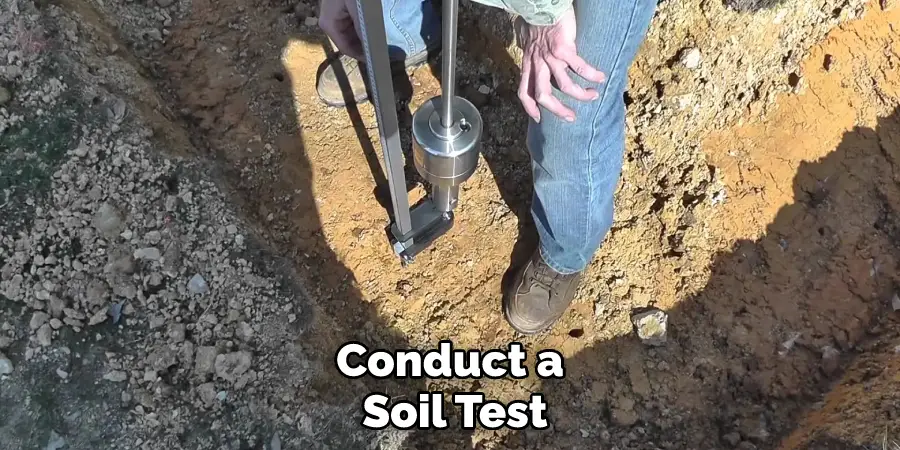
Step 10: Inspecting and Testing
Before you start using your new foundation, it’s important to inspect it for any structural issues. You can hire a professional inspector to ensure everything is safe and secure before you use it. You can also conduct a soil test to ensure the area is stable and will not shift over time.
By following all of these ten steps, you can ensure that your new cinder block foundation is built correctly and safely. Not only will it look great when complete, but it will also be strong enough to hold up your home for years to come.
Some Additional Tips and Advice
- Always wear protective gear when working on a cinder block foundation. This includes safety glasses, gloves, and clothing that covers your skin.
- Make sure to rent the correct equipment for the job. If you’re unfamiliar with using any of the tools, hiring a professional who knows what they are doing is best.
- When mixing concrete, be sure to follow the instructions closely. The mixture needs to be correct in order for the foundation to hold up properly.
- Be mindful of your surrounding area when working on the cinder block foundation. Make sure there are no power lines or other hazards nearby that could cause a problem.
- Always use a level when laying the cinder blocks or checking that the concrete is even. This will ensure everything is set in place correctly and safely.
- Make sure to waterproof your foundation after drying, this will help extend its lifespan.
- Before using the foundational ways, inspect it first; hiring an inspector can save you time and money.
- If you’re planning to paint or finish the cinder block foundation, do so after it has cured and any repairs have been made.
Why It’s Important to Replace Cinder Block Foundation?
Cinder block foundations can be an attractive, durable option for many homeowners. However, over time they can experience water damage, leading to structural issues if not addressed promptly. Therefore, if your cinder block foundation shows signs of distress, it is important to replace it as soon as possible.
Various factors can cause water damage to a cinder block foundation. The most common include improper drainage, leaking pipes, and inadequate waterproofing. Over time, these issues can cause the blocks to crack, crumble or break apart. Additionally, water that accumulates around the foundation can lead to soil erosion, which further compromises the strength of the structure.
How Long Does It Take to Replace Cinder Block Foundation?
The amount of time required to replace cinder block foundation depends on many factors, including the size of the project and local weather conditions. Generally speaking, a professional contractor can complete a basic cinder block foundation replacement in one to three days.
More complex projects may require more than one week for completion. It is important to note that the project’s duration can be significantly extended if weather conditions are unfavorable or if any unforeseen issues arise. It is best to consult with a local contractor for an accurate estimate of how long it will take to replace your cinder block foundation.
In addition, there may be some preparation that needs to take place before replacing the foundation. This could include removing any existing vegetation or debris, excavating the area, and disposing of the old foundation. Depending on the size of your project and the amount of preparation required, this could also add a few days to the timeline.
How Do You Replace a Cinder Block in the Middle of the Wall?
Replacing a cinder block in the middle of a wall can be done, although it may require some additional preparation. First, you need to remove the existing blocks around the broken one and then check for any other damage to the wall. Once you have removed all of the old blocks and checked for any additional damage, you can begin preparing for replacement by cleaning out the affected area properly and pouring new concrete into each space where a cinder block will be laid.
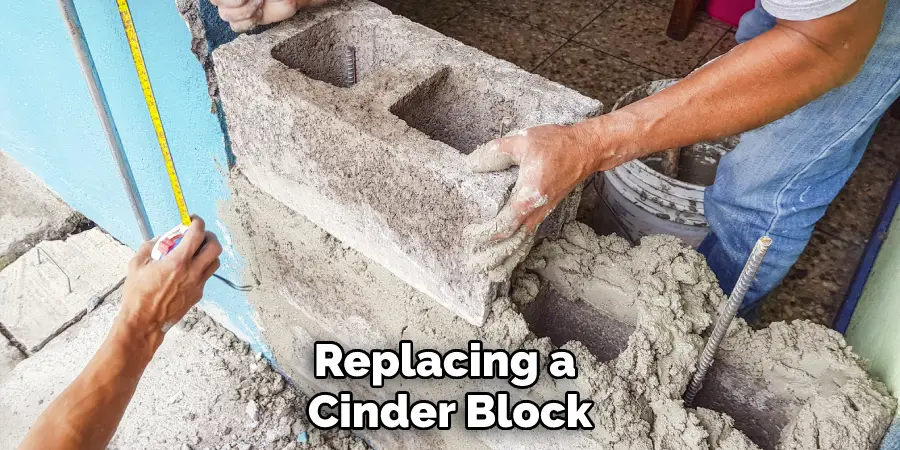
Make sure that each block is level before continuing with laying more blocks. Use shims or wedges to ensure that all levels are even. Finally, once everything is laid and level, apply mortar around each block and finish with grout or sealant if needed. It’s important to take extra care when replacing cinder blocks in an existing wall, as this could affect its overall structural integrity if not done correctly.
What Can You Use as an Alternative to a Cinder Block?
Several alternatives may be better suited to your needs if you don’t want to use cinder blocks for your foundation. One of the most popular is poured concrete. This mixture of cement, sand, and gravel is poured into a form before it hardens. As a result, it provides a strong and durable foundation that can last for many years.
Another option is an insulated concrete form (ICF) system. ICFs are made of interlocking blocks of foam insulation that are filled with reinforced concrete. This type of insulation helps to keep the home warmer in winter and cooler in summer, making it a great energy-saving choice for many homeowners.
Conclusion
Replacing a cinder block foundation is no small task. It requires skill, knowledge, and a lot of time, yet it can be essential for the safety and well-being of your home. If you choose to undertake this project on your own, follow safety protocols and use the right tools. Don’t take any unnecessary risks with such an important job.
You may also want to hire a professional to complete the work, as they will have more experience and knowledge than you do in this area. After reading this blog post on how to replace cinder block foundation, we hope you will better understand the process and can make an informed decision.
Remember that if done properly, replacing your cinder block foundation can give you years of continued peace of mind about your home’s structural integrity. Your new foundation should last for years if maintained regularly. Regardless of your route, don’t forget that replacing a cinder block foundation with patience and hard work can be rewarding in the long run!
