Are you looking for an easy and affordable way to finish your basement? Don’t worry, we’ve got you covered! Putting up a ceiling in a basement can seem like a daunting task, but with the right tools and instructions it doesn’t have to be.

Whether you want the traditional look of tiles or are considering more modern material options, this article outlines all the information required on how to put ceiling in basement. From choosing materials that will meet code requirements, creating designs that allow for HVAC integration, and also advice on where to find quality products at great prices – we’ll help ensure each step is carried out correctly. Let’s get started!
Step-by-Step Guidelines on How to Put Ceiling in Basement
Step 1: Preparing the Basement:
Before starting any work on your ceiling, it’s important to make sure the basement is clean and clear of any debris that could interfere with the installation process. Additionally, if there are any electrical wires running through your space, you’ll need to ensure they are properly secured and away from where they could be damaged.
Step 2: Choosing Ceiling Materials:
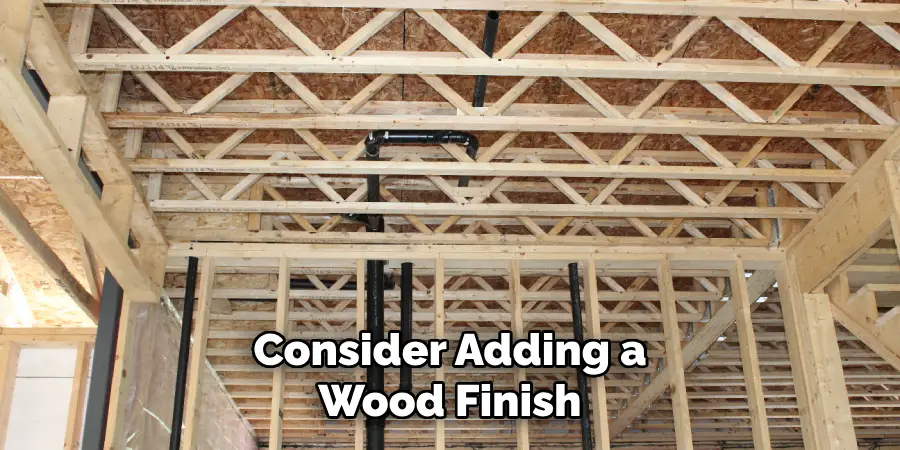
The type of ceiling material you choose will largely depend on what you want to achieve with the finished look and how much light you need in your space. Plaster or sheetrock can both provide a traditional, classic finish while drop ceilings offer more modern options. If trying to create a warm atmosphere, consider adding a wood finish.

Step 3: Planning for HVAC Integration:
When putting a ceiling in the basement, it’s essential to plan ahead for any heating and cooling needs. Make sure you have enough space around the perimeter of your room to add vents and ensure proper airflow. If installing tiles, be sure they are adequately supported by the joists and framing so the weight doesn’t become an issue.
Step 4: Gathering Installation Supplies:
Depending on the materials you’ve chosen, there are a few essential items that will be needed for a successful installation. Common supplies include drywall screws and nails, hangers or adhesives, and ceiling tiles. Additionally, if you’re using drop ceilings consider purchasing a track or grid system to make installation easier.
Step 5: Installing the Ceiling:
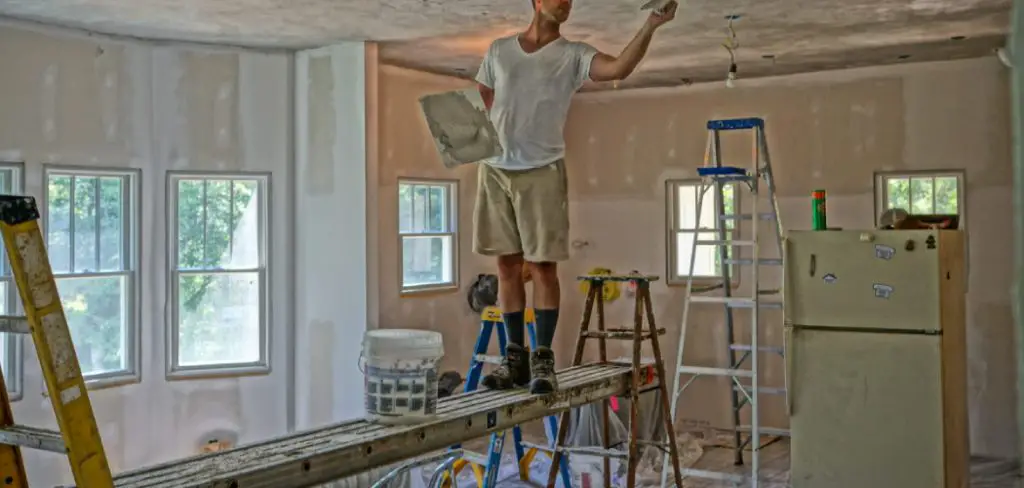
Once you have all the supplies necessary for the job, it’s time to get started on putting up the ceiling. If using plaster or sheetrock, begin by securing it directly to the framing of the room with drywall screws or nails. Then add insulation and other materials as needed.
For drop ceilings, begin by installing the grid or track along the walls and joists. Then place the ceiling tiles in the desired pattern and secure them with hangers or adhesive strips. Finally, add any light fixtures that you may need for your space.
Following these steps, you should have no trouble successfully putting up a ceiling in your basement. With the right materials and tools, you can create an attractive space that will remain comfortable year-round. Don’t forget to take safety precautions when installing any ceilings and always consult with professionals if needed. Good luck!
Additional Tips and Tricks to Put Ceiling in Basement

- Consider the look of your ceiling; you can use a combination of drywall and wood panels to give it an interesting texture.
- If you’re concerned about sound insulation, make sure to invest in high-quality materials that are designed to reduce noise transmission.
- When installing your ceiling tiles or panels, make sure to use screws instead of nails for better strength and durability.
- For a more professional look, use corner beads along the edges of your ceiling panels or tiles to create a smooth finish.
- Don’t forget to seal any cracks or gaps around curves, corners, and other tight areas with caulk before you paint the ceiling.
- If you’re going to install lighting fixtures, make sure that they’re securely attached to the joists so as not to cause any damage.
- In order to save time and energy, use an electric screwdriver with bits designed for wood and drywall.
- Make sure the room is properly ventilated while you’re working in it; a fan or dehumidifier can help to keep the air clean and clear.
- When painting your ceiling, use a roller with an extension handle or paint pad to get even coverage without any drips or runs.
- Finally, be sure to check for any exposed nails, screws, or joints that might need some additional support before you’re done.
These tips and tricks will help you complete your project quickly and easily, allowing you to enjoy the results of your work in no time. By taking the necessary precautions and using the right materials, you can be sure that your basement ceiling will look great for years to come. Good luck!
Precautions Need to Follow for Putting Ceiling in Basement
- Make sure you have all of the appropriate safety gear when working with insulation or hazardous materials like asbestos. This includes goggles, gloves, and a face mask.
- Check for any exposed wires or pipes in the ceiling before hanging anything. Turn off the power to avoid electrocution risk.
- Use insulated sheathing to cover any pipe, ducts, or vents that may be present in the ceiling area you are working on. This will help keep your basement warm and insulated.
- Make sure the ceiling is level before hanging any panels or tiles to ensure a professional look.
- Use drywall screws when installing wall tiles, rather than nails, as this will provide a more secure hold that won’t come loose over time.
- Cut the material for your ceiling panels with a saw or utility knife to get it to the exact shape and size needed.
- Use screws specifically made for drywall installation when hanging panels or tiles, as these will provide more stability than nails.
- Make sure you use appropriate adhesives recommended for the material you’re using on your basement ceilings, such as mastic or mortar for concrete blocks or acoustic sealant for insulation materials.

Following these precautions will help you avoid any potential hazards or mistakes while putting a ceiling in the basement. Additionally, it’s important to take the time to measure and cut your material properly before installation to ensure a clean look when finished. With some patience and safety precautions, putting a ceiling in the basement should be an easy project that can give your home a much-needed facelift.
Frequently Asked Questions
What Materials Do I Need to Put a Ceiling in My Basement?
The primary supplies you will need for putting a ceiling in your basement are drywall, joint compound, nails, screws, and insulation. You may also want to purchase drop ceilings or other decorative elements to give the space personality. Additionally, it is important to ensure that all of your materials are up to code for fire safety and health regulations.
Can I Do This Myself or Should I Hire a Professional?
Installing a ceiling in your basement is an intensive job and requires some expertise. Depending on the complexity of your project, it may make sense to hire a professional for the job. However, if you are confident in your DIY skills and willing to take the time to do some research, then you should be able to install a ceiling in your basement without any issues. Just remember: safety first!
What Are the Benefits of Installing a Ceiling in My Basement?
Installing a ceiling in your basement can offer many benefits. By putting up insulation and drywall, the space will be better insulated against temperature fluctuations and any soundproofing materials used will reduce noise pollution from outside sources.
Additionally, adding a finished ceiling to your basement increases its usability as an extra living or recreational space and adds to the overall value of your home. With a little bit of effort, you can turn your basement into an additional room for you and your family to enjoy!

What Are the Drawbacks of Installing a Ceiling in My Basement?
The primary drawback to installing a ceiling in your basement is the cost. Depending on the size of the room, materials, and any additional features you decide to add, you may be looking at an expensive project. Additionally, depending on the code requirements for your area, installing a ceiling in your basement can also be a timely process with plenty of paperwork that needs to be filled out. The best advice is to do your research ahead of time so that you know what to expect from the process.
Conclusion
With the above outlined you can easily understand how to put ceiling in basement. It is important to remember that while this project can be done on your own, it is recommended to hire a professional for more complex projects.
Additionally, make sure you understand the code requirements and legal paperwork required for installing a ceiling in your basement. With the right knowledge and materials, you can turn your unfinished basement into a livable or recreational space in no time!

