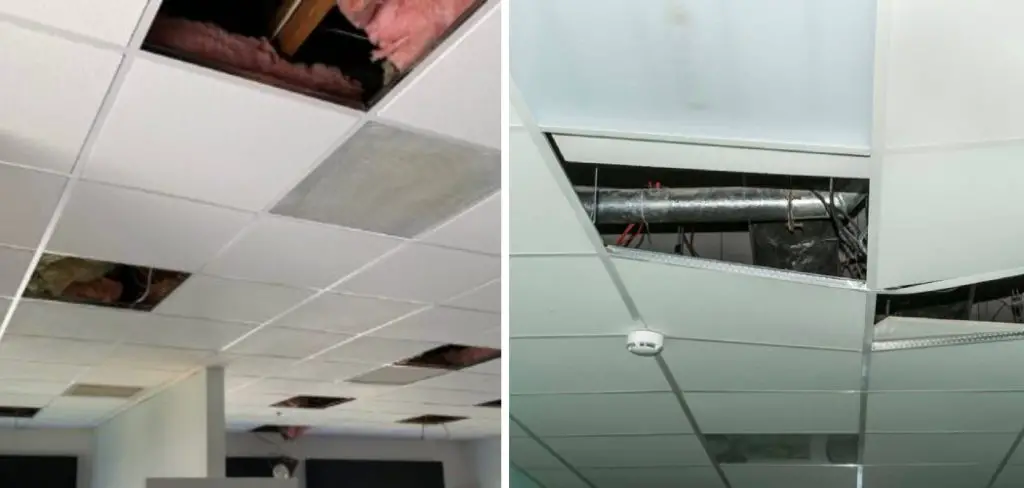
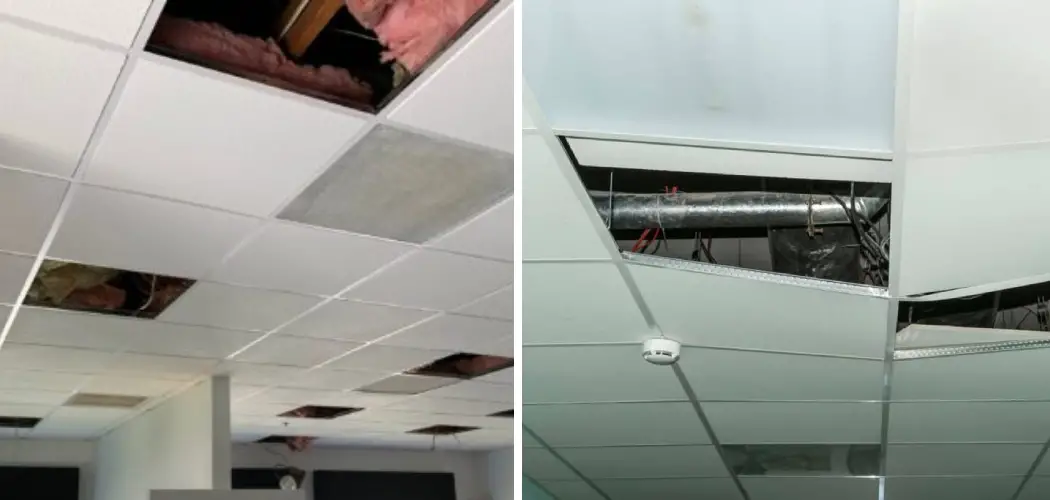
Are you starting to get a little weary of your old, outdated drop ceiling tiles? If so, then this is the perfect post for you! Replacing those tired-looking ceiling tiles doesn’t have to be an overwhelming job; with just a few simple steps, you can effortlessly update and revitalize the space in no time.

In this blog post on how to replace drop ceiling tiles, we will provide step-by-step instructions on how to quickly replace drop ceiling tiles while ensuring that everything looks great at the end of the process. We will also provide helpful tips and advice throughout so that you can ensure a successful outcome from start to finish. So what are you waiting for – let’s get started!
8 Step-by-step Guides on How to Replace Drop Ceiling Tiles
Step 1: Measure the Tiles
You’ll need to measure the tiles so that you can purchase replacement ones of the same size. Measure in both directions and make sure to write down all measurements. It’s also a good idea to take the old tiles with you when you go shopping for new ones, just in case they don’t have the same size available. But don’t worry, it’s very likely that you will find a suitable replacement in the store!
Step 2: Remove Old Tiles
Using a flat-head screwdriver, carefully remove the old ceiling tiles one at a time by loosening and pulling away their edges. Be careful not to break them, as you may be able to reuse them in other areas of your home. This is especially true if you are working with vintage ceiling tiles. It’s always a good idea to save them just in case! You can also use a stepladder for this task, but be sure that it’s stable and secure.
Step 3: Clean the Area
Once all of the tiles are removed, use a damp cloth or vacuum cleaner to clean up any dust and debris left behind. Make sure that all of the corners and edges are free from dirt and debris before continuing. Otherwise, the new tiles may not fit properly and could cause more damage when you try to install them. It’s also a good idea to check for any signs of water damage, mold, or mildew while you’re cleaning.

Step 4: Install the New Tiles
Now that you’ve measured the new tiles, it’s time to install them. Start in one corner of the ceiling and work your way out until all of the old tiles have been replaced with new ones. Make sure to secure each tile in place so that they won’t move or sag over time. But be careful not to overtighten the screws, as this may cause more damage than good. It’s also a good idea to use a level when installing the tiles, as this will help ensure that everything is even and aligned.
Step 5: Seal the Edges
Using caulk or sealant, carefully seal the edges of each tile to ensure a snug fit and to prevent air leakage. Make sure that all of the seams are filled in so that your new tiles will look great for years to come. Otherwise, you may end up dealing with drafts or other issues. It’s also a good idea to use an acrylic sealer for extra protection against water and other elements.
Step 6: Paint the Tiles
After sealing the tiles, it’s time to paint them. Choose a color that will match the existing wall or ceiling color. If you’re having trouble deciding on a color, consider consulting a professional painter for advice. It’s important to use high-quality paint that is designed specifically for ceilings and will be able to withstand the wear and tear of daily life. But if you’re feeling creative, feel free to experiment with different colors and textures.
Step 7: Add Finishing Touches
Once all of the tiles are painted, it’s time to add the finishing touches. Consider adding lighting fixtures or decorative molding for a more polished and professional look. It’s also a good idea to caulk any gaps between tiles for extra protection and to make sure that everything looks nice and neat. Additionally, you can consider adding acoustic ceiling tiles for soundproofing or even decorative ceiling medallions for an elegant touch.

Step 8: Enjoy Your New Tiles!
Your new tiles are now ready to be enjoyed! Take a step back and admire your handiwork. Replacing drop ceiling tiles can bring life back into an old, forgotten space, and is a great way to add value and style to your home. But most importantly, you now have a space that is much more enjoyable to live in and will last for years to come. Always remember to follow the advice offered in this blog post for the best results.
Following these simple steps on how to replace drop ceiling tiles is all it takes to replace your old, outdated drop ceiling tiles. With a little bit of patience and planning, you can quickly update the look and feel of any room in your home. So what are you waiting for? Get started now and enjoy the new space!
Additional Tips for Replacing Drop Ceiling Tiles
- Don’t Forget to Wear Protective Eyewear When Working With Tools or Cleaning Up Debris.
- Take Your Time While Removing the Old Tiles – This Will Ensure That They Can Be Reused in Other Areas of Your Home.
- If You’re Having Trouble Measuring the Tiles, Consider Using a Tape Measure or Ruler to Get an Accurate Measurement.
- Always Seal the Edges of Each Tile for a More Secure Fit and to Reduce Air Leakage.
- Consider Consulting a Professional Painter if You Need Help Choosing a Color for Your New Tiles.
- Add Lighting Fixtures or Decorative Molding to Give Your New Tiles a More Polished Look.
- Finally, Sit Back and Relax – You’ve Just Successfully Completed the Task of Replacing Drop Ceiling Tiles!

Now that you’ve gone through this tutorial on how to replace drop ceiling tiles, it’s time for you to try it out for yourself. Just remember to take your time and double-check all measurements before starting, and you’ll be sure to have success in no time. Good luck!
Frequently Asked Questions
Q: Can I Reuse My Old Drop Ceiling Tiles?
A: Yes! As long as they’re in good condition, you can definitely reuse them. It might be a good idea to measure the tiles before removing them so that you can be sure they fit in the new space.
Q: How Long Should It Take to Replace Drop Ceiling Tiles?
A: It depends on the size of your ceiling and how many tiles you need to replace, but generally speaking, it shouldn’t take more than a few hours. Remember to take your time and double-check measurements before starting, and you’ll be sure to have success in no time.
Q: How Can I Make Sure My New Tiles Fit Securely?
A: The best way to make sure that your new tiles fit securely is to seal the edges with caulk or sealant. This will ensure a snug fit and reduce air leakage. It’s also important to double-check all measurements before starting, as this will help to ensure that the new tiles are the correct size.
Q: What Other Tips Should I Keep in Mind When Replacing Drop Ceiling Tiles?
A: Here are some additional tips to keep in mind when replacing drop ceiling tiles: Wear protective eyewear when working with tools or cleaning up debris and take your time while removing the old tiles so that they can be reused in other areas of your home, use a tape measure or ruler to get an accurate measurement, and consider consulting a professional painter if you need help choosing a color for your new tiles.

Conclusion
Replacing drop ceiling tiles is a relatively simple and straightforward project. The process has become much easier with the new choices of materials available, making it easy for anyone to replace their ceiling panels in just a few hours. Further, you can give any room a fresh, new look by purchasing border tiles and other styles to spruce up the overall appearance.
Furthermore, if done right, replacing drop ceiling tiles can also improve the acoustics in an area. For those seeking guidance on how to replace drop ceiling tiles, we hope that this blog post gave them the know-how they need for a successful project.
Additionally, there are various videos online which demonstrate more in-depth instructions on how to install different thicknesses and types of dropped ceiling materials. All in all, replacing your old dropped ceiling tiles will not only add beauty and give any room an attractive ambient feel, but it will also reduce noise levels.


