
Basements are typically known for their lack of natural light. This is why it is essential to have proper lighting installed in your basement to make it more functional and inviting. Installing basement lights can give your basement a better look, increase safety, and helps you make the most of your space. But how do you wire basement lights?

Doing it yourself can be challenging, especially if you don’t know where to start or even how to do the job correctly. In this blog post, we will guide you on how to wire basement lights easily, safely, and efficiently.
Can You Wire Basement Lights?
When it comes to adding more light to your home, the basement can be a great place for an upgrade. While many people assume that only professional electricians can handle wiring a new set of basement lights, the truth is that it is possible to do it yourself with the right tools and know-how. However, it is important to keep in mind that electrical work can be dangerous if you don’t take the proper precautions.
Before you start any DIY electrical project, make sure you educate yourself on best practices and safety measures to ensure your project is a success and, most importantly, safe for you and your family. So, can you wire basement lights? Yes, you can!
Why Should You Wire Basement Lights?
A well-lit basement can make all the difference in the world, turning a dark and dank space into a comfortable, cozy retreat. That’s why it’s essential to have proper lighting installed to maximize your space and your comfort. So, why should you wire basement lights? For one, it’ll make your space safer and more secure, allowing you to see clearly and move around without tripping and stumbling in the dark.
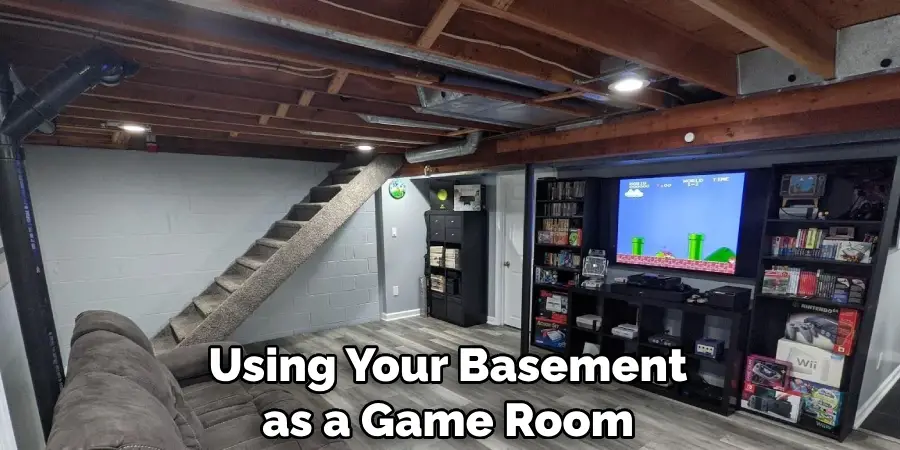
Proper lighting can also help reduce eye strain and headaches, making your time spent in the basement more enjoyable and less stressful. Finally, a well-lit basement can increase the value of your home since many homebuyers prioritize a functional and well-lit living space. Whether you plan on using your basement as a game room, home office, or extra living space, wiring proper basement lighting is a decision you won’t regret.
Shedding Light on How to Wire Basement Lights
1. Map out Your Wiring Plan
Before you get started on wiring your basement lights, you need to have a plan. You will need to know where your electrical box is, where your lights will be installed, and where you will route your wires. For this, create a plan or a sketch of your basement layout and position the lights where you want them. If you are unsure about where to place lights, consider talking to an electrician.
2. Install Electrical Boxes and Run Wires
Once you have mapped out your wiring plan, you can start installing your electrical junction boxes. If you already have fixtures in your basement, this will be easy. You can use these fixtures to attach the electrical boxes to the ceilings. Otherwise, you will need to create holes for them north of the ceiling joists where you want your lights installed. After installing the electrical boxes, run the wires to the boxes’ location by using metal fish tape.
3. Connect the Wires to The Electrical Box
The next step is to connect the wires to the electrical box. If you use a metal electrical box, run the cables through the back or bottom of the box and ensure that the cable is secured to the box using a clamp connector. Next, strip the last few inches of the wires’ insulation and attach it to the box’s connector screws. Connect the same-colored wires.
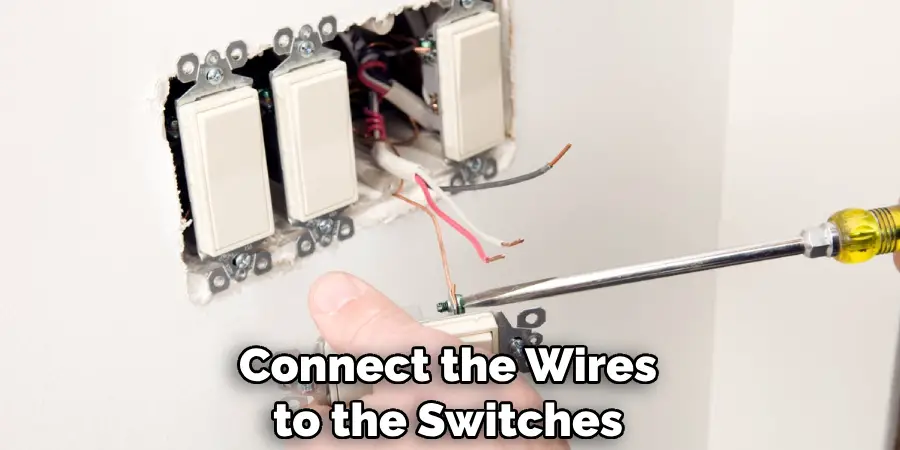
4. Connect the Wires to The Switches
Once you are done connecting the wires to the electrical box and cables, you need to connect the wires to the switches. First, connect the black pigtail wire from the circuit to one of the switch terminals, strip off the two white wires to make contact, then connect the pigtail. Repeat the same process to connect the black wire from the light fixture to the switch’s available terminal. Connect the last (white) wire to the other white wires in the switch box.
5. Connect the Lights to The Electrical Box
You can now connect the lights after connecting the wires to the switches. Start by attaching a mounting plate to the ceiling and then attach the light fixture. Next, run the wires from the switch through the hole on top of your electrical box. Connect these wires with those coming from your light fixture and secure them with a connector.
6. Test the Lights
After you are done connecting the wires and fixtures, it is time to test your basement lights. Turn on the circuit breaker and flip the switch to ensure that all of your wiring is properly done. If everything works correctly, you can now go ahead and seal up any holes or gaps with a sealant or drywall.
7. Install the Covers and Enjoy Your New Lighting!
Once you are satisfied that all of your wirings are done correctly, you can install the cover plates for the switches and lights to make them look neat and tidy. Finish up by turning off any breakers, double-checking everything again, and enjoy your new lighting in the basement!
With these simple steps, wiring basement lights can be an easy task that you can do yourself with minimal effort. Make sure to follow safety precautions and double-check any electrical installations before using them. Enjoy a brighter and more welcoming basement space with your newly installed lights!
5 Considerations Things When You Need to Wire Basement Lights
1. The first thing you need to consider when wiring basement lights is the type of lighting you want to use. There are a variety of different types of lighting available, and each has its own benefits and drawbacks. You must decide whether to use incandescent, fluorescent, or LED lighting.
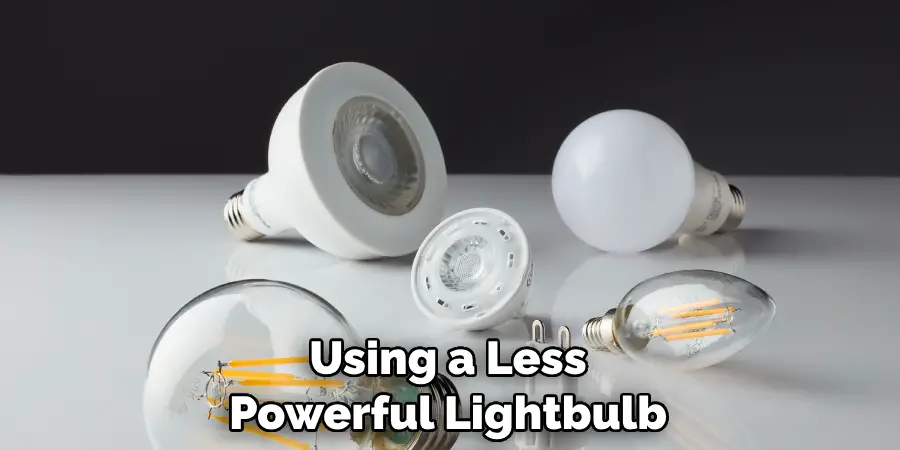
2. The next thing you need to consider is the amount of light you need. This will depend on the size of your basement and the type of activities you plan on using it for. If you only need a small amount of light for occasional use, then you can get away with using a less powerful lightbulb. However, if you plan on using your basement for more intensive activities, then you will need a more powerful lightbulb.
3. Another thing to consider is the type of wiring you need. There are two main types of wiring that can be used for basement lights: direct-wire and plug-in. Direct-wire lights are hardwired into your home’s electrical system, while plug-in lights simply plug into an outlet. Each type has its benefits and drawbacks, so you need to decide which is right for your needs.
4. Another consideration is the cost of the wiring and installation. This can vary depending on the type of lighting and wiring you choose and the size of your basement. If you are working with a limited budget, you may choose a less expensive option, such as LED lighting. However, if cost is not an issue, then you can choose a more expensive option, such as fluorescent lighting.
5. Finally, you need to consider the maintenance required for your basement lights. Incandescent bulbs require more frequent replacement than other types of bulbs, so they may not be the best option if you are looking for low-maintenance lighting.
Fluorescent bulbs also require occasional cleaning to maintain efficiency, but they typically last longer than incandescent bulbs. On the other hand, LEDs are very low-maintenance and last significantly longer than incandescent or fluorescent bulbs.
Benefits of Wire Basement Lights
Having proper lighting is essential for any living space, especially in basements. Wire basement lights are a fantastic solution for those looking to improve their basement lighting. These lights provide a range of benefits, including energy efficiency, bright illumination, and easy installation. Unlike traditional light fixtures, wire basement lights do not require complex wiring or installation methods, making them a cost-effective solution.
Furthermore, these lights provide brighter illumination, making it easier to see and navigate around your basement. Lastly, wire basement lights use LED technology that consumes less power than traditional bulbs, reducing your energy bill. Overall, wire basement lights are a great investment when it comes to improving lighting and energy efficiency in your basement.
Some Common Mistakes People Make When Trying to Wire Basement Lights
Wiring basement lights can be a tricky task, especially for those who are not experienced with carrying out electrical work. However, with the right guidance, it can be a manageable process. Unfortunately, many people make some common mistakes when trying to wire basement lights. These mistakes can lead to safety hazards and even a malfunctioning lighting system. Some of the errors include improper wiring connections, inadequate grounding, and mismatched wiring.
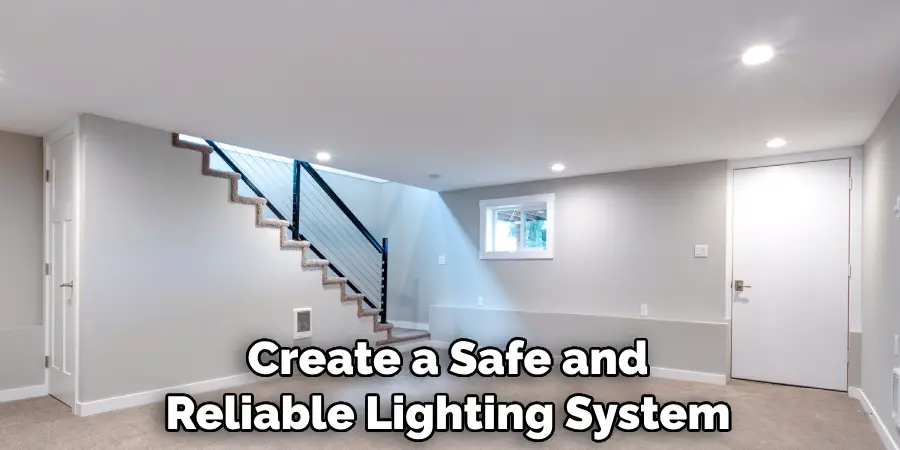
To avoid these mistakes, following the manufacturer’s instructions carefully is vital, using the appropriate tools for the job and seeking a professional’s help if necessary. By doing so, not only will you create a safe and reliable lighting system, but you will also ensure the longevity of your electrical work.
Conclusion
Wiring basement lights may seem daunting, but it is a job that you can quickly learn to do with the right tools and a bit of knowledge. Before you start, ensure that you have a clear plan of where to run wires, install electrical boxes, and, most importantly, connect switches.
By all means, if you are not comfortable doing the wiring yourself, then call a professional electrician. The ultimate goal is to create a safe and well-lit basement that you and your loved ones can enjoy for years to come. Thanks for reading our post about how to wire basement lights.